Lesson 132
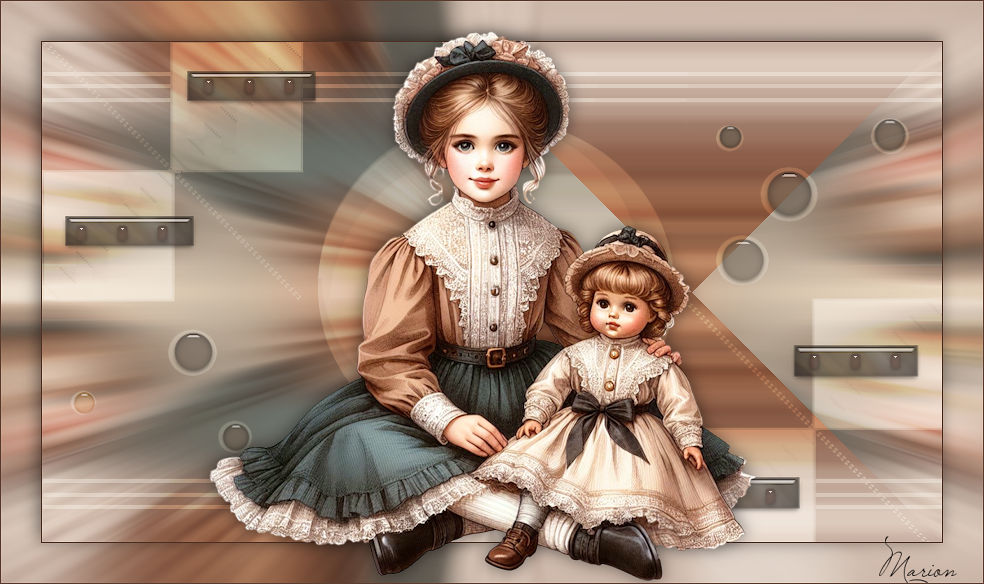
Translation made by MARION

Supplies
For this lesson, Mieke used this filter
Alien Skin Eye Candy 5---Impact
Materials.

Printlesson
Colors.
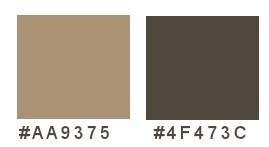
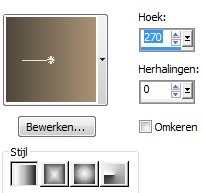
Replace your Foreground color with a Foreground/Background Linear Gradient
configured like this 270---0
Adjust the blend mode/opacity in your layers palette as you see fit.
 You can use my arrow to follow your work
1.
File-Open a new transparent image in this size :
Width---850---Heigth 500 Pixels
Activate Flood Fill Tool---Flood fill the layer with the gradient
2.
Selections --- Select All
3.
Open the tube---e7bb4a9c.psp.
Edit---Copy
4.
Activate your work --- Edit--- Paste into Selection
Selections --- Select None
5.
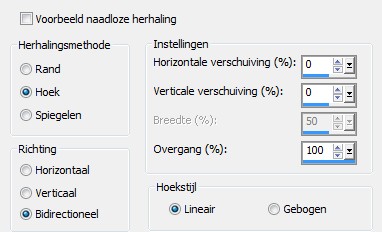
Effects---Image Effects---Seamless Tiling
use the settings below
6.
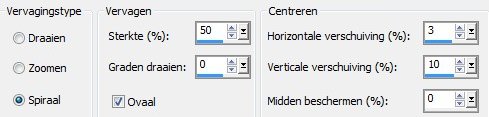
Adjust---Blur---Radial Blur
use the settings below
7.
Effects---Plugins---<I.C.Net Software> Filters in Unlimited 2.0---
&<BKG Kaleidoscope----@BlueBerry Pie---Apply.
8.
Image - Mirror - Mirror Horizontal (Image - Mirror in older versions of PSP)
9.
Layers---New Raster Layer
Flood fill the layer with color white
10.
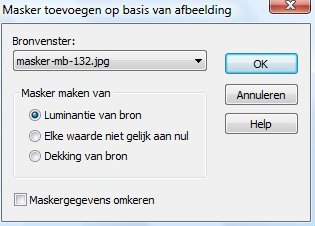
Open in psp--Mask-mb-132--Click on the minus
Layers--New mask layer--From image
Select --- masker-mb-132
11.
Layers--- Merge--- Merge Group
12.
Layers---Properties---Change the blend mode of this layer to Overlay
---Reduce the Opacity of this layer to 55%.
13.
Open the tube ---Deco 132-1---Edit---Copy.
Activate your work---Edit---Paste as new layer
14.
Layers---Properties---Change the blend mode of this layer to Luminance Legacy
15.
Open the tube ---Deco 132-2
Edit---Copy.
Activate your work---Edit---Paste as new layer
Move Tool---Place these circles on top of the circles in the mask layer.
16.
Open tube flowers_17_crealine.
Edit---Copy
Activate your work---Edit---Paste as new layer
17.
Image---Resize---40%.
Resize all layers not checked
Move to bottom right.
18.
Adjust---Sharpness--- Sharpen
19.
Adjust--Hue and Saturation---Vibrancy--35.
(o r Adjust---Sharpness--- Sharpen---Or
Filter Adjust---click once on original--and once on darker).
20.
Effects---Plugins
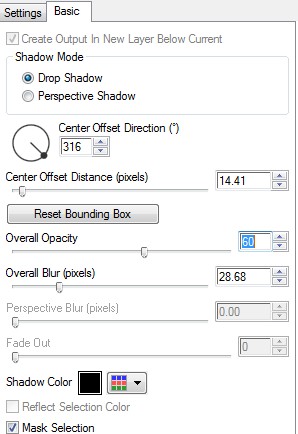
Alien Skin Eye Candy 5---Impact---Perspective Shadow
Settings---Preset---
Drop Shadow Blurry
Tab Basic.
Overall Opacty at 60.
21.
Open the tube---e7bb4a9c
Edit---Copy.
Activate your work---Edit---Paste as new layer
Move the tube to the bottom left.
22.
Effects---Plugins---
Alien Skin Eye Candy 5---Impact---Perspective Shadow.
Same settings
23.
Image--Add borders---1 pixel--Background color.
24.
Edit---Copy.
25.
Image--Add borders---40 pixels-- Foreground color #aa9375.
26.
Activate your Magic Wand - Tolerance and Feather at 0
--- Select the border with the 40 pixels.
27.
Edit--- Paste into Selection
28.
Adjust-- Blur-- Radial Blur---
Same settings
29.
Selections---Invert
30.
Effects--- 3D-effects
Drop Shadow ---min 5---min 5---80---25 ---Color black.
Selections---Select None
31.
Image---Add borders --- 1 pixel with your background color #4f473c.
32.
Layers---New Raster Layer---Add your watermark
33.
Layers---Merge--- Merge All layers (flatten)
Save as JPG.
Enjoy this lesson.
Greetings Mieke
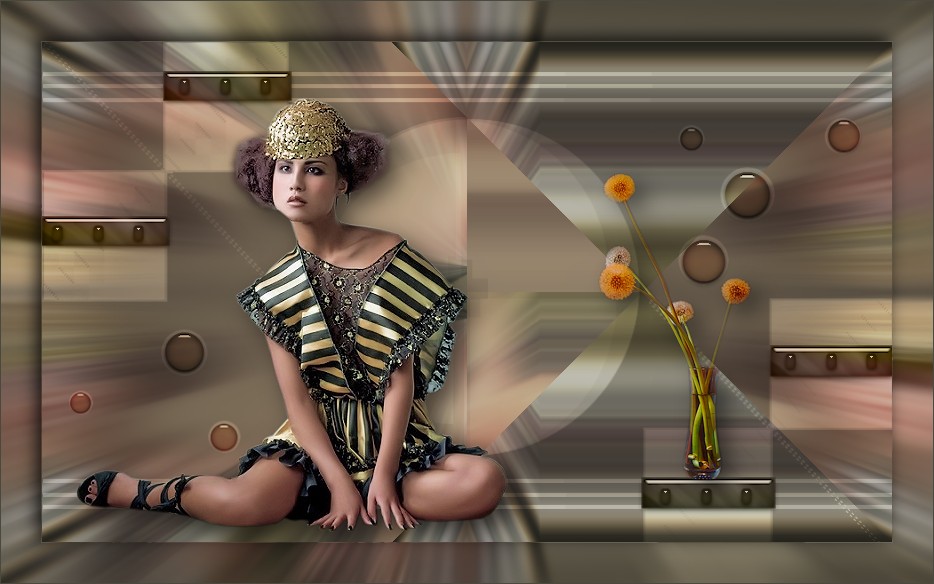
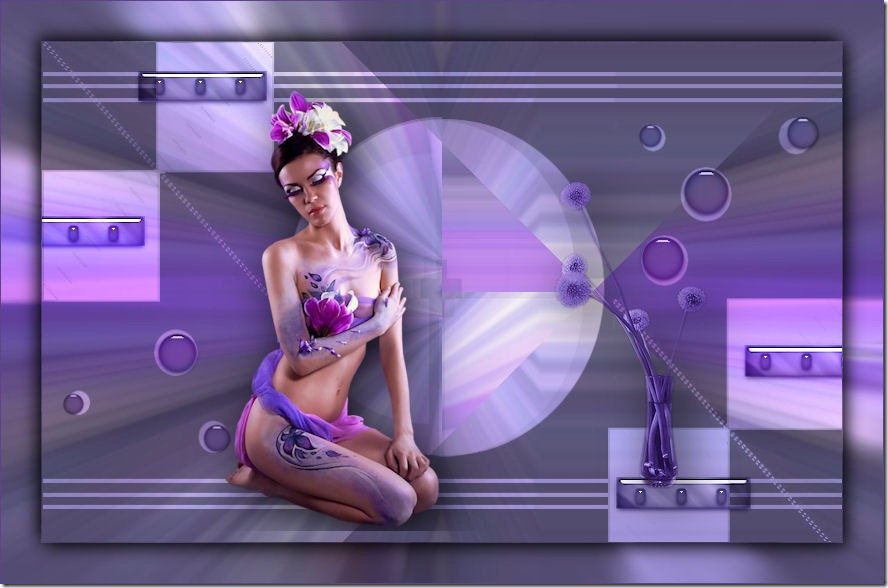
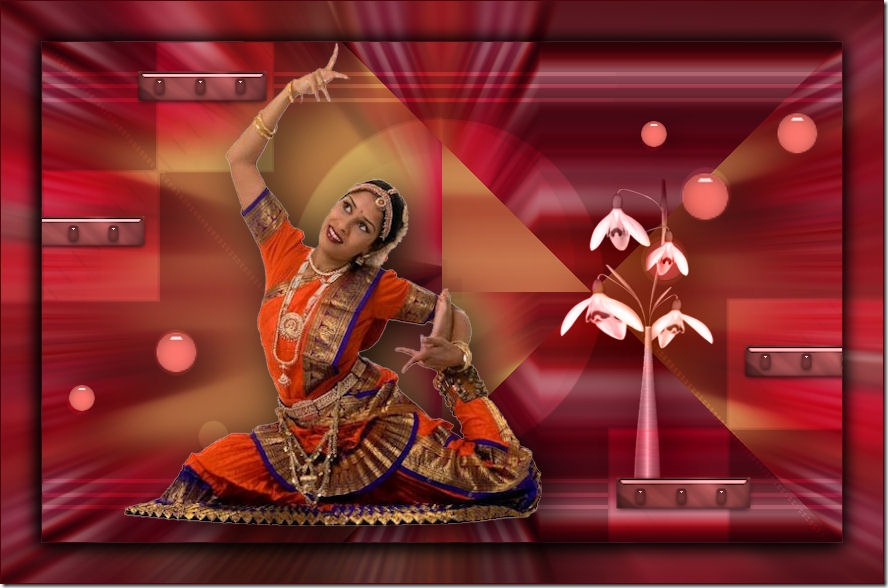
Examples created by Kamalini.
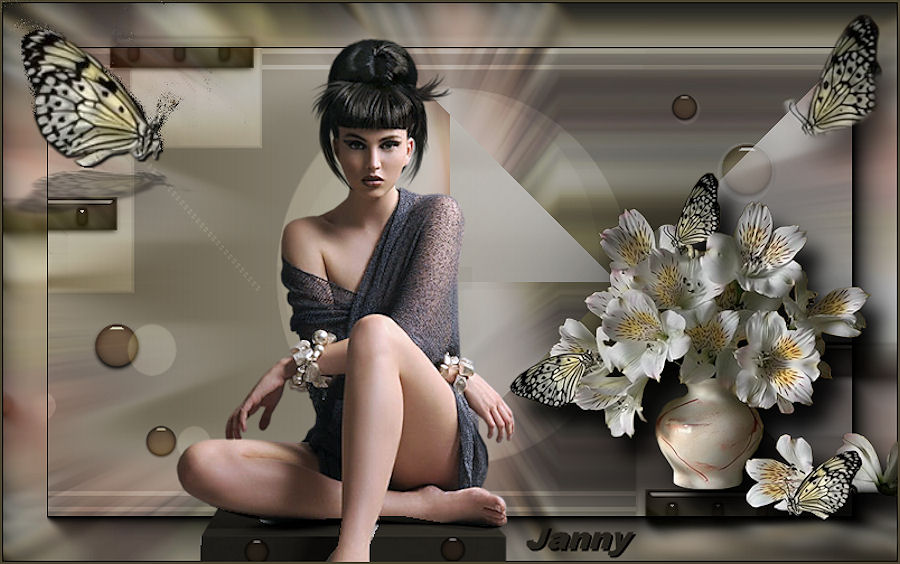
Example by Janny

|