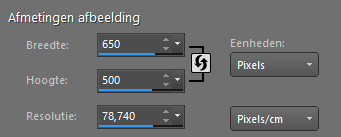
1.
2.
3.
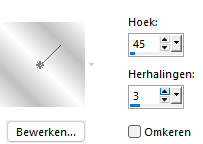
Activate Flood Fill Tool (F) --- Flood fill the selection with the gradient
Selection remains activated.
6.
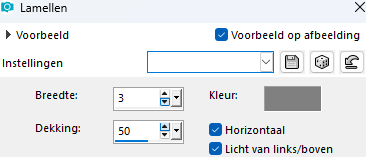
Effects---Texture Effects.
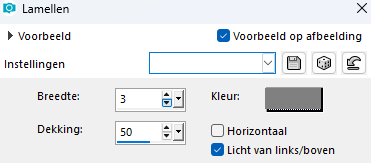
Blinds---3---50---Color Dark gray #808080
Horizontal and Light from top left checked.
7.
Selections---Select none.
8.
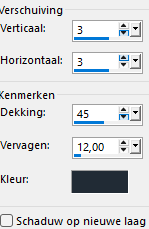
Effects---3D-effects
DropShadow 3---3---45---12. Color black..
9.
Layers---Duplicate
10.
Activate the top of the layer palette (Copy of Raster 2)
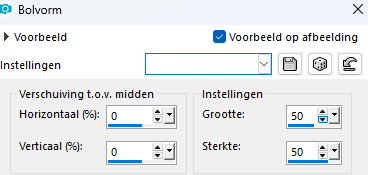
Effects---Distortion Effects---Warp--- 0---0--- Right 50-50.
11.
Move this to the right, against the edge
Effects---Image Effects---Offset---434---0---Customized---Transparent---checked.
12.
Layers---Duplicate.
13.
Image - Mirror - Mirror Horizontal (Image - Mirror in older versions of PSP)
14.
Activate Raster 2 in the layer palette
Move it to the center of your work
Effects---Image Effects---Offset---200----0---Customized---Transparent---checked.
15.
Activate Selection Tool(S)---Choose Selection Type Circle.
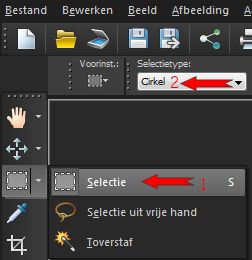
From the center of your work, draw a large Circle.
16.
Layers---New raster layer
Layers---Arrange---Bring to Top
Flood fill the selection with the gray background color
17.
Selections---Modify---Contract ---3 pixels.
Flood fill the selection with the gradient ---Selection remains activated
18.
Effects---Texture Effects
Blinds---3---50---Color---Dark gray #808080.
Only---Light from top left checked.
( Uncheck Horizontal)
19.
Selections---Select none.
20.
With your move tool, move the circle
in the middle of your work
(Objects---Align---Center on canvas)
21.
Effects---3D-Effects
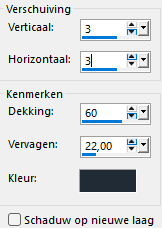
Drop Shadow 3---3---60---22. Color black.
22.
Layers---Properties---Reduce the opacity of this layer to 66%.
23.
Activate the Tube---Wit randje
Edit --- Copy
Activate your work --- Edit ---Paste as new layer
24.
Move to the left
(Objects---Align---Left)
25.
Layers---Duplicate
Image - Mirror - Mirror Horizontal (Image - Mirror in older versions of PSP)
26.
Layers---Merge---Merge Down
27.
Layers---Duplicate
Image - Mirror - Mirror vertical ( Image - Flip in older versions of PSP)
28.
Activate again the Tube---Wit randje
Edit --- Copy
Activate your work --- Edit ---Paste as new layer
Effects---Image Effects ---Offset min 116---min 140
Layers --- Duplicate
Effects---Image Effects---Offset 235---0
Layers--- Merge---Merge Down
Layers---Duplicate
Image - Mirror - Mirror vertical ( Image - Flip in older versions of PSP)
29.
Activate the tube flower ---Cactusbloem
Edit --- Copy
Activate your work --- Edit ---Paste as new layer
30.
Image---Resize---90%.
Resize all layers not checked.
31.
Effects---3D-Effects
Drop Shadow 3---3---60---22. Color black
32.
Move the Cactus Flower
To the center of your work
(Objects---Align---Center in canvas)
33.
Open the tube---Deco balletjes
Edit --- Copy
Activate your work --- Edit ---Paste as new layer
34.
Effects---3D-Effects
Drop Shadow 3---3---45---12. Color black.
35.
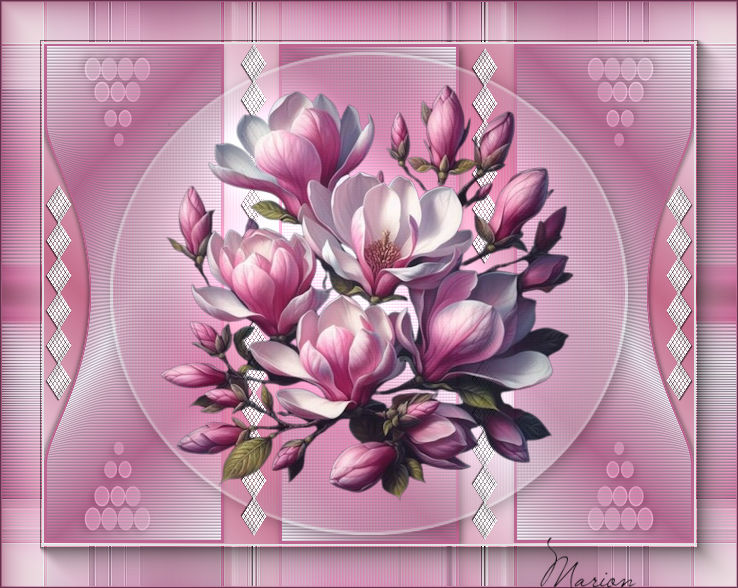
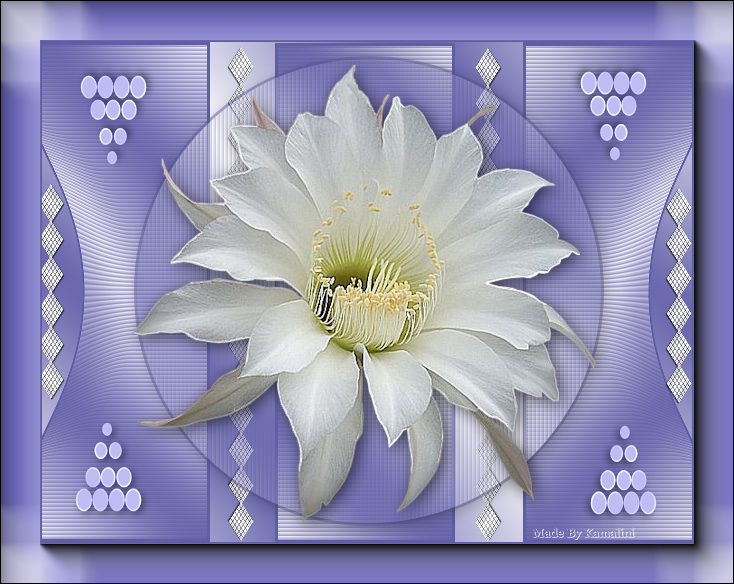
Put the tube in a nice place---See finished image
Effects --- Image Effects---Offset min 250---200---
36.
Layers---Duplicate
Image - Mirror - Mirror vertical ( Image - Flip in older versions of PSP)
37.
Layers---Merge
Merge Down
38.
Layers---Duplicate
Image - Mirror - Mirror vertical ( Image - Flip in older versions of PSP)
39.
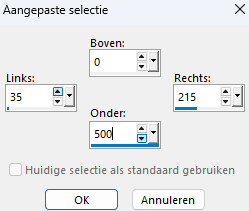
Image---Add borders---2 pixels---Color #808080.
Selections---Select All
40.
Image--Add borders---40 pixels---Color #c0c0c0.
Selections---Invert.
41.
Effects---Plugins ---ECWS---Tile Maker 1.0---at 80.
42
Image---Add borders---2 pixels---Color #808080.
43.
Selectionss---Select none
44.
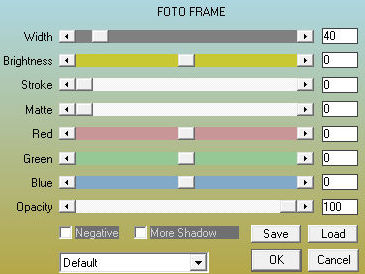
Effects---Plugins
AAA Frames---Foto Frame---Default settings(40).
45.
Layers---New raster layer---Add your watermark
Save as JPG.
Have fun with the lesson.
Greetings Mieke