Lesson 87
Translation made by MARION


Some knowledge of PSP is a must.
Mieke used the following filter:
The filters marked * can be imported into the Unlimited 2.0 filter.
Filter Simple---Zoom out en Flip*
FM Tile Tools-Blend Emboss
Material Here
Tube in a folder of your choice.
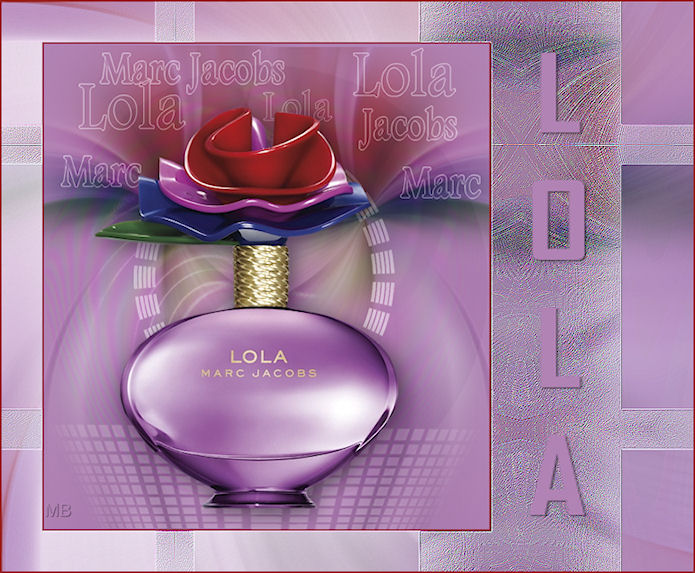
The beautiful perfume tube is from Karine.

Thank you for permission to use.
Preset_BallsAndBubbles_mb-66
Place in the presets folder of PSP.
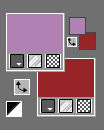
Color Palette
Set your Foreground color to color #b183b4---Set your Background color to color #982123.
 You are welcome to take this arrow with you
1.
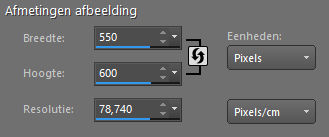
File---Open a new transparent image in this size :
Width---550---Height ---600 ---Pixels
2.
Flood fill the layer with a color from your tube.(#b183b4)
3.
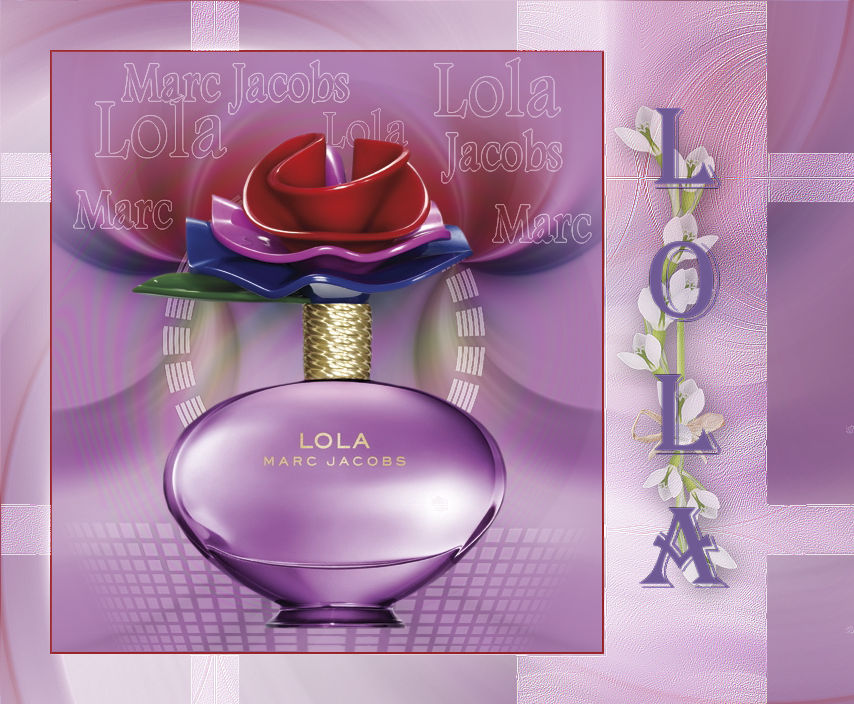
Open the Tube---k@rine_ dreams _Lola_903_janvier 2010.
Edit---Copy
Activate your work --- Edit ---Paste as new layer
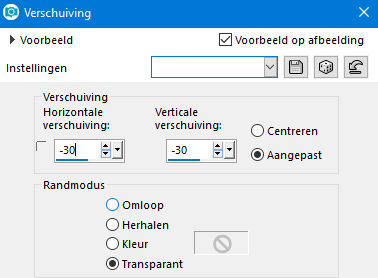
4.
Effects---Image Effects ---Offset--min30---min30
5
Layers---Duplicate
Lock the top layer.
6.
Activate the bottom of the layer palette (Raste r 2)
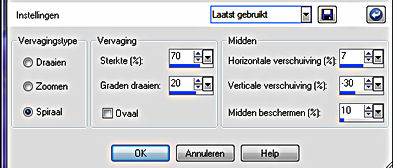
Adjust---Blur---Radial--- Blur
Twirl---70---20---7---min 30---10.
7.
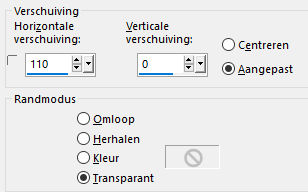
Effects---Image Effects---Offset---110---0---Custom--Transparant--checked
8.
Layers---Duplicate
Image - Mirror - Mirror Horizontal (Image - Mirror in older versions of PSP)
9.
Layers---Merge
Merge--- Down
10.
Layers---New raster layer ---Flood fill the layer with color #ffffff
11.
Open masker MB-66
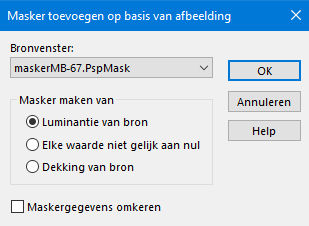
Layers--New Mask Layer--From Image--Choose mask MB-67---and Ok
12.
Layers---Merge---Merge Group
13.
Layers---Properties---Change the blend mode of this layer to Soft Light
14.
Layers---Duplicate
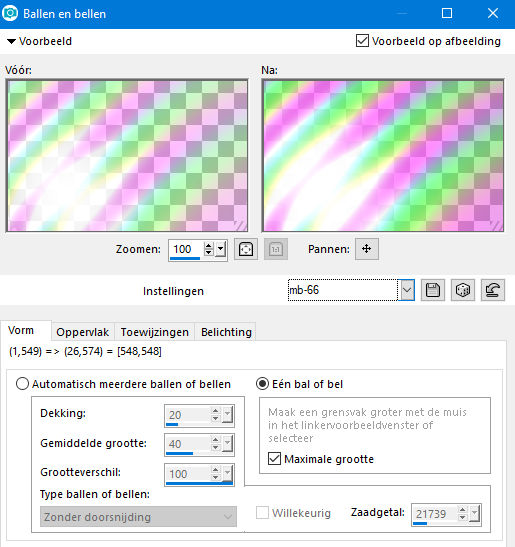
Effects--Artistic Effects--Balls and Bubbles.
Settings ---mb-66 and OK.
15.
Layers---Properties---Change the blend mode of this layer to Hue ---Reduce the opacity of this layer to 60%
Effects---Edge Effects---Enhance
16.
Open your top layer
and activate
(tube k@rine_ dreams _Lola903_Janvier 2010).
(The layer we locked in the lesson) Point 5).
17.
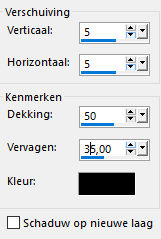
Effects---3D-Effects
Drop Shadow 5---5---50---35---Color black
18.
Image--Add borders---2 pixels with the Dark color #982123.
19
Edit---Copy!!!
20.
Image--Add borders ---Symmetric NOTchecked---50---50---250---50--- Color # ffffff.
Top 50---Left 50---Right 250---Bottom 50

21.
Image---Add borders---Symmetric checked ---2 pixels---Color #982123.
22.
Activate your Magic Wand - Tolerance and Feather at 0
Select the white border
23.
Layers---New raster layer.
Activate your work --- Edit ---Paste into Selection
(Image is still in memory)
24.
Adjust---Blur---Radial--- Blur---70---20---7---min 30---10
(same settings).
25.
Effects---Plugins
FM Tile Tools---Blend Emboss.
26.
Selection remains activated
Layers---Duplicate
Effecten---Insteekfilter---FM Tile Tools---Blend Emboss.
Edit---Repeat ---Blend Emboss.
27.
Effects---Plugins---<I.C.Net Software> Filter in Unlimited 2.0
Simple---Zoom Out en Flip---using the default settings
28.
Effects---Plugins
FM Tile Tools---Blend Emboss
Again---Edit---Repeat Blend Emboss
29.
Effects---Edge Effects---Enhance.
Selections---Select none.
Layers---Properties---Change the blend mode of this layer to Screen
30.
Open the tube ---Tekst---Lola
Edit---Copy
Activate your work --- Edit ---Paste as new layer
Move the text tube to the right---See finished image
31.
Layers---Merge---Merge All (flatten)
31.
Layers---New raster layer---Add your watermark
Save as JPG
Note:
When working with your own colors-
play with the blend mode and/or opacity at your own discretion.
Have fun with this lesson
Greetings Mieke
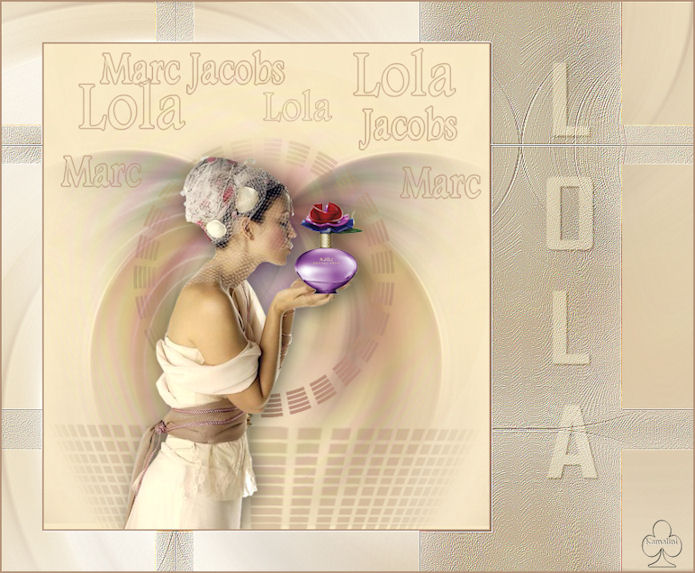
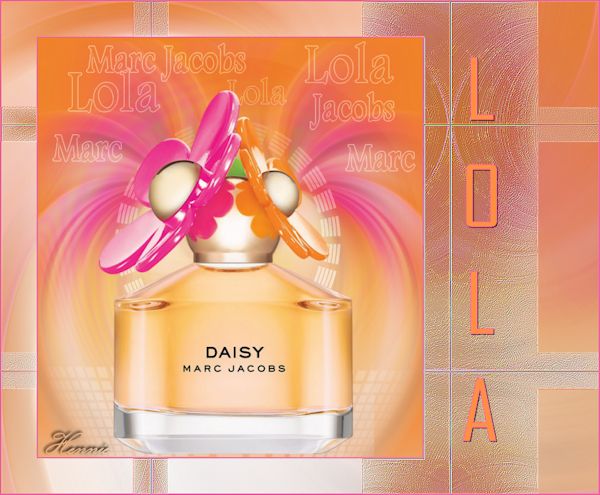
Examples of Kamalini and Henny

|