Lesson 64
Translation made by MARION

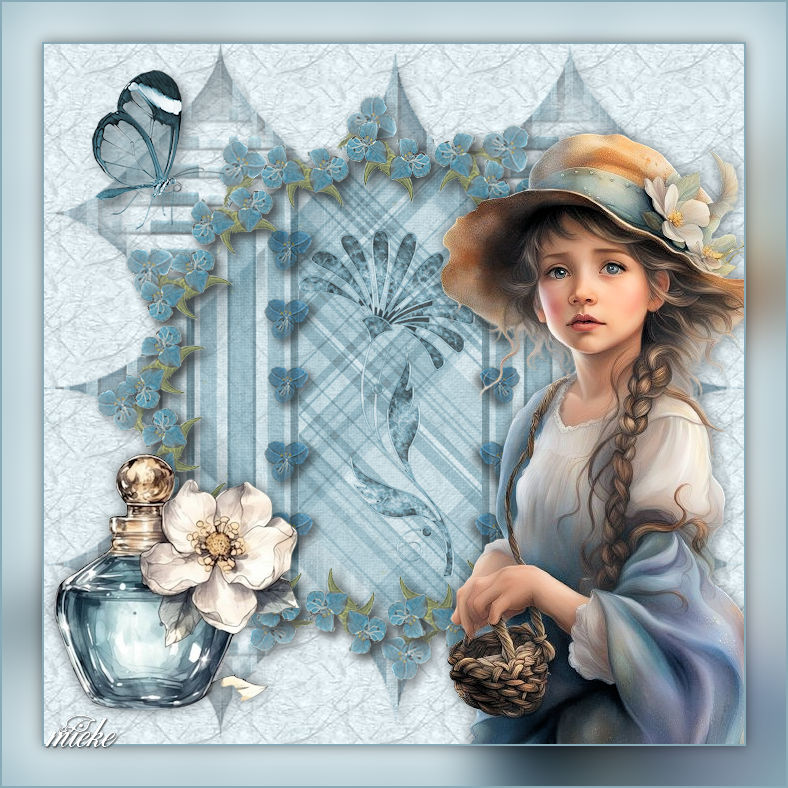
Material
Here
Mieke used the following filters:
Plugins
<I C Net Software> Filters Unlimited 2.0>Paper Textures
Place the Brush Corel_01_028.PspBrush in the Brushes folder of PSP.
Please note that the brush consists of two files.
Color Palette
Set your Foreground color to color #89abb7---Set the background color to color #e5f1f5
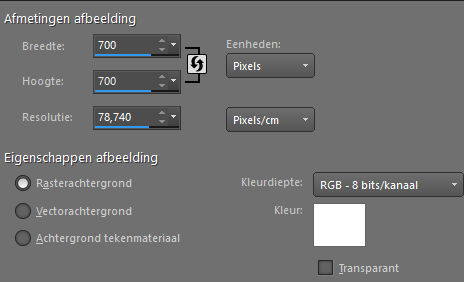
1.
Open new image 700x 700 pixels
Color white.
Layers ---New raster layer ---Flood fill the layer with the light color #e5f1f5
Effects---Plugins <I C Net Software> Filters in Unlimited 2.0>
Paper Textures---Japanese Paper---84-87

2.
Open tube---Achtergrond-1----Edit---Copy --- Activate your work --- Edit ---Paste as new layer
3.
Open tube---Rond-MB-1----Edit---Copy --- Activate your work --- Edit ---Paste as new layer
4.
Open the tube---Sier-rand---
-Edit---Copy --- Activate your work --- Edit ---Paste as new layer
Place this on the separation at the edge of the circle.
5.
Layers---Duplicate---Image -Mirror -Mirror Horizontal (Image - Mirror in older versions of PSP)
6.
Open the tube---Bloemenrand----Edit---Copy --- Activate your work --- Edit ---Paste as new layer
7.
Open the tube--- AI-tak-er.png----Edit---Copy --- Activate your work --- Edit ---Paste as new layer
8.
Open the tube--- KathK Transparent Butterfly 2.png---Edit---Copy---Activate your work --- Edit ---Paste as new layer
Put in the right place ( see finished image)
9.
Open theTube---AI_yhg.png--- Edit---Copy --- Activate your work --- Edit ---Paste as new layer
Put in the right place ( see finished image)
10.
Open the Tube--- tiener-3c0cf.png---Edit---Copy --- Activate your work --- Edit ---Paste as new layer
11.
Effects---3D- Effects---
Drop Shadow ---0---0--80---40. Color black

12.
Activate the bottom of the layer palette
Activate your Brush Tool and select the brush---Corel_01_028.PspBrush
Size 400
Stamp the brush with the foreground color a vieuw times on the upper left and the bottom right
(See finished image )
Image---Add borders---2 pixels---Dark color
Selections---Select All
Edit --- Copy!!!
Image---Add borders---40 pixels---Light color
13.
Selections---Invert
14.
Edit---Paste into Selection
(image is still in the memory)
15.
Adjust---Blur ---Gaussian Blur---Radius 30.
16.
Selections---Invert
Effects---3D -Effects---Drop Shadow---0---0--40---80. Color black.
17
Selections---Select none
Image---Add borders---2 pixels---Dark color
Layers---New raster layer---Add your watermark
Save as JPG
Enjoy this lesson.
Greetings Mieke
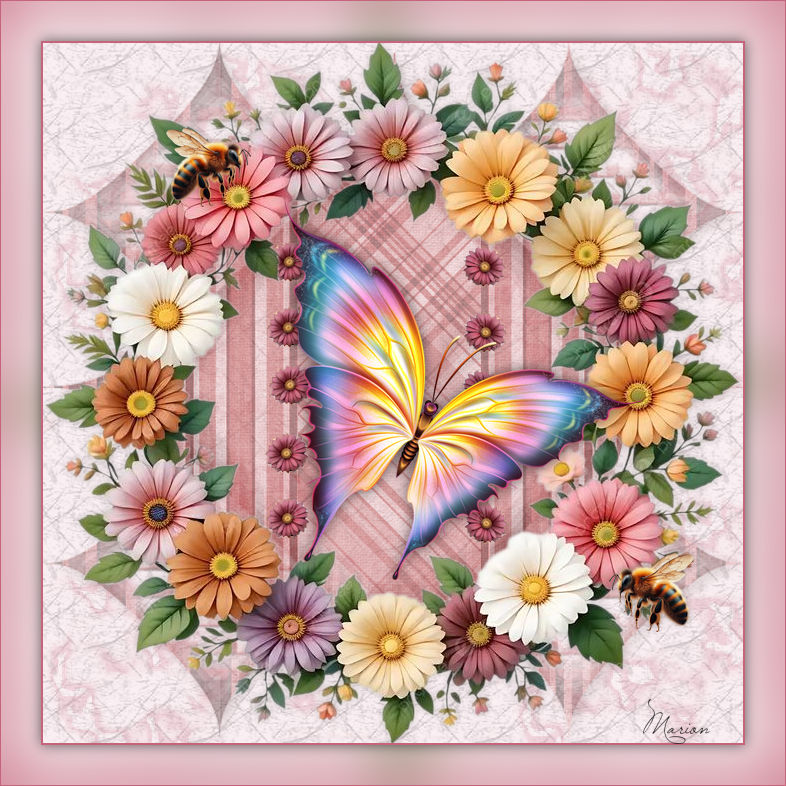
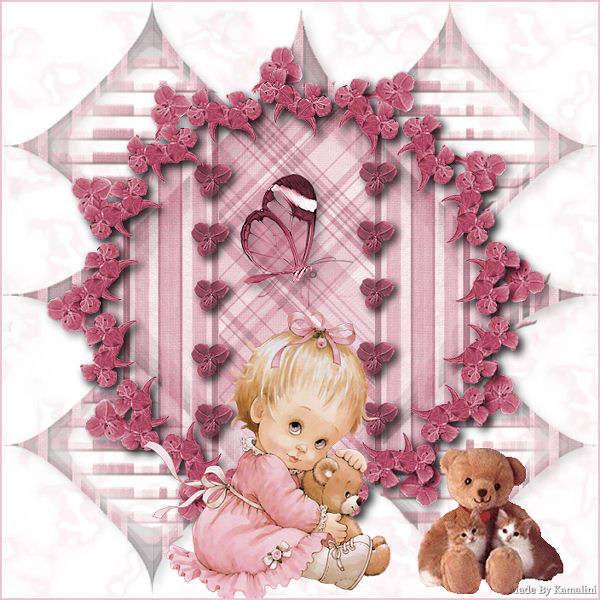
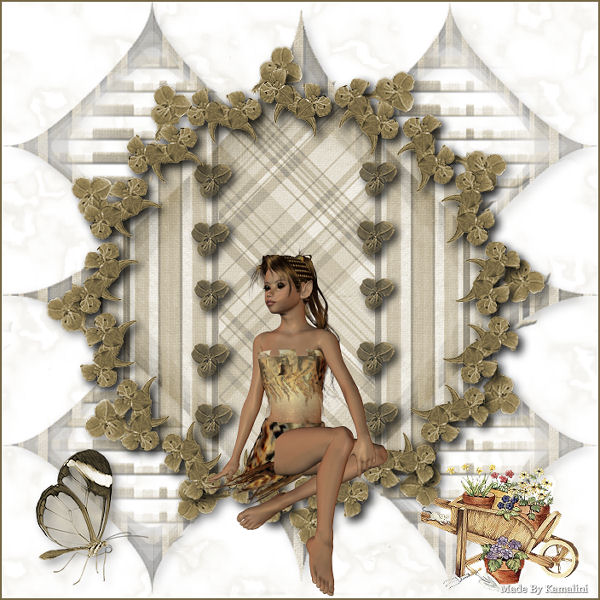
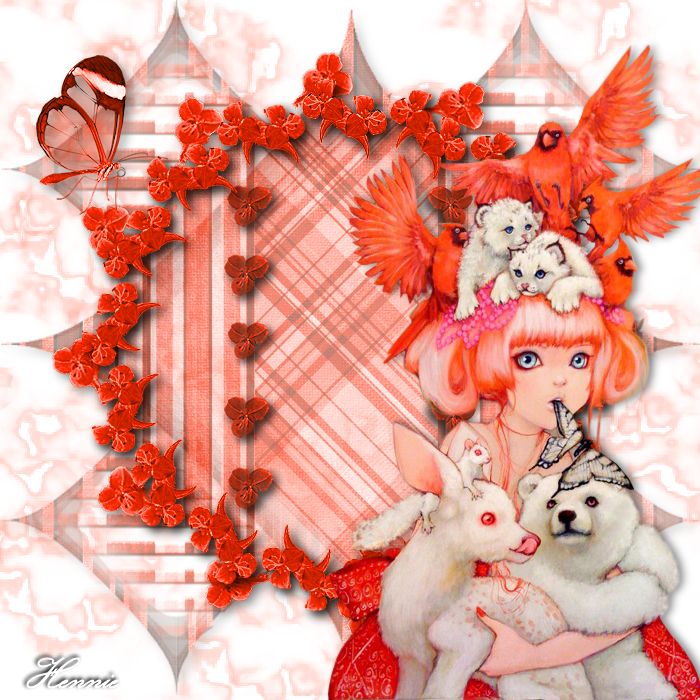
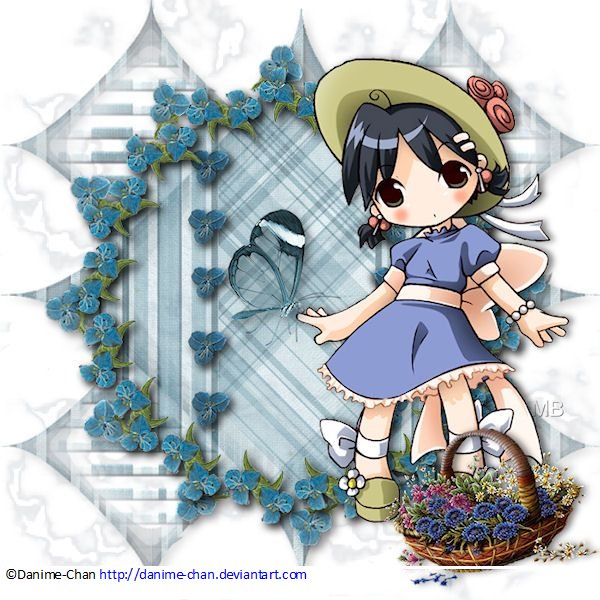
Example created by
Kamalini and Hennie

|