Lesson 63
Translation made by MARION


This lesson was created in PSP 18, but it can also be made in other versions.
The colors can vary greatly depending on the PSP you are using. . .
Supplies
Material .Here
Color palette
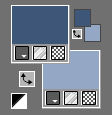
Set your Foreground color to color # 3f5678---Set the background color to color # 94a8c5
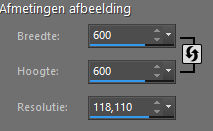
1.Open a new image 600 x 600 ---Background color white
2.
Open from your material--- CirkelMB1.png---- Edit--- Copy --- Activate your work --- Edit ---Paste as new layer
3.
Open from your material---CirkelMB2.png--- Edit--- Copy --- Activate your work --- Edit ---Paste as new layer
4.
Open from your material---CirkelMB3.png--- Edit--- Copy --- Activate your work --- Edit ---Paste as new layer
5.
Open tube--- AI---27c1f-removebg-preview.png--- Edit--- Copy --- Activate your work --- Edit ---Paste as new layer
6.
Layers---Arrange---Move Down
7.
Image--- Resize by 85%--- Resize all layers --- Not checked
8.
Activate your Move Tool--- move the tube into the circle. move the tube into the circle.
9.
Use your eraser to carefully erase any excess outside the edge.
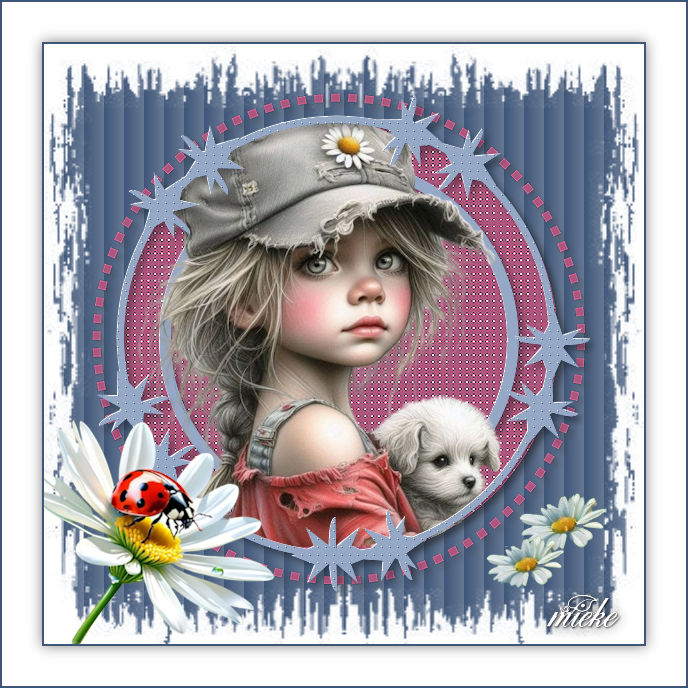
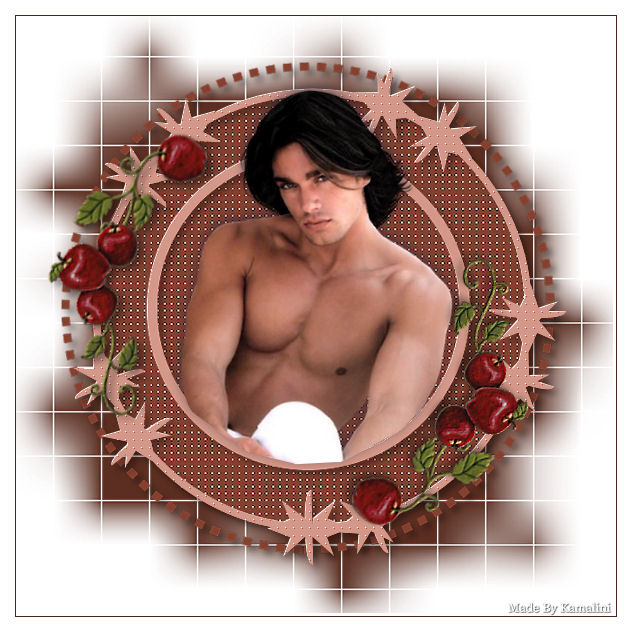
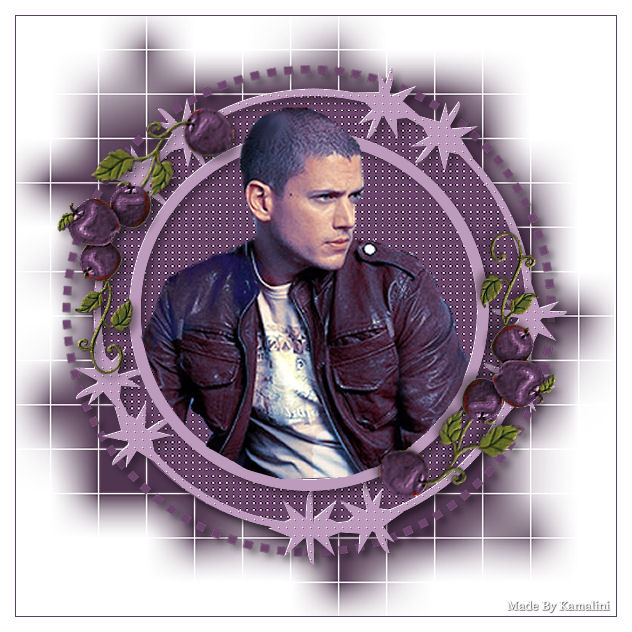
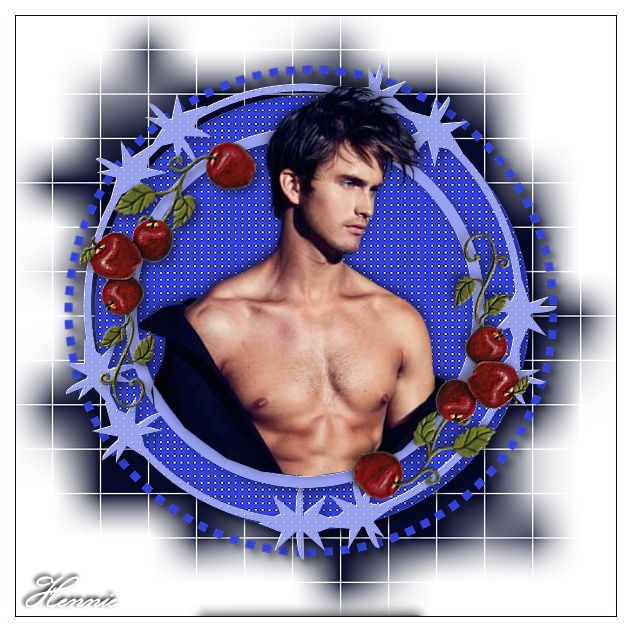
See finished image
10.
Layers---New raster layer ---Flood fill the layer with the dark color
11.
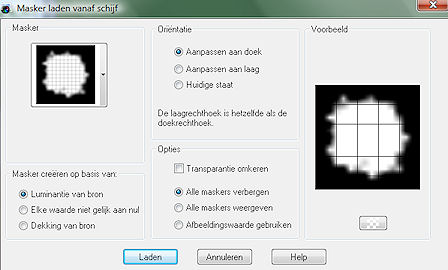
Open WSL_Mask84.jpg. Click on the minus sign in the upper right corner.
Layers---New mask layer---From image---Choose WSL_Mask84.jpg
Source Luminance checked
12.
Layers---Merge---Merge Group
13.
Activate the top of the layer palette
Open the tube --- madelief-1.png
Edit--- Copy --- Activate your work --- Edit ---Paste as new layer ---Move to the bottom left side
14.
Effects---3D- Effects--Drop Shadow---0---0---50—20---Color #000000
15.
Open the tube --- bloem-klein.png
Edit--- Copy --- Activate your work --- Edit ---Paste as new layer
Move to the bottom right side
16.
Selections---Select All
Image--Add borders---2 pixels---Dark color
Image--Add borders---40 pixels---Color white
Image--Add borders---2 pixels--- Dark color
Repeat the Drop Shadow
Selections---Select none
Add your watermark on a new layer
Save as JPG.
Examples were made by Kamalini and Hennie

|