Lesson 58
Translation made by MARION


Supplies
Tubes

Additional tubes added--Text border.
Open Masker Montiblinds in your Psp and minimize
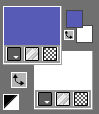
Color Palette
Set your foreground color to color ---##585bb6 (color from tube)---Set your background color to color #ffffff
1.
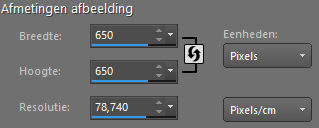
File - Open a new transparent image of this size: 650 x 650 pixels ---Flood fill the layer with color #ffffff---White
2.
Selections---Select All
3.
Layers---New raster layer
4.
Open the Image ---Achtergrond 1---
Edit---Copy---
Activate your work --- Edit ---Paste into Selection
5.
Layers---Properties---Reduce the opacity of this layer to 70%
6.
Selections---Select none
7.
Layers---New raster layer---Flood fill the layer with the foreground color
8.
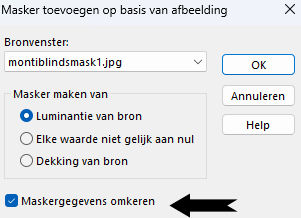
Open the Mask --- Masker montiblindsmask1.jpg ---Click on the minus sign in the upper right corner.
Layers---New mask layer---From image--Select--Montiblindsmask1.jpg
Invert Mask Data checked
9.
Layers--- Merge---Merge Group
10.
Layers---Properties---Reduce the opacity of this layer to 50 %
11.
Open the tube---Rondje---Edit---Copy --- Activate your work --- Edit ---Paste as new layer
12.
Open the tube---FR-Boreal-Tranèe-de-fleurs.png
Edit---Copy --- Activate your work --- Edit ---Paste as new layer
13.
Objects---Align---Bottom
Activate the top of the layer palette
14.
Open the tube---lentebloemen58..png.
Edit---Copy --- Activate your work --- Edit ---Paste as new layer
Objects---Align---Bottom
15.
Open the tube--- lente-bloemen-5.png
Edit---Copy --- Activate your work --- Edit ---Paste as new layer
Move the tube to the bottom right.
16
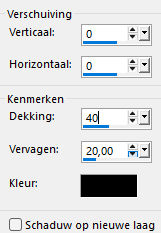
Effects---3D- Effects---Drop Shadow 0-0-40-20---Color black.
17.
Open the tube--- bloem1.png---
Edit---Copy --- Activate your work --- Edit ---Paste as new layer
Move the tube to the bottom left.
18.
Open the tube--- snakersnummer.png
Edit---Copy --- Activate your work --- Edit ---Paste as new layer ---Move the tube in the right place
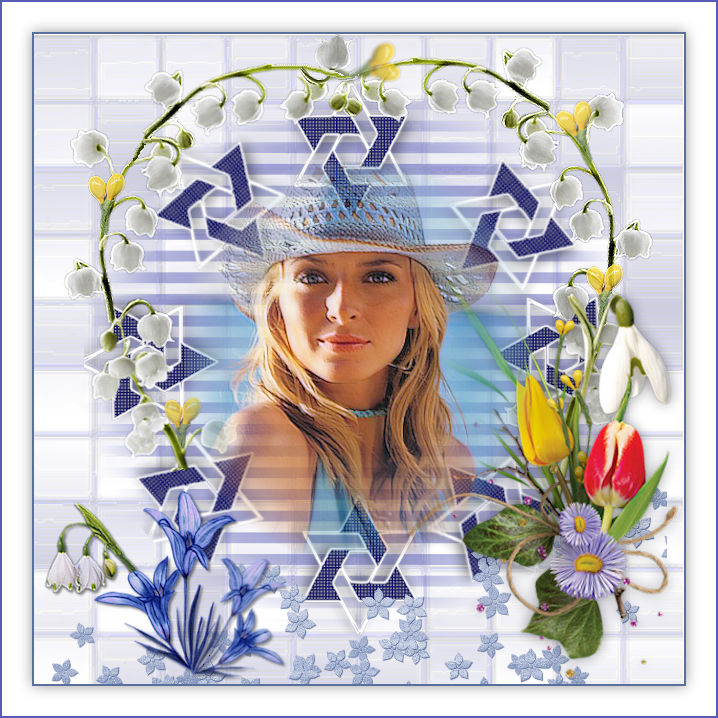
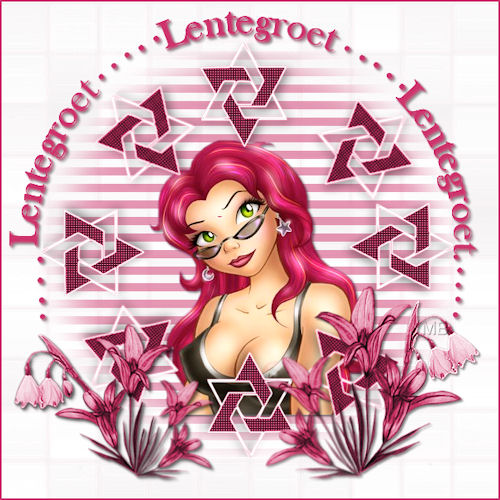
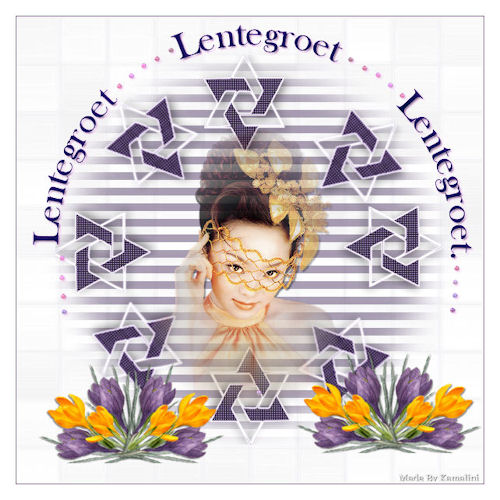
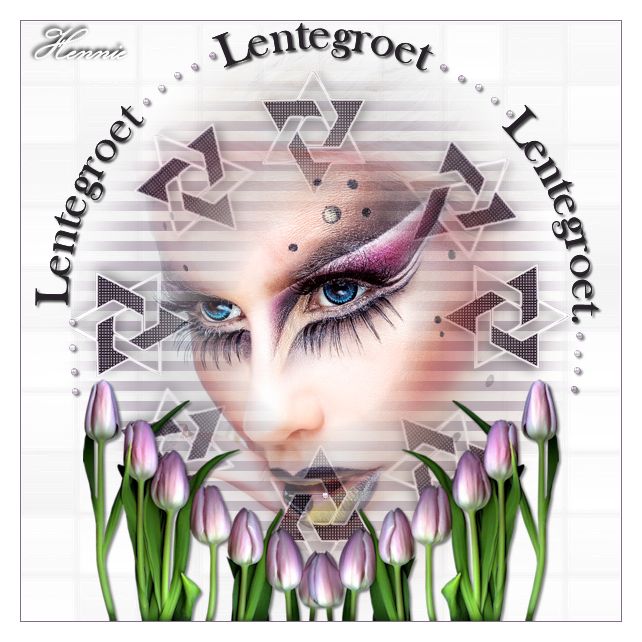
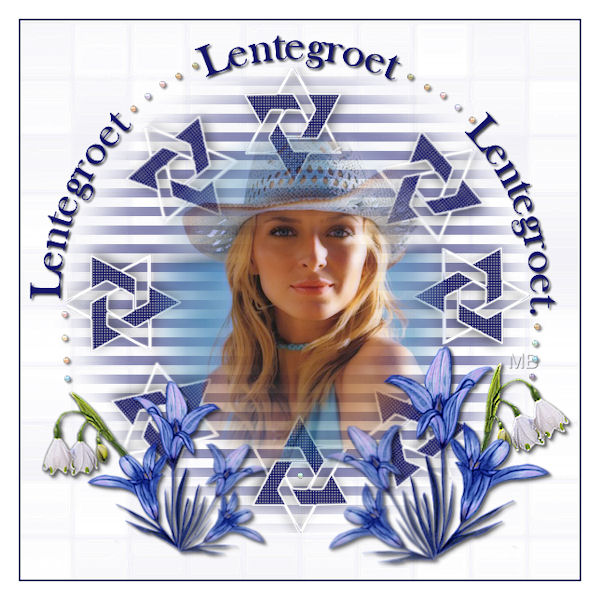
See finished image
When using another tube ---Put it in the right place
19.
Image---Add borders--- 2--- pixel --- Dark color
Selections---Select All
Image---Add borders---30 pixels--- Color #ffffff .
Effects---3D- Effects---Drop Shadow 0-0-40-20---Color black.
Selections---Select none
Image---Add borders---2 pixel--- Dark color.
Add your watermark on a new layer
Save as JPG.
Enjoy the lesson.
Mieke Boekhout.
Examples.
created by Kamalini

|