Lesson 47
Translation made by MARION


Supplies.
Material

Place the masks in your mask folder.
Plugins
Penta.Com.
The tube from AI-Emma-Mulder-Bergstra
Color Palette
Set the foreground color to color #A49080---Set the background color to color #f8f7f6
Additional color #927847
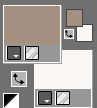
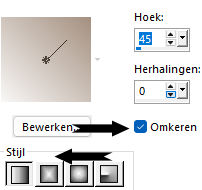
F/B Gradient---Style Linear 45---0---Invert checked
1.
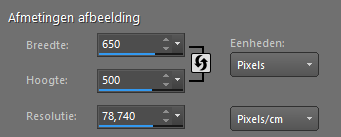
File - Open a new transparent image of this size: 650 x 500---Pixels.
2.
Flood fill the layer with the additional color #927847#
3.
Layers--New raster layer---Flood fill the layer with the gradient
4.
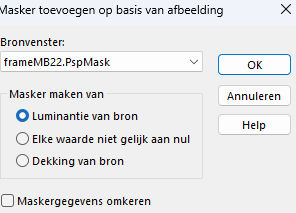
Layers - New mask layer - From image - Select
FrameMB22.
5.
Layers - Merge - Merge Group.
6.
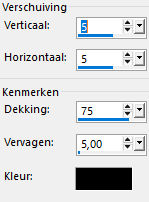
Effects---3D- Effects---Drop Shadow 5--5---70--5---Color black
7.
Effects--- Edge Effects---Enhance
8.
Activate the bottom layer in the layer palette
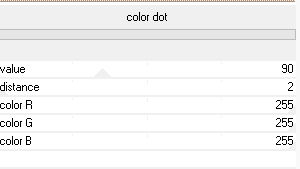
Effects --- Plugins ---Penta Com---Color Dot--- using the default settings
9.
Actvat the top layer in the layer palette
10.
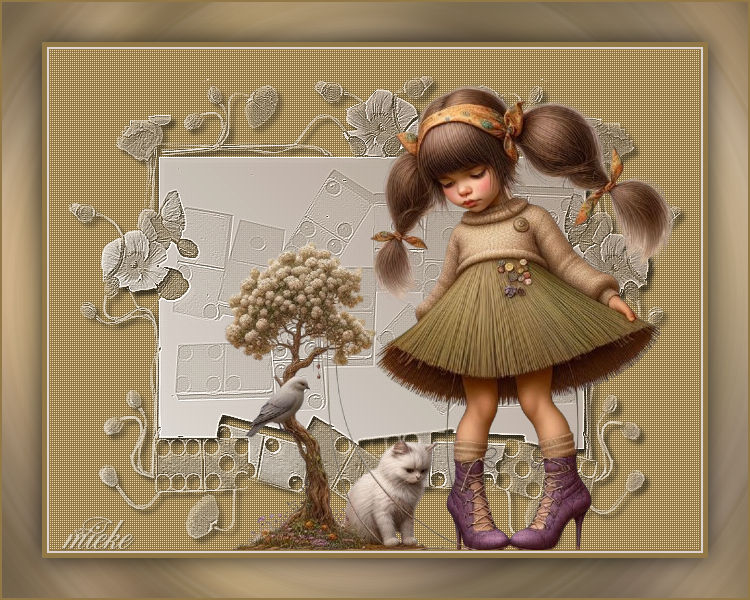
Open the tube---AI-Emma-Mulder-Bergstra-.png.
Edit---Copy --- Activate your work --- Edit ---Paste as new layer
11.
Repeat Drop Shadow with the same settings
Image--Add borders---1 pixel--Light color
Image--Add borders--5 pixels--Dark color. #927847
Selections---Select All
Image--Add borders--50 pixels--Light color
Effects---Image Effects---Seamless Tiling ---Default
Selections---Invert
12.
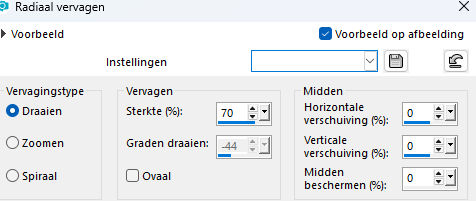
Adjust---Blur---Radial Blur use the settings below
70---0---0---0.
13.
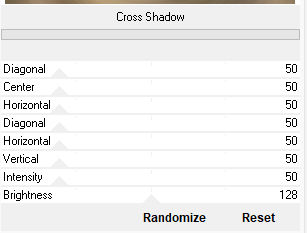
Effects---Plugins---<I C Net Software> Filters in Unlimited 2.0---
Graphics Plus---Cross Shadow---Intensity at 50
14.
Selections----Invert
15.
Effects---3D- Effects---Drop Shadow 0--0---75--35---Color black
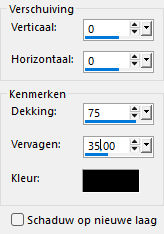
Image---Add borders---1 pixel---Dark color
Layers---New raster layer---Add your watermark
Save as JPG
Have fun with this lesson
Greetings Mieke Boekhout.
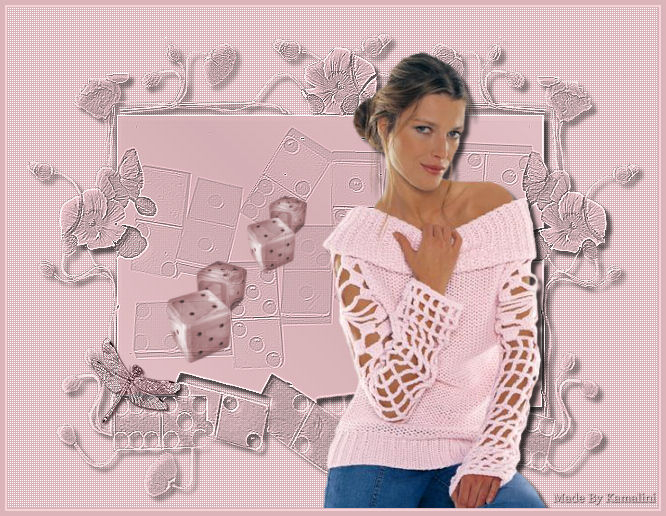
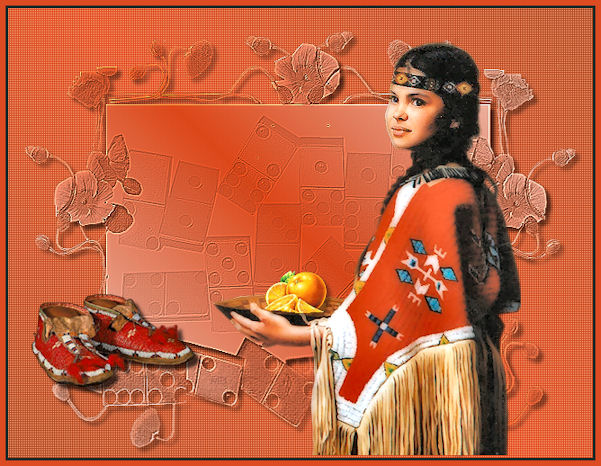
Examples by Kamalini and Hennie

|


