Lesson 38
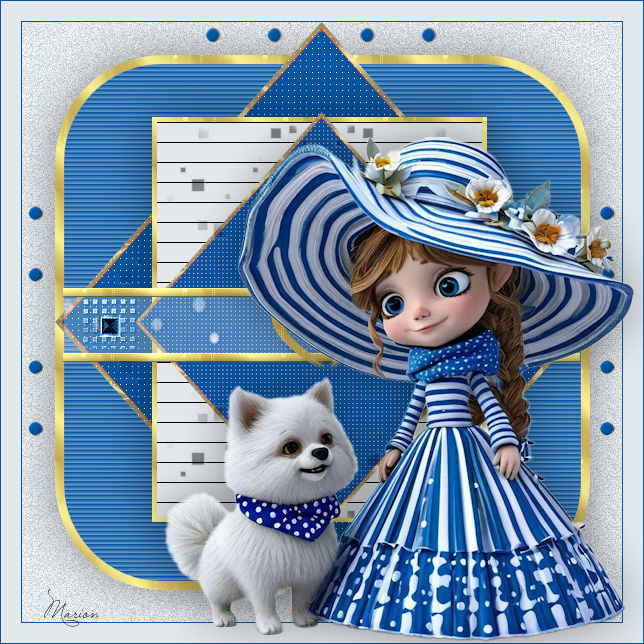
Translation made by MARION

Supplies
Nice tubes
Material.Here
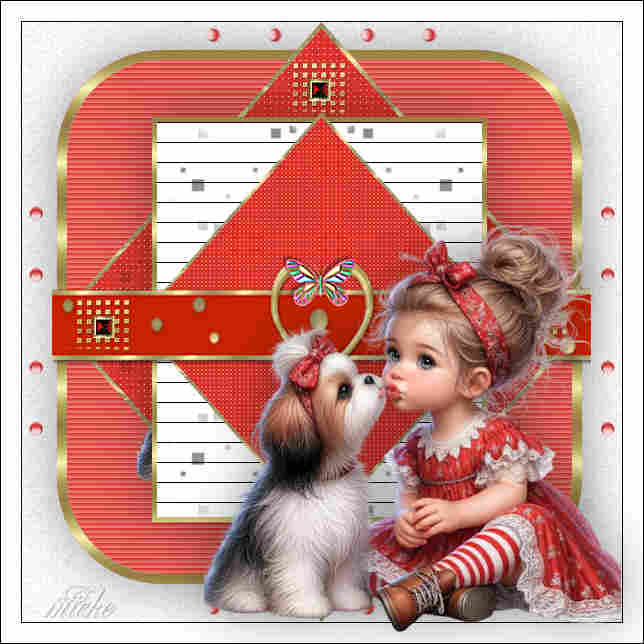
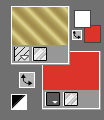
Colors we use are white and a color from the tube I chose red--# DC342B
And a gold pattern
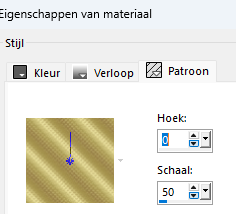
Set your foreground to white and put a nice gold pattern in the foreground. (Your choice.)
Set your background color to color red. # DC342B
1.
Open a new transparent image 600 bij 600 Px
Flood fill the layer with #ffffff (white.)
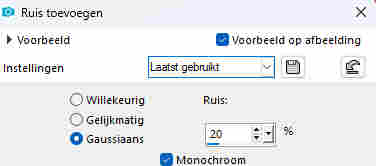
Adjust / Add/Remove Noise /Add Noise-Gaussian-Noise 20-Monochrome checked
2.
Selections---Choose Selection Type ---Rounded Square

Starting from the top left corner, drag your cursor across the worksheet to select it.
3.
Layers---New raster layer
Flood fill the selection with the gold pattern.
4.
Selections---Modify---Contract---10 pixels---Delete on keyboard
Flood fill the selection with your background color # DC342B
Effects---Texture Effects---Blinds---5---40---white---v---v.

Selections---Select none
Image---Resize ---90 % ---Resize all layers not checked
5.
Objects--- Align---Center on canvas
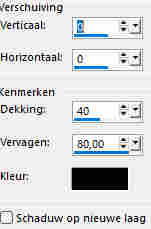
Effects---3D-Effects---Drop Shadow ---0---0--40---80. Color black.
6.
Open the tube ---Driehoek.png---
Edit---Copy---Activate your work --- Edit ---Paste as new layer .
7.
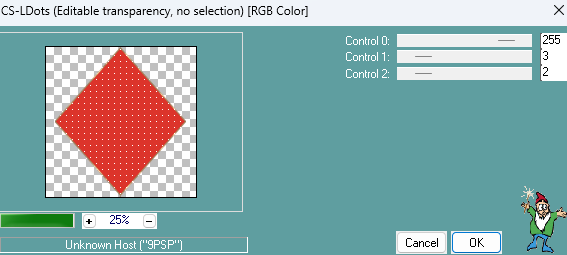
Effects---Plugins---Carolaine and Sensibility CS-LDots---255---3---2.
8.
Layers ---New raster layer
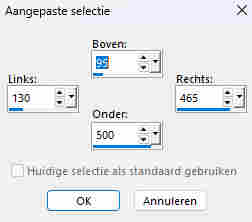
Activate Selection Tool-Custom Selection(S)-Rectangle use the settings below
Top---95—-Left 130----Right 465--- Bottom 500.
9.
Flood fill with your Gold pattern.
Selections---Modify---Contract---5 pixels---Delete on keyboard
Set your foreground color to color #ffffff
Flood fill the selection with the foreground color #ffffff
10
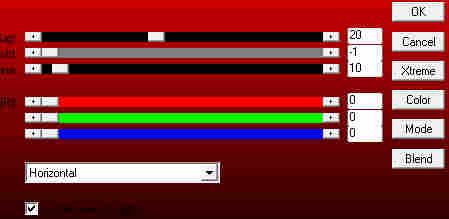
Effects---Plugins---AP 01 (Innovations)-lines-Silverlining
---20—min1---10-0-0-0---Horizontal
Selections---Select none
11.
Effects---3D-Effects---Drop Shadow ---0---0--40---80. Color black.
12
Activate Raster 3 in the layer palette-(triangle)
Layers---Duplicate
Layers---Arrange---Bring to Top
Image ---Resize ---70%---Resize all layers not checked.
13.
Open the tube ---Deco-1--- Edit---Copy---Activate your work --- Edit ---Paste as new layer .
14.
Open the tube ---Deco-2--- Edit---Copy---Activate your work --- Edit ---Paste as new layer .
15.
Open the tube ---Vlinder--- Edit---Copy---Activate your work --- Edit ---Paste as new layer .
16.
Open the tube --- steentje.png--- Edit---Copy---Activate your work --- Edit ---Paste as new layer .
17.
Layers---Duplicate--move to the left on the belt
Layers---Merge---Merge Down
Layers---Duplicate
Image -Mirror -Mirror Horizontal (Image - Mirror in older versions of PSP)
Image - Mirror - Mirror vertical ( Image - Flip in older versions of PSP)
18.
Open---Deco-3--- Edit---Copy---Activate your work --- Edit ---Paste as new layer .
19.
Image--Add border-- 1 pixel-- Color black.
Image--Add border-- 20 pixel-- Color white.
Image--Add border-- 1 pixel-- Color black
20.
Open the tube ---AI-a7a7b5-removebg-.png---
Edit---Copy---Activate your work --- Edit ---Paste as new layer .
21.
Image ---Resize ---90%---Resize all layers not checked
(Reduce as you see fit.)
22.
Effects---3D-Effects---Drop Shadow ---0---0--40---80. Color black.
Add your watermark on a new layer
Save as JPG
Enjoy the lesson.
Greetings Mieke
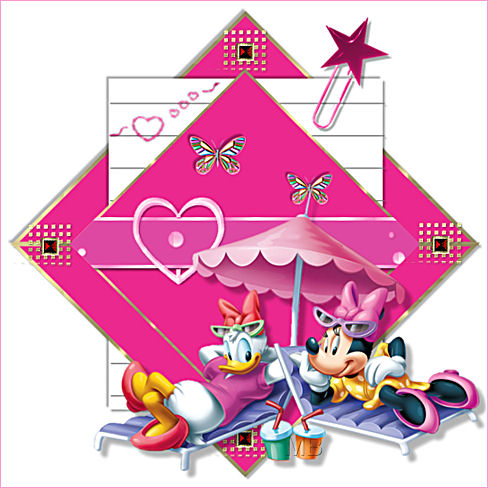
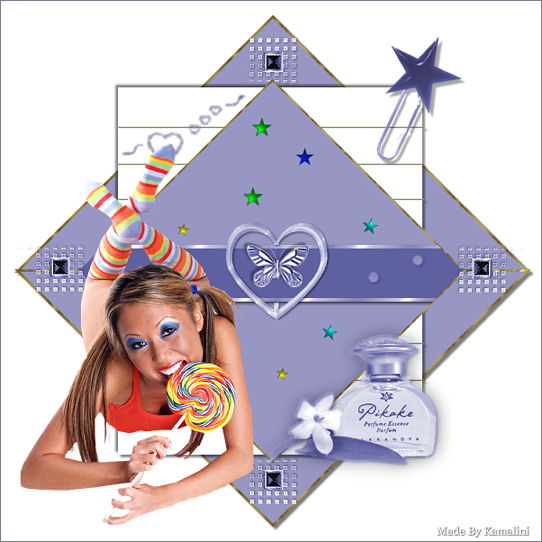
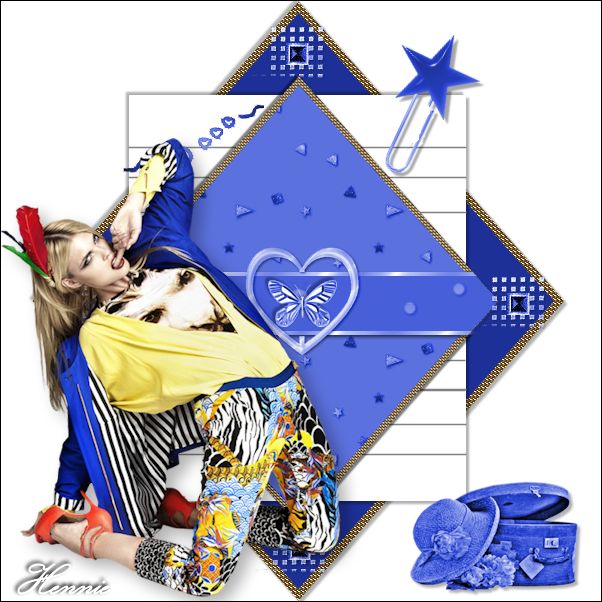
Examples created by Kamalini and Hennie.
|