Lesson 29
Translation made by MARION


Supplies
MaterialZIP
Plugins
Penta com
Flaming Pear---Flexify 2
Toadies---What Are You
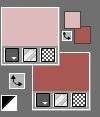
Color Palette
Set your foreground color to color #debabc---Set your Background color to color #a85853
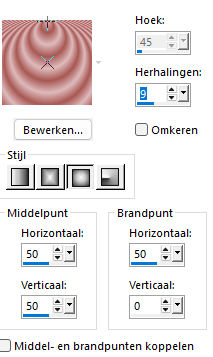
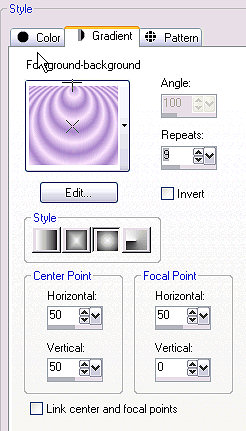
F/B ---Gradient--Style Sunburst ---Repeats ---9---50---50---50---0.
 You are welcome to take this arrow with you
1.
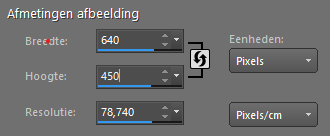
File--New
Open a new transparent image in this size : 640 x450 pixels.
2.
Activate Flood Fill Tool ---Flood fill the layer with the sunburst gradient
3.
Effects---Plugins
Filter. I.C.Net Software> Filter inUnlimited 2.0
Filter Penta com---Drag default (142)
4.
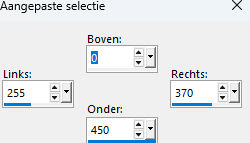
Activate Selection Tool-Custom Selection(S)-Rectangle with these settings:
Bottom---0---Left255---Right 370---Bottom 450
Selections---Promote Selection to Layer
Selections---Select none
5.
Effects---Plugins---<I C Net Software> Filters inUnlimited 2.0>---Toadies---What Are You---20---20.---Apply
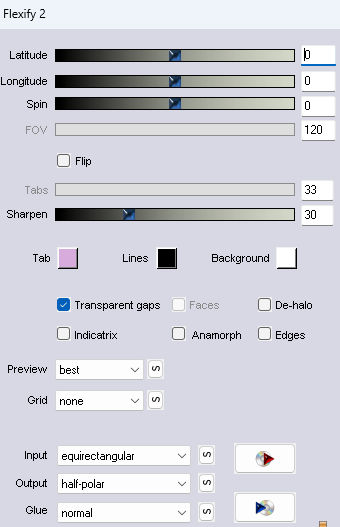
Effects---Plugins---Flaming Pear---Flexify 2---Equirectangular---half-polar
Adjust---Sharpness---Sharpen
6.
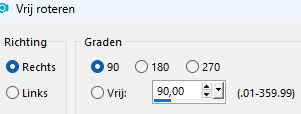
Image ---Free Rotate--Direction Right ---Degrees 90%
7.
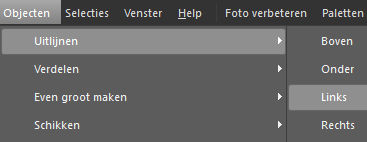
Objects---Align---Left
8.
Layers---Duplicate
9.
Image -Mirror -Mirror Horizontal (Image - Mirror in older versions of PSP)
10.
Layers---Merge---Merge---Down
Layers---Duplicate
Repeat --Effects ---Plugins--- Flaming Pear---Flexify 2---Equirectangular---half-polar
Layers---Duplicate
11.
Image - Mirror - Mirror vertical ( Image - Flip in older versions of PSP)
Layers---Merge---Merge---Down
Repeat---Layers---Merge---Merge---Down
12.
Effects---Edge Effects---Enhance
13.
Image---Add borders---2 Pixels ---Dark color
Selections---Select All
Edit--- Copy
Image---Add borders---50 Pixels ---Light color
Selections---Invert
Edit ---Paste into Selection
Adjust---Blur---Gaussian Blur---Radius 30
14.
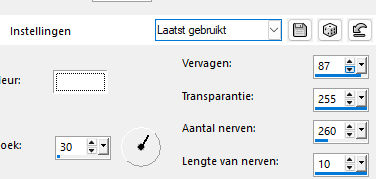
Effects ---Texture Effects---Fine leather---Color white--Angle 30---87---255---260---10
Selections---Invert
15.
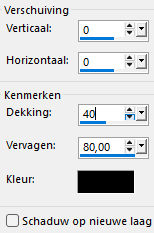
Effects---3D-Effects
Drop Shadow 0--0---40---80 Color black.
Selections---Select none
16.
Open the ---Tube---AI-08596.pspimage
Edit---Copy---Activate your work --- Edit ---Paste into Selection
Find a good place for your tube.
17.
Image--Add borders---2 Pixels ---Dark color.
Add your watermark on new layer
Save as JPG.
Enjoy the lesson!
Greetings Mieke
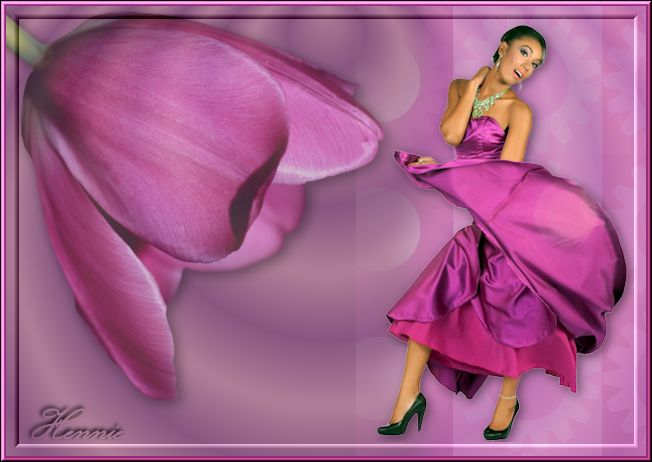
Example created by Hennie

|