Lesson 52
Translation made by MARION

Supplies.
Material

Plugins
Filter---AAA Frames---Foto Frame
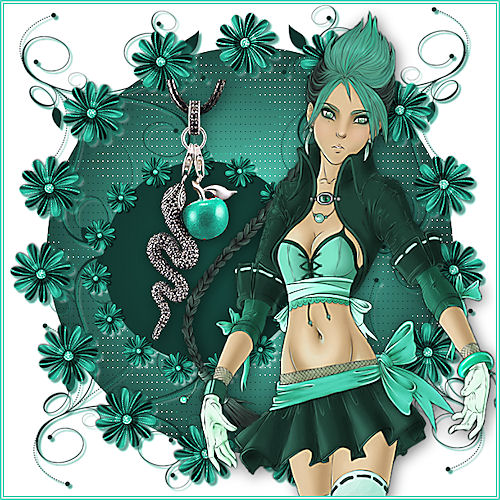
Tubes---2025 04 23 Cat Dana N2.png.
This lesson was created in PSP 18, but it can also be made in other versions.
The colors can vary greatly depending on the PSP you are using. . .
Color Palette
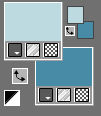
Set your foreground colotr to color #bddae0 ---Set your background color to color #488ba7
Gradient----Style Linear 45/1 ---Invert checked
1.
File - Open a new transparent image of this size: 600 x 600---Pixels.
2.
Activate Flood Fill Tool --- Flood fill the layer with the light color
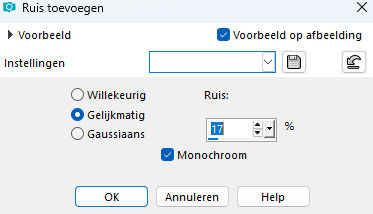
Adjust / Add/Remove Noise /Add Noise-Uniform -Noise 17-Monochrome checked
3.
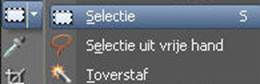
Activate Selection Tool --- Selection Type Circle
View---Rulers
Place your mouse in the middle of your work.
( 300 x 300 )
Draw a circle covering almost the entire work.
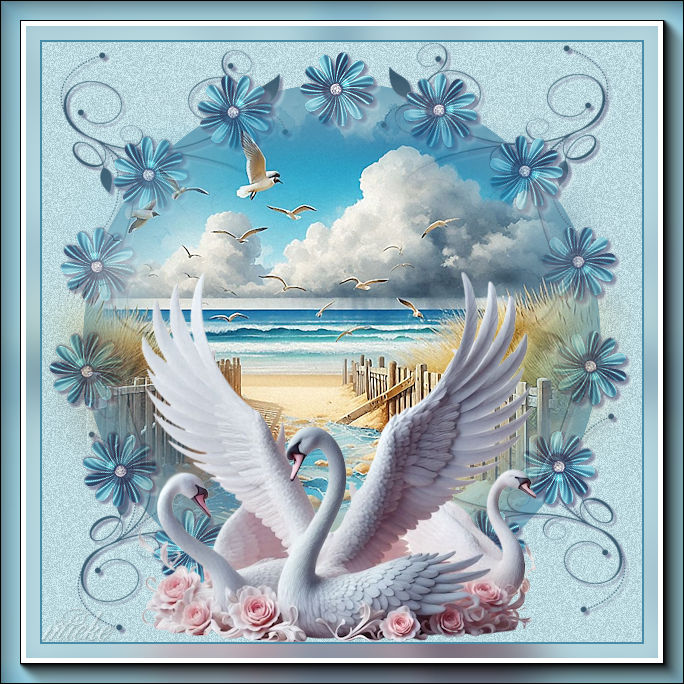
(See finished image )
4.
Layers --- New raster layer
Flood fill the selection with the gradient
Selections---Select none
5.
Objects--Align--Center on canvas
6.
Open the Tube---Sierrand1---Edit ---Copy
Activate your work --- Edit ---Paste as new layer
Do not move, it is in the right place
7.
Open the Tube--- Misted ---2025 04 23 Cat Dana N2.png.
Remove the watermark
8.
Edit ---Copy---Activate your work --- Edit ---Paste as new layer
9.
Image - Resize 70% - Resize all layers not checked
10.
Layers---Arrange---Move Down
11.
Open the Tube--- Beautiful_Swans8Z_Silvie_18.12.2024.png
Objects---Align---Bottom
10.
Image---Add borders---2 pixels---Dark color.r
Selections---Select All
11.
Edit ---Copy
12.
Image---Add borders--- 40 pixels---Dark color
Selections---Invert
Edit---Paste into Seelction
13.
Adjust---Blur---Gaussian Blur---Radius 20
Selections---Invert
14.
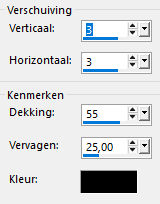
Effects---3D- Effects---Drop Shadow 3--3---55---25---Color black
Selections---Select none
15.
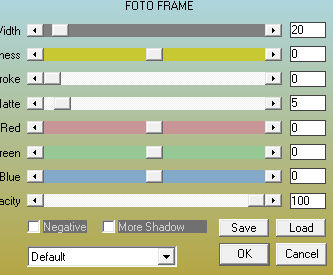
Effects---Plugins---AAAF--- Foto Frame use the settings below
Layers---New raster layer---Add your watermark
Have fun with the lesson.
Mieke Boekhout.
Examples created by Kamalini and Hennie

|