Lesson 49
Translation made by MARION

Supplies.
Material

Plugins
Filter Simple--4 Way Average
Color Palette
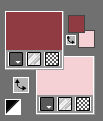
Set your Foreground color to color---#903b42---Set your Background color to color #f5d1d5
1.
Open your background
Shift+D and close the original.
2.
Effects---Plugins---L en K landssiteofwonders---Paris using the default settings
Repeat one more time.
3
Open the tube Decoratie-1.png---
Edit---Copy --- Activate your work --- Edit ---Paste as new layer
4.
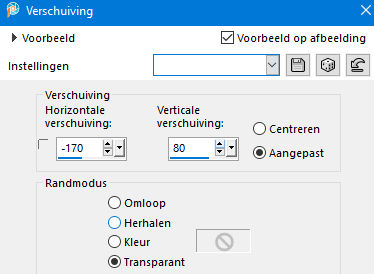
Effects---Image Effects---Offset---min 170---80---Custom and Transparent checked
5
Layers---Duplicate
Image - Mirror - Mirror Horizontal (Image - Mirror in older versions of PSP)
6.
Layers---Merge ---Merge Down
Effects---3D-Effects
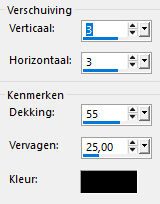
Drop Shadow ---3---3---55---25. Color black
7.
Open the tube--- Gerry-Bloemen15-29 juli 2007.png.
Edit---Copy --- Activate your work --- Edit ---Paste as new layer
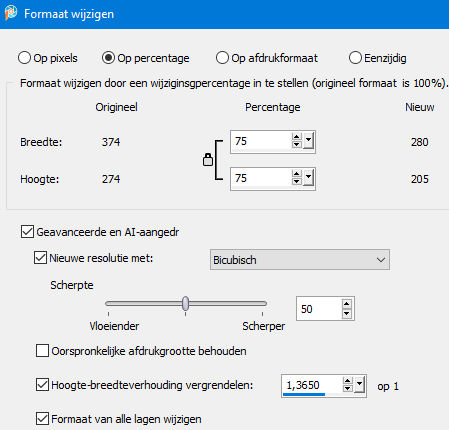
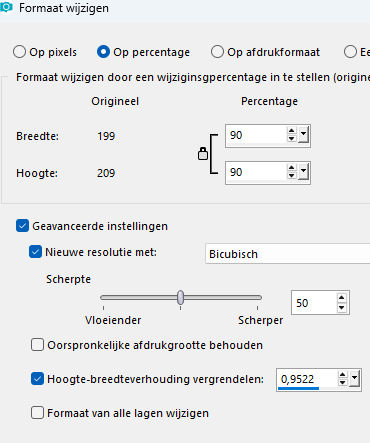
Image ---Resize---75%---Resize all layers not checked
 -
-
Repeat Resize with 90%.
8.
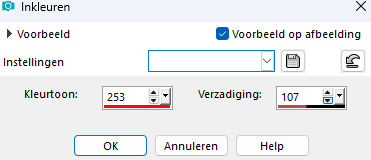
Adjust--Hue and Saturation---Colorize---253---107.
9.
Effects---Edge Effects---Enhance More
Move the tube into your top right corner,
Effects---3D-Effects Drop Shadow ---3---3---55---25. Color black
.
10.
Open the tube---Mtm--bomen 25--28 okt 2007.
Edit---Copy --- Activate your work --- Edit ---Paste as new layer
Image ---Resize---90%---Resize all layers not checked
11.
Effects--Edge Effects---Enhance
Place it in the bottom left corner.
(See finished image)
12.
Layers-Properties-Change the blend mode of this layer to Luminance (legacy)
13.
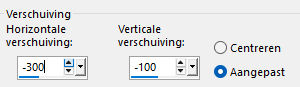
Effects---Image Effects ---Offset ---min 300---min 100
14.
Effects---Edge Effects---Enhance
15.
Effects---3D-Effects Drop Shadow ---3---3---55---25. Color black
16.
Open the tube--- Remove-bg.ai_17335.png
Edit---Copy --- Activate your work --- Edit ---Paste as new layer
17.
Image ---Resize---90%---Resize all layers not checked
Put the tube in a nice place
Repeat Drop Shadow
18.
Open the Tube-- decoratietak-1.png
Edit---Copy --- Activate your work --- Edit ---Paste as new layer
Move the tube in de top left corner
Is all in place?
19.
Image--Add borders-- 1 pixel---Dark color
Image--Add borders--50 pixels---Light color.
Image--Add borders-- 1 pixel---Dark color.
Activate your Magic Wand - Tolerance at 0 and Feather at 0
Select the 50 pixel border.
20.
Open your texture---Edit--- Copy---Edit---Paste into Selection
21.
Filter Simple-4 Way Average
22.
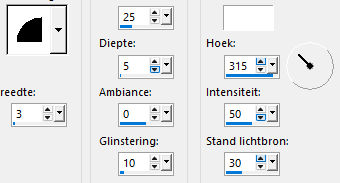
Effects--- 3D -Effects---Inner Bevel ( number2)
--3-25-5-0-10-white-315-50-31.
Selections—Invert
Effects---3D-Effects Drop Shadow ---3---3---55---25. Color black
Selections---Select none
Layers---New raster layer---Add your watermark
Save as JPG
Have fun with the lesson
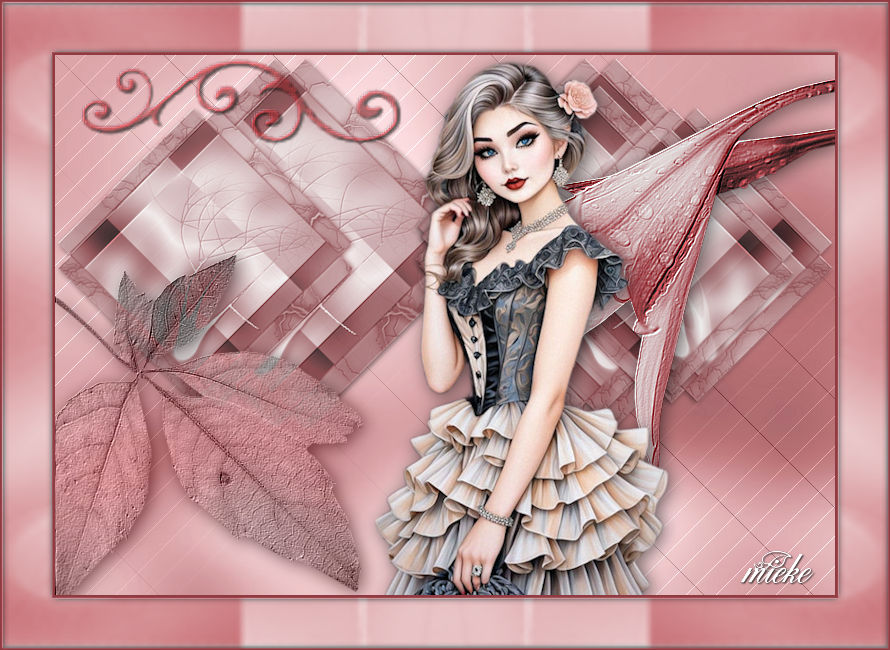
Greetings Mieke Boekhout.
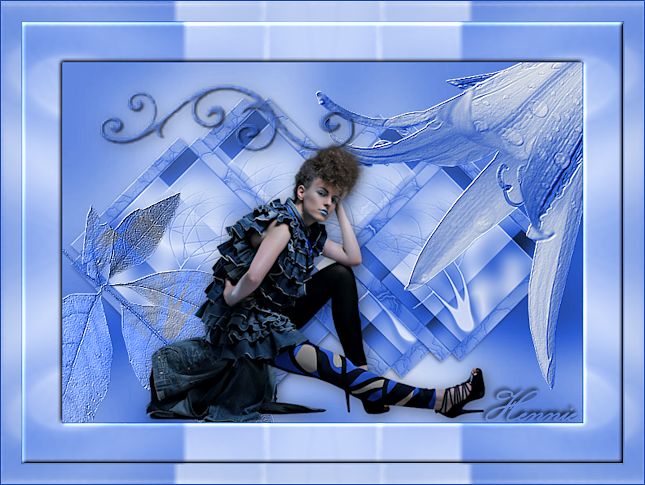
Example of Kamalini and Hennie