Lesson 43
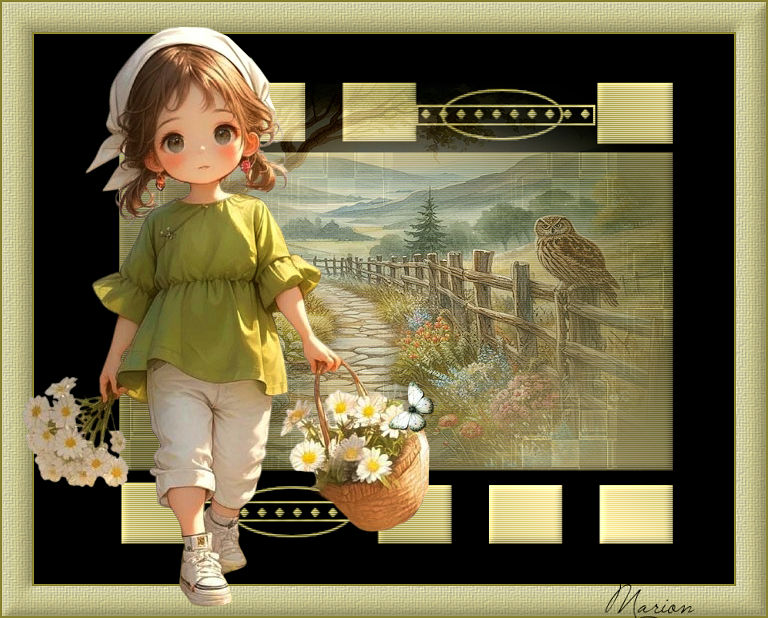
Translation made by MARION

Supplies
Material

Tube---Emma Bergsma---Mulder
Put the Texture ---textuur1.jpg---in the textures folder.
Color Palette
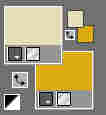
Set your foreground color to color #e6dbba---Set your background color to color #e6dbba
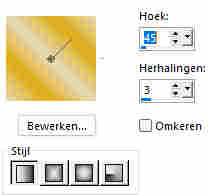
F/B Gradient---Style Linear----45/3
1.
File---Open a new transparent image in this size :
Width---700--- 550 ---Height ---Pixels
Flood fill the layer with color black (#000000)
2.
Layers---New raster layer
Flood fill the layer with the gradient
3.
Open the Mask ---masker---frameMB23
Click on the minus sign at the top right
Layers---New mask layer---From image---Choose--- frameMB23.PspMask
5.
Layers—Merge--- Merge Group
6.
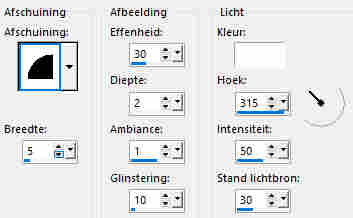
Effects---3D Effects--Inner bevel with preset number ---2---.
5---30---2---1---10---white---315---50---30.
7.
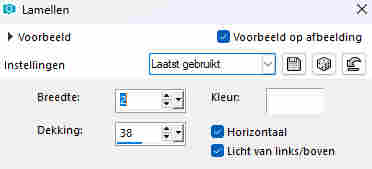
Effects---Texture Effects---Blinds---2---38---Color white---Horizontal---Light from Left/top checked.
8.
Open the tube Bloem6MB
Edit---Copy
Edit---Copy --- Activate your work --- Edit ---Paste as new layer
9.
Slide the flower into the frame so that it fits.
10.
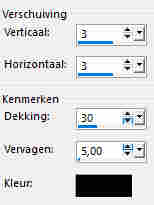
Effects---3D- Effects---Drop Shadow 3--3---30---5---Color black
Adjust---Sharpness---Sharpen
14.
Close your background layer

15.
Activate the layer above
16.
Layers---Merge---Merge Visible
17.
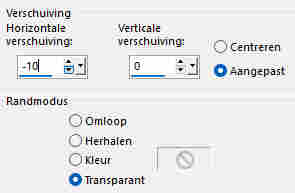
Effects---Image Effects---Offset---min10---0---
Custom---Transparent---Checked
18.
Open your background layer
19.
2 pixels--- Background color
Selections---Select All
21.
Image ---Add border --- 30 pixels--- Color at your own choice
Selections---Invert
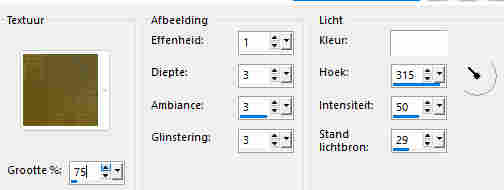
22.
Effects--Texture Effects---Texture---Select Texture1.jpg
75---1---3---3---3---White---315---50---29.
23.
Effects---3D- Effects--Inner bevel with preset number ---2---.
5---30---2---1---10---white---315---50---30.
24.
Image ---Add border--- 2 pixels-- Background color or black....
25.
Selections---Select none
Open the tube--- AI---7859.pngpsp
Edit---Copy
Edit---Copy --- Activate your work --- Edit ---Paste as new layer
Move the tube in a nice place
Effects---3D- Effects---Drop Shadow 3--3---60---40---Color black
Layers---New raster layer---Add your watermark
Save as JPG
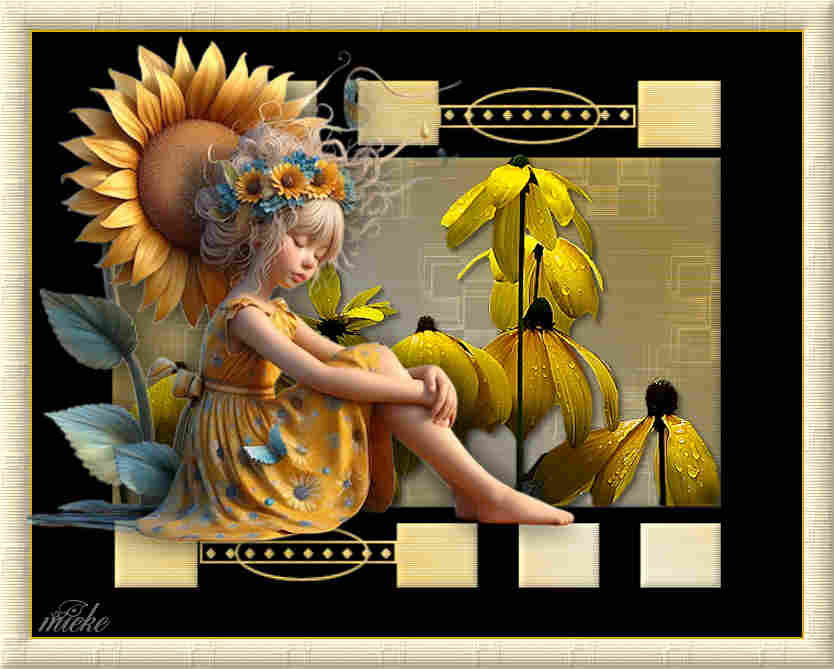
Have fun with the lesson.
Greetings Mieke Boekhout.
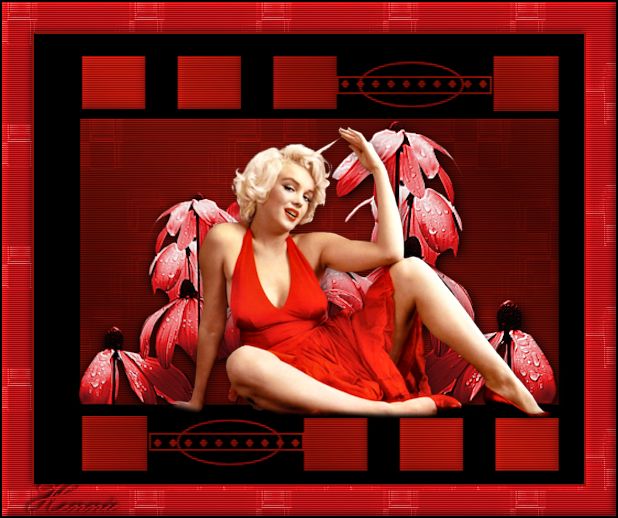
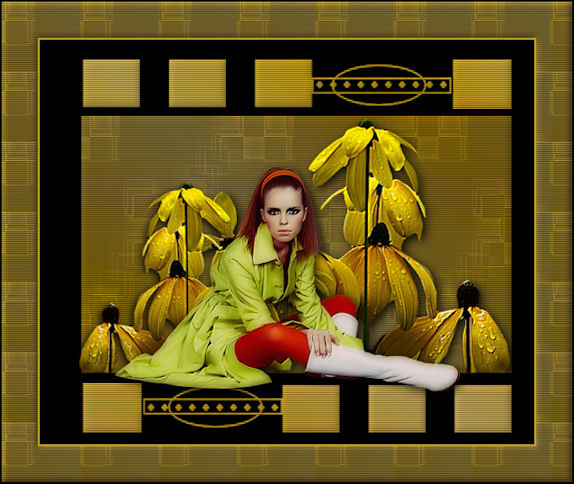
Example created by Kamalini and Hennie

|