Lesson-296
Translation made by MARION
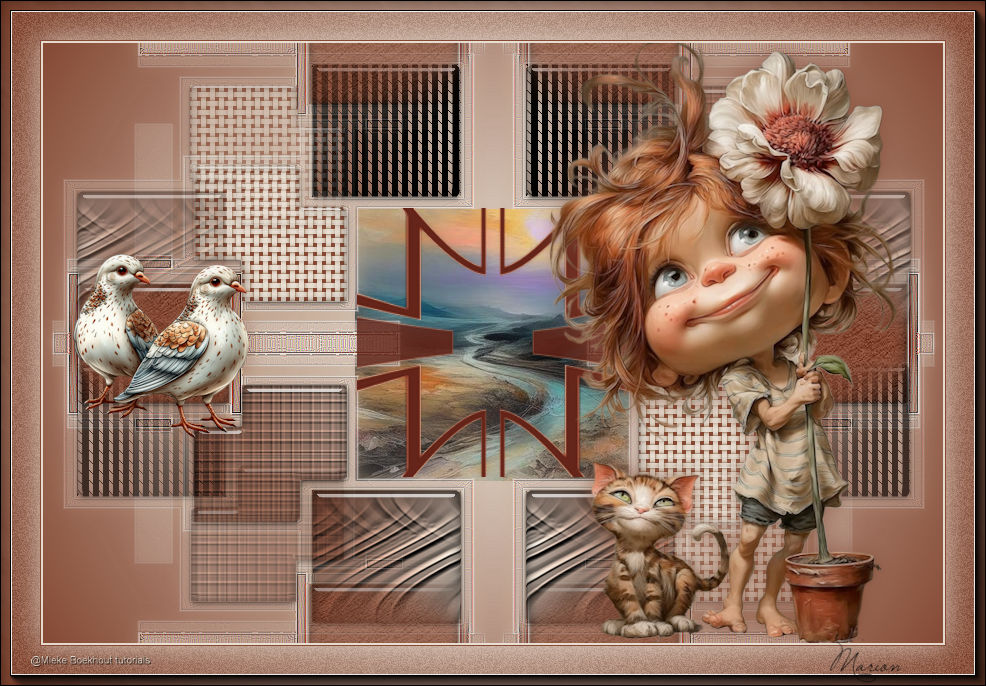
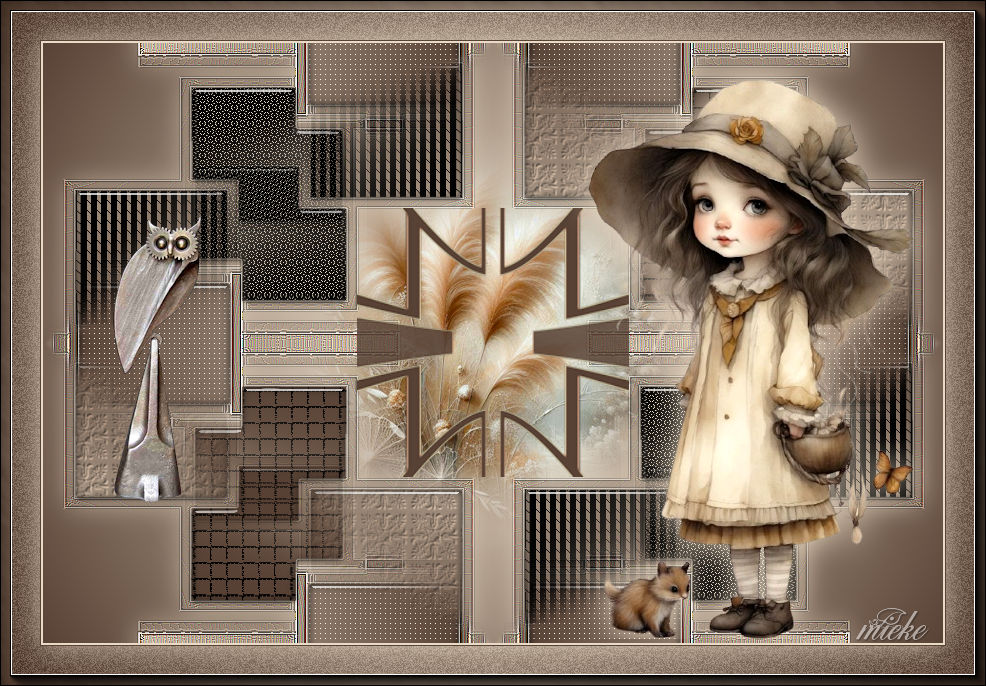
Material

Colors: Foreground color #eadbc6---Background color #584235
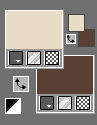
Prepare a sunburst gradient configured like this
0----4 x 50
1.
File-Open a new transparent image in this size:
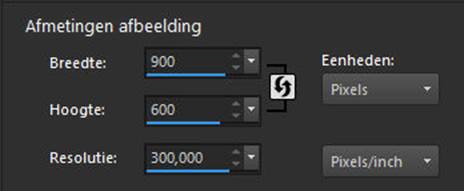
Flood Fill Tool --- Fill the layer with the Gradient
2.
Layers---New Raster Layer
Fill the layer with the gradient
3.
Open Mask---- @cathy2o18it4yl.jpg
Click the minus sign in the upper right corner
Layers---New Mask Layer---From Image---select----@cathy2o18it4yl.jpg
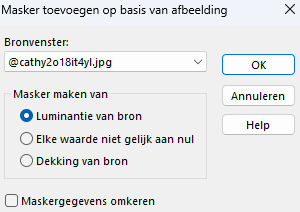
Layers---Merge---Merge Group.
4.
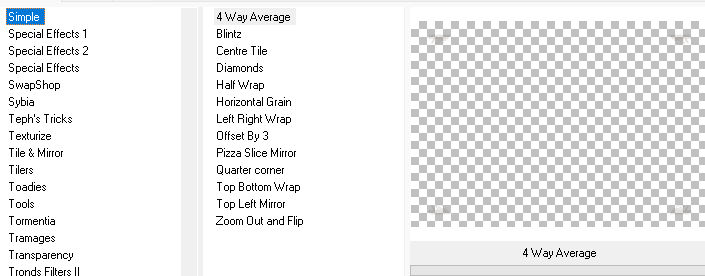
Effects---Plug-ins---<I C Net Software> Filters Unlimited 2.0>---Simple---4 Way Average---Apply
5.
Effects---Edge Effects---Enhance.
6.
Edit---Repeat---Enhance---Edges--- More.
7.
Select the Magic Wand tool---Mode Add (Shift) Match mode
--- RGB Value---Tolerance 10

click on one of the boxes----several times---so that the entire box is selected
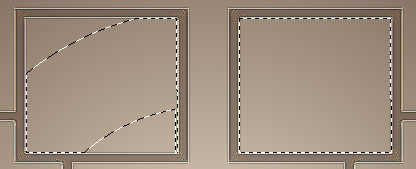
Repeat this for another box---(Your choice.)
You now have two boxes fully selected
8.
Fill those selections with your gradient---(or color)
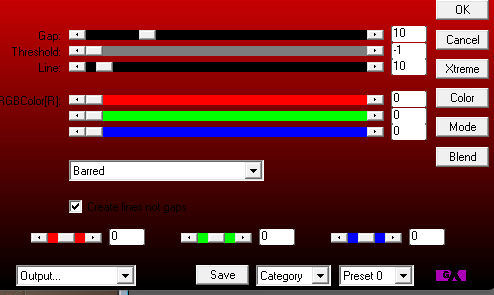
Choose a filter, e.g., Filter---AP 01 (Innovations)-Lines-SilverLining ---
Barred use the settings below
Effects---Plugins---Alien Skin Eye Candy 5: Impact---Glass---Clear
Selections---Select None
9.
STAY on this layer---(your mask layer)
Pick up your magic wand again---and repeat starting from
(step 7—click on one of the squares—several times—so that the entire square is selected.)
EXPLANATION
For every two selected boxes, choose a different pattern
for example, by using a filter—choosing from Effects—texture effects—etc., etc.
10.
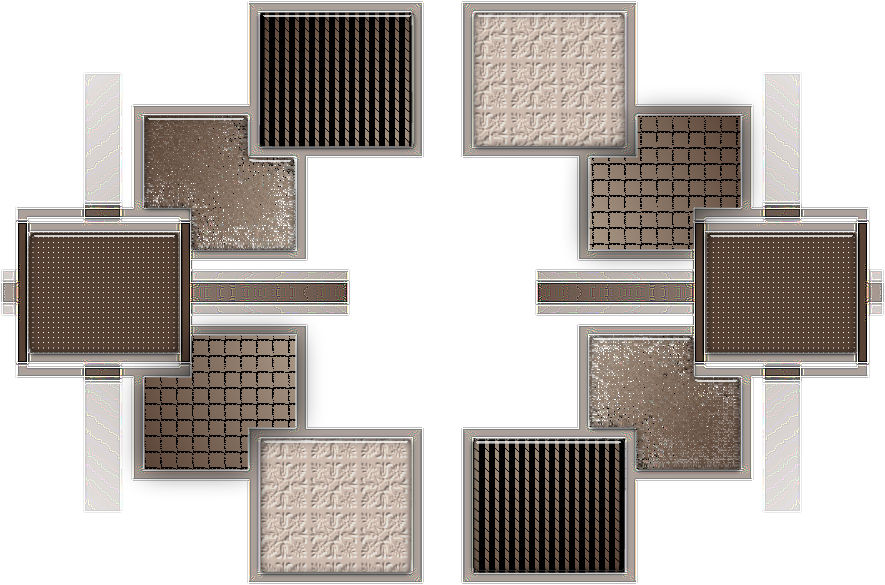
We've filled in all the boxes—it's a single layer—
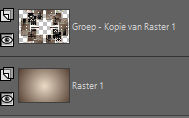
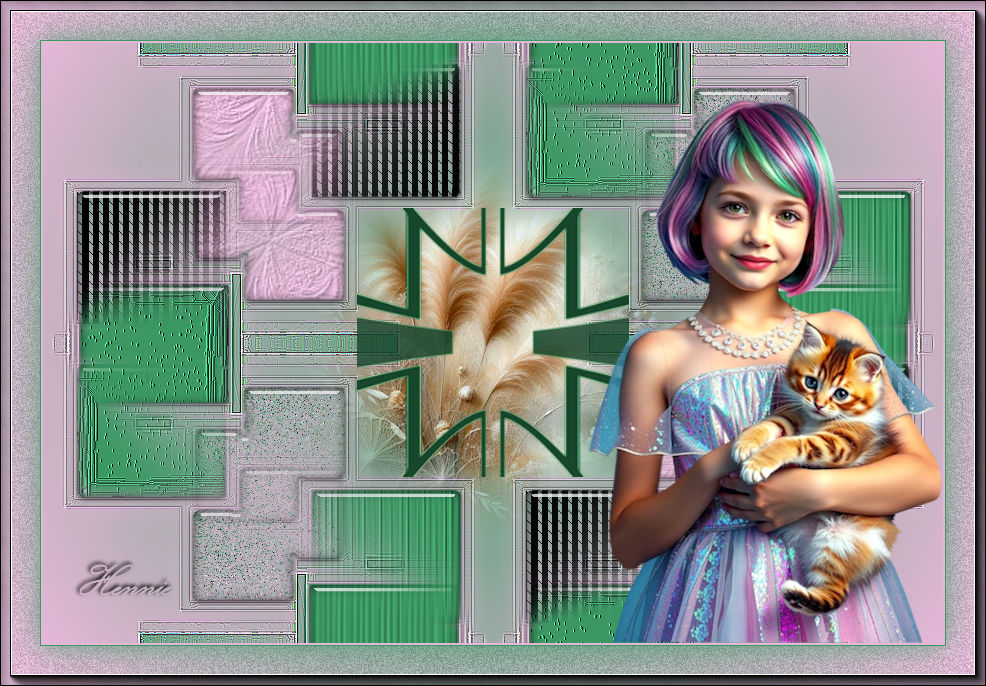
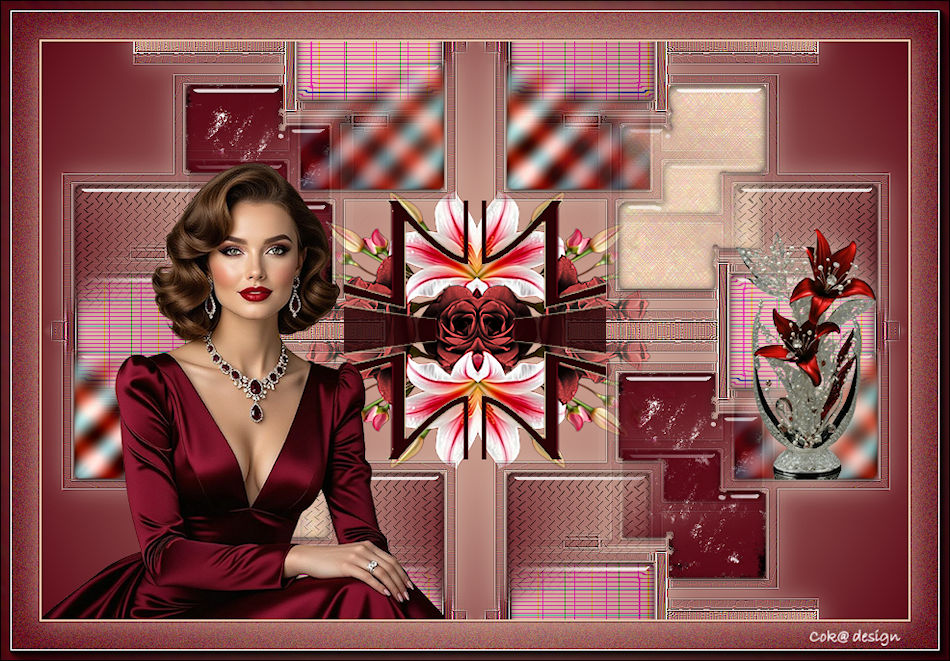
Group Raster 2 as shown in the example below 2.
11.
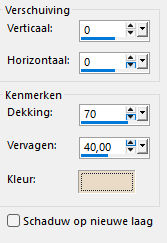
Effects---3D Effects---Drop Shadow---0-0-70-40---light color
12.
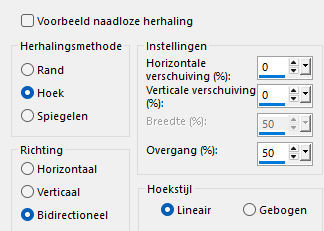
Effects---Image Effects---Seamless Tiling---using the default settings.
13.
Open--- 2025 12 14 HiverCat Dana n 6.pspimage
Remove the watermark.
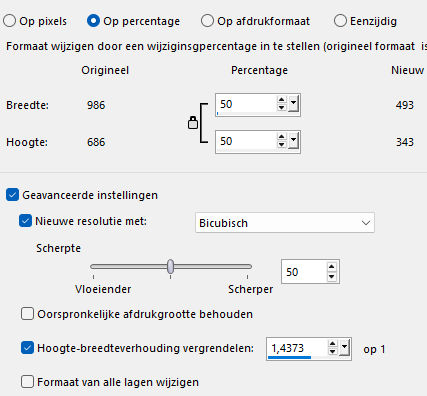
14.
Image---Resize 50%---"Resize all layers" unchecked.
15.
Edit---Copy
Edit--- Activate your work---
Edit---Paste as a new layer
Layers---Arrange---Move Down
16.
Open--- deco-296-mb.pspimage
Edit---Copy---- Activate your work---
Edit---Paste as a new layer
17.
Layers---Arrange---Bring to Top.
18.
Open---Pinterest-459.pspimage
Edit---Copy--- Activate your work---
Edit---Paste as a new layer
Move to the right side (see finished image)
19.
Open--- EMA_Tool The Owl_May2014.pspimage
Delete---Watermark.
Edit---Copy---
Activate your work---
Edit---Paste as a new layer
Move to the left (see finished image)
20.
Image---Add Borders Symmetric checked--- 2 pixels ---Light color
Image---Add Borders--- Symmetric checked--- 1 pixel ---Dark color
Selections---Select All
Image---Add Borders--- Symmetric checked---40 pixels ---Any color.
Selections---Invert
Activate Flood Fill Tool---Fill the selection with the gradient.
21.
Image---Add/Remove Noise---Add Noise---20---Uniform
Selections---Invert
22.
Effects---3D Effects---Drop Shadow---0-0-70-40---light color
23.
Selections ---Invert
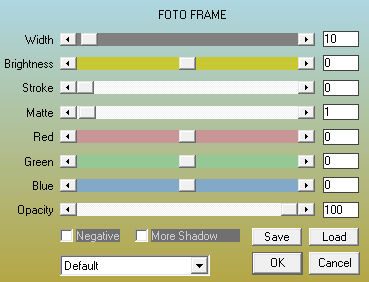
Effects---Plugins---AAA Frames---Foto Frame---10---Matte at 1---leave the rest at default settings.
Selections---Select None.
Place your watermark on a new layer.
Save as JPG.
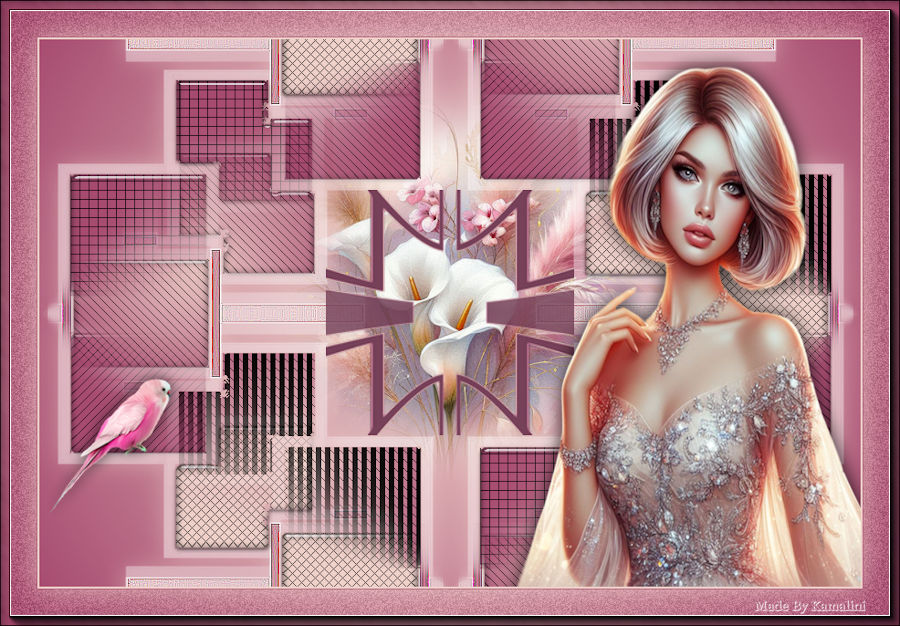
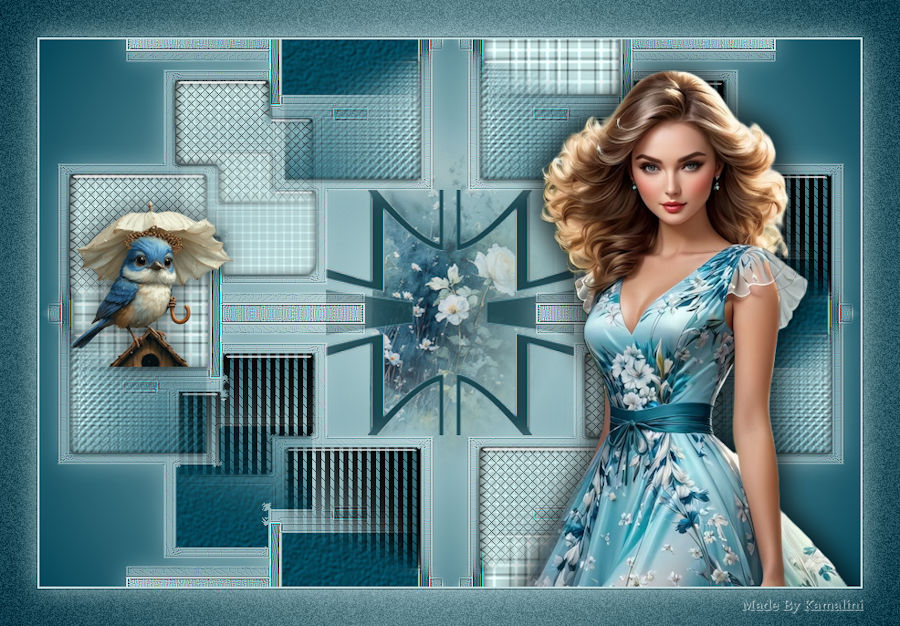
Voorbeelden en getest door
Kamalini---Hennie---Corrie---Marion(engels)
|
