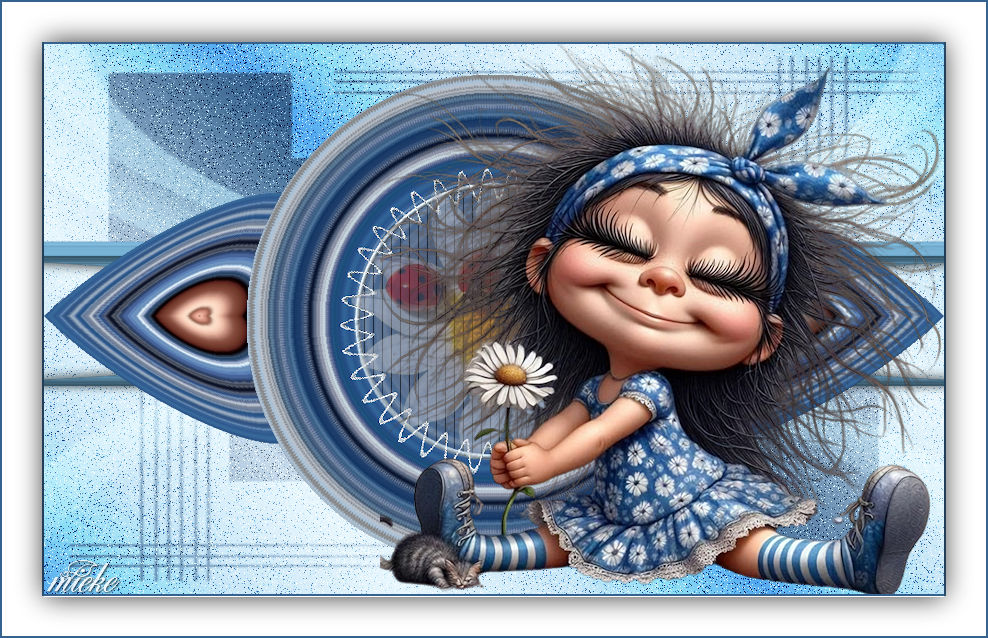
Lesson-291
Translation made by MARION

Material Properties

Plugins
Plugins---<I C Net Software> Filters Unlimited 2.0---VM Distortion---Gear
Plugins---AP 01 (Innovations)-lines-Silverlining
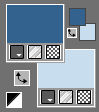
Material Properties:
Set your foreground color to color #356281---Set your background color to color #c8ddee
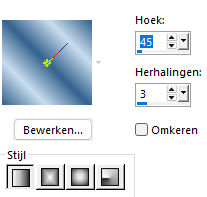
Replace your foreground color with a foreground/background linear gradient configured like this:
Angle 45--- Repeats 3.
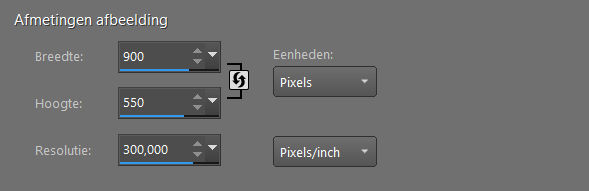
File---Open a new transparent image in this size:
Width ---900--- Height ---550.
2.
Flood Fill Tool --- Flood fill the layer with the gradient
3.
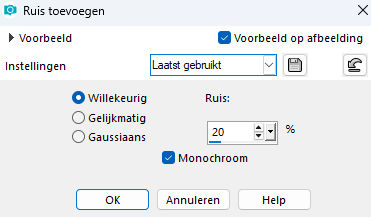
Adjust---Add/Remove Noise---Add Noise---Random---Noise 20%---Monochrome checked
4.
Layers---New raster layer
Fill the layer with your background color.
5.
Open--- annesska-mask72.jpg
Click the minus sign in the upper right corner
Layers---New mask layer---From image---choose
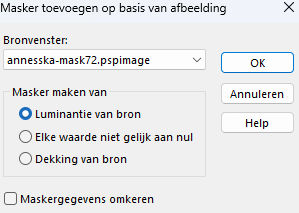
Luminantie van bron aangevinkt
Layers---Merge---Merge Group.
6.
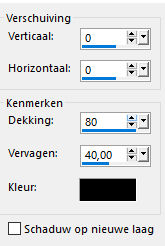
Effects---3D Effects---Drop Shadow ---0---0--50---0. Color black.
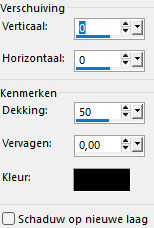
Repeat the drop shadow once more.
7.
Layers---New raster layer.
Fill the layer with the gradient
Selections---Select All.
8.
Open Tube--- Renee-TUBES-Aout-2024-86.pspimage
Edit---Copy
Edit – Copy--- Activate your work ---Edit - Paste into selection
Selections---Select none
Effects--- Image Effects--- Seamless Tiling use the default settings.
9.
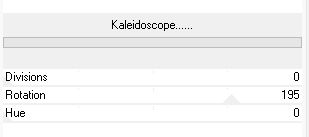
Effects---Plugins---<I C Net Software> Filters in Unlimited 2.0---VM.Distortion---Kaleidoscope---0---195---0.
10.
Selections---Load/Save Selection---Load Selection from Disk --- select --- rondje-1-192
11.
Selections---Invert.
Press delete on your keyboard
Selection---Select none
12.
Selections---Load/Save Selection---Load Selection from Disk--- select--- rondje-192
Selections---Promote selection to layer
Adjust---Blur---Gaussian blur ---Radius 30.
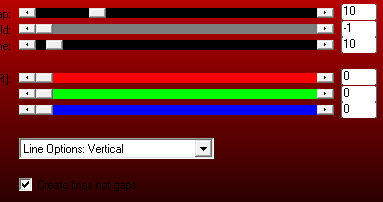
Effects---Plugins---AP 01 (Innovations)-lines-Silverlining---Line options: Vertical with these settings
13.
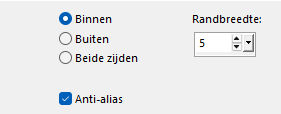
Selections---Modify---Select Selection Borders---Inside---5---Anti-alias checked.
14.
Layers---New raster layer
Flood fill the selection with the light color.
Effects---3D effects--Inner bevel with these settings
---
Effectss---3D effects---Inner bevel---Number 2---30---0---4---0---40---wit---315---40---30
ss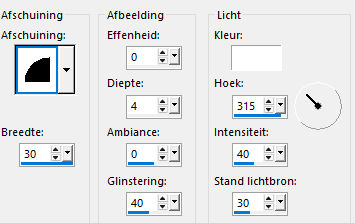
Selections---Select none
15.
Layers---Duplicate
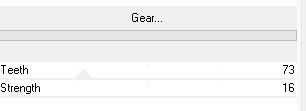
Effects---Plugins---<I C Net Software> Filters in Unlimited 2.0---VM Distortion---Gear---73---16
16.
Effects---Edge Effects---Enhance.
17.
In your layer palette, close the bottom 2 layers.
Activate the top layer in your layer palette.
18.
Layers ---Merge ---Merge visible
Image---Resize---90%.
Resize all layers not checked.
19.
Open the bottom two layers.
In the layer palette---Activate raster 2 (the mask layer)
Layers---Properties---Set the blend mode to ---Overlay
20.
Open tube deco-1
Edit---Copy
Activate your work ---Edit --- Paste as new layer
21.
Open tube deco-2
Edit---Copy
Activate your work ---Edit --- Paste as new layer
22.
Open tube deco-3a
Edit---Copy
Activate your work ---Edit --- Paste as new layer
Activate the top of the layer palette
23.
Open the image--- margriet.jpg
Edit---Copy
Activate your work ---Edit --- Paste as new layer
Layers---Properties--- Reduce the opacity of this layer to -40%
24.
Open tube --- Renee-TUBES-Aout-2024-86.pspimage
Image---Resize---60%.
Resize all layers not checked.
Edit---Copy
Activate your work ---Edit --- Paste as new layer
Adjust---Sharpness---Sharpen
Find a nice place for the tube.
25.
Drop shadow---Your choice.
Image---Add borders---2 pixels---Dark color
Selections --- Select all
Image---Add borders---40 pixels---Color white.
Image---Add borders---2 pixels---Dark color
Effects---3D Effects---Drop Shadow---0---0--80---40 color black.
Selections---Select none
Place your watermark on a new layer.
Save as JPG
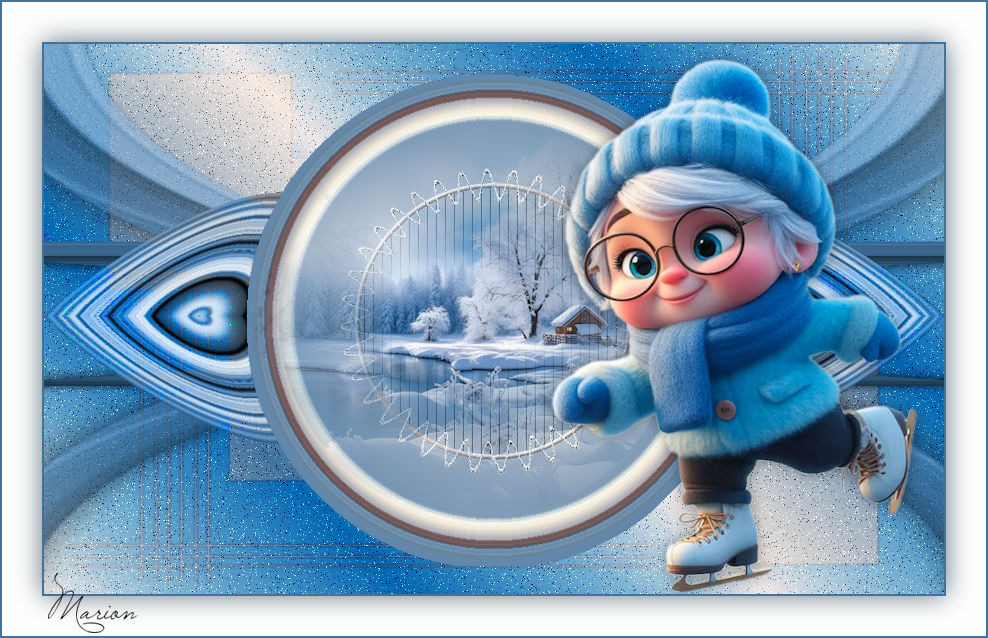
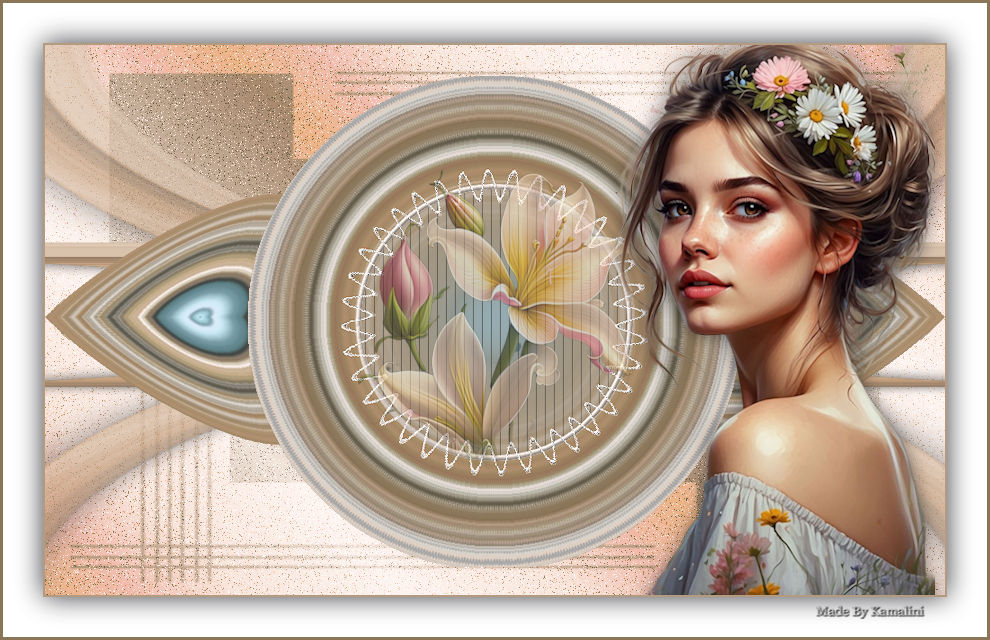
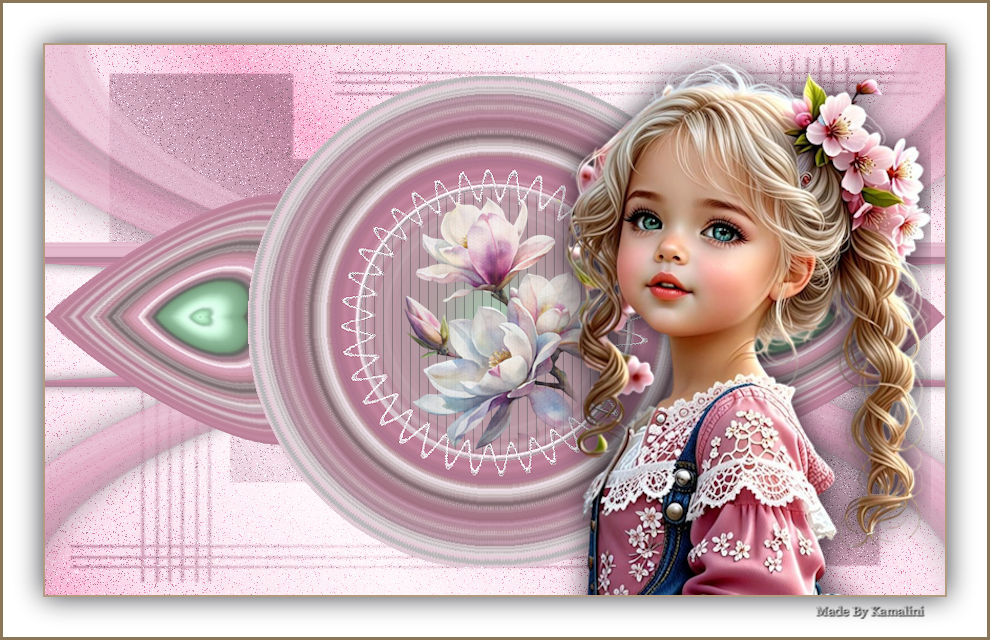
Voorbeelden gemaakt door Kamalini Hennie Corrie en Marion

|