Lesson-288

Translation made by MARION
Supplies

Plugins
Filter---Flaming Pear---Flexify 2
Filter---AP 01 (Innovations)-lines-Silverlining
Material Properties ---Set your foreground color to color # eceee7---
Set your Background color to color # d3cdc3
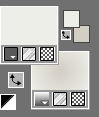
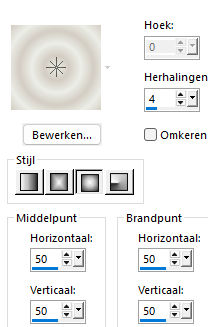
Replace your foreground color with a foreground/background sunburst gradient configured like this---x----4---4 x 50.
1.
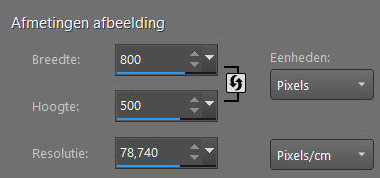
File---Open a new transparent image in this size :
Width ---800--- Height ---500.
2.
Activate Flood Fill Tool----Fill the layer with the gradient
3.
Effects---Edge Effects---Enhance More
Edit---Repeat --- Edge Effects---Enhance More
4.
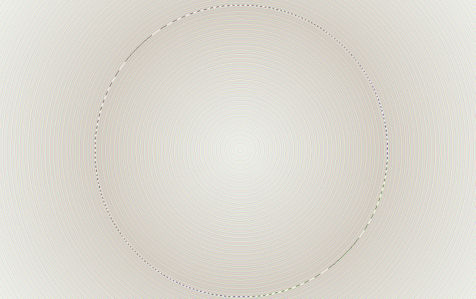
Activate Selection Tool --- Circle
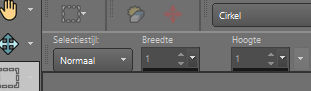
Begin by drawing a circle from the small circle in the middle of your work. Make sure you stay a little bit away from the bottom and top edges.
5.
Selections---Promote Selection to Layer
6.
Selections--Modify—Select - Selection Borders---Inside---4--- Anti-alias checked.
Activate Flood Fill Tool --- Match mode None

Fill the selection with the background color
7.
Effects --- Texture effects---Blinds ---6---65--- Color black ---v---v.

8.
Selections---Select none
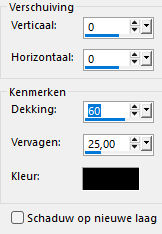
Effects---3D effects---Drop Shadow ---0---0---60---25. Color black
9.
Layers---Duplicate.
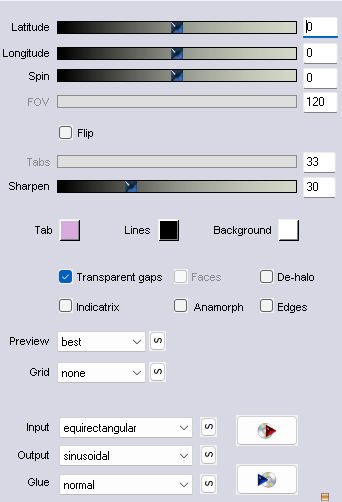
Effects---Plugins---Flaming Pear---Flexify 2---Input---equirectangular---Output---sinusoidal ---rest
default.
10.
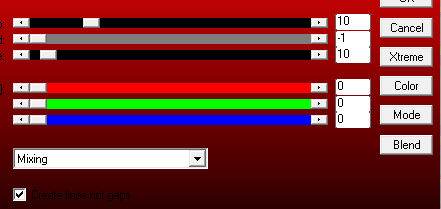
Effects---Plugins---AP 01 (Innovations)-lines-Silverlining---10---min1---10--3x0---Mixing
11.
Effects---3D effects—Drop Shadow ---0---0---60---25. Color black
12.
Open the tube ---Deco-1.pspimage
Edit --- Copy
Activate your work --- Edit --- Paste as new layer Layers --- Arrange --- Move Down
13.
Open the tube deco-2
Edit --- Copy
Activate your work --- Edit --- Paste as new layer
14.
Open deco-3
Edit --- Copy
Activate your work --- Edit - Paste as new layer
Layers---Arrange --- Bring to Top .
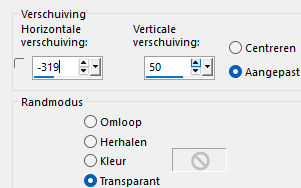
Effects---Image Effects---Offset ---Min 319---50---Custom--- Transparent checked
Layers ---Duplicate
Image ---Mirror ---Mirror Horizontal (Image - Mirror in older versions of PSP)
Layers---Merge---Merge Down
15.
Open the tube deco-4
Edit --- Copy
Activate your work --- Edit --- Paste as new layer
Layers---Properties --- Reduce the opacity of this layer to 50%.
16.
Open the tube deco-5
Edit --- Copy
Activate your work --- Edit --- Paste as new layer
Do not move
17.
Image---Add borders---2 pixels with your dark color
Selections---Select All
Edit---Copy
18.
Image---Add borders --- 50 pixels --- color #ffffff
Selections---Invert.
Layers---New Raster Layer
Edit---Paste into Selection
Layers---Properties --- Reduce the opacity of this layer to 50%.
19.
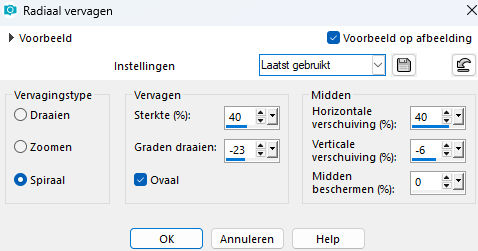
Adjust---Blur---Radial Blur use the settings below
Selections---Invert
Effects---3D-effects---Drop Shadow---0---0---60---25. Color black.
20..
Image --- Add borders --- 2 pixels with your dark color
Selections---Select none
21.
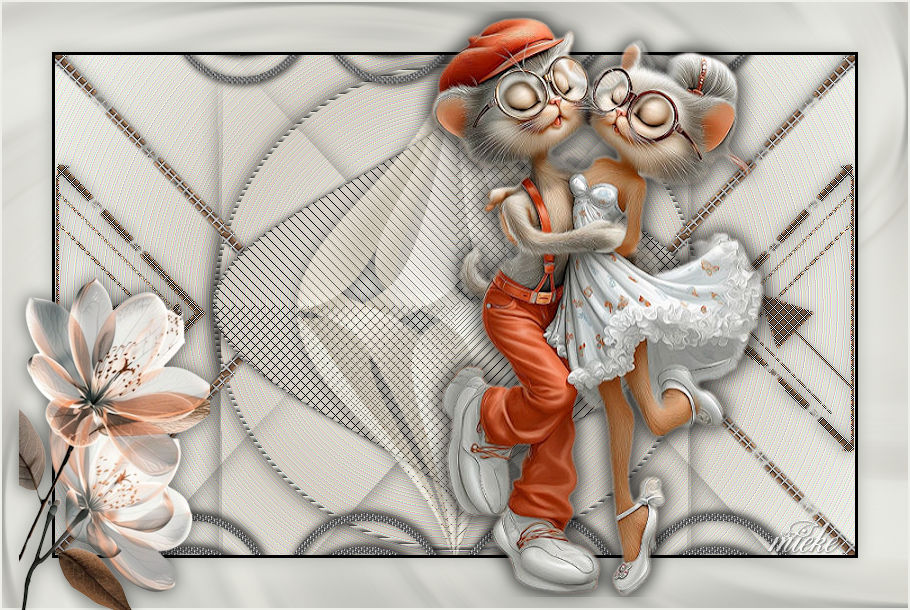
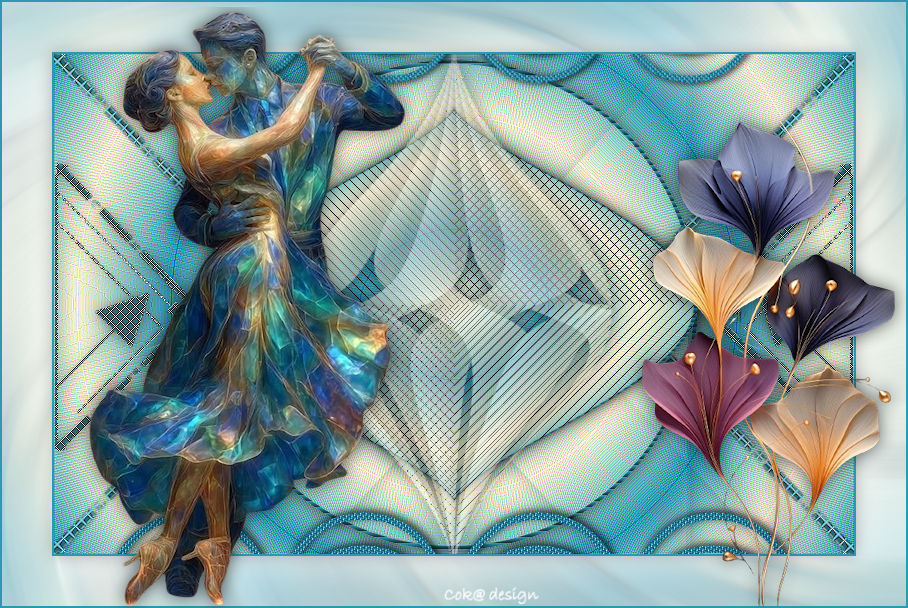
Open the tube---Renee-TUBES-Octobre-2025-17.pspimage
Edit---Copy
Activate your work ---Edit ---- Paste as new layer
Image ---Resize---90 %
Drop shadow at your discretion.
Put the tube in a nice place
22.
Open the tube---AI-bloem-9056
Edit---Copy
Activate your work ---Edit --- Paste as new layer
Drop shadow at your discretion.
Add your watermark on a new layer
Save as JPG.
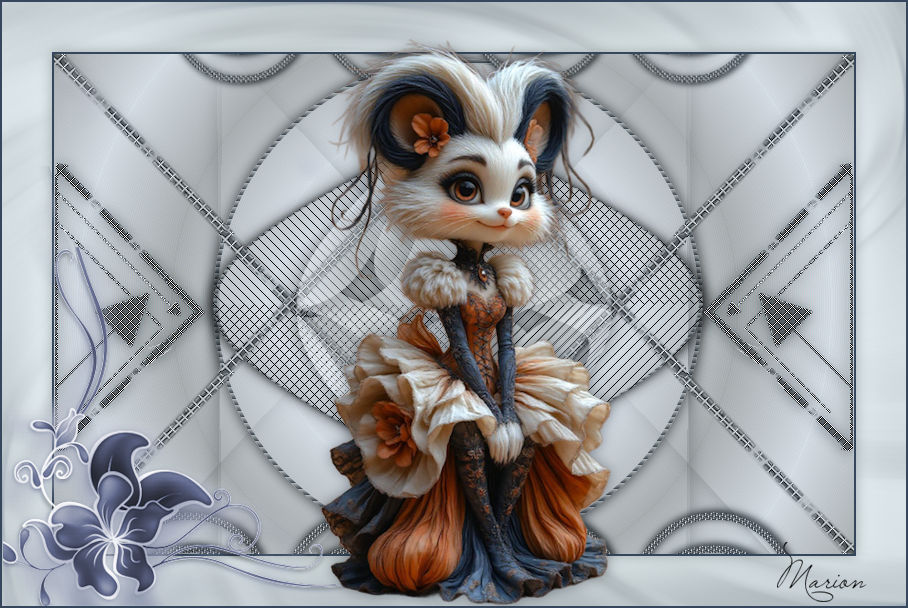
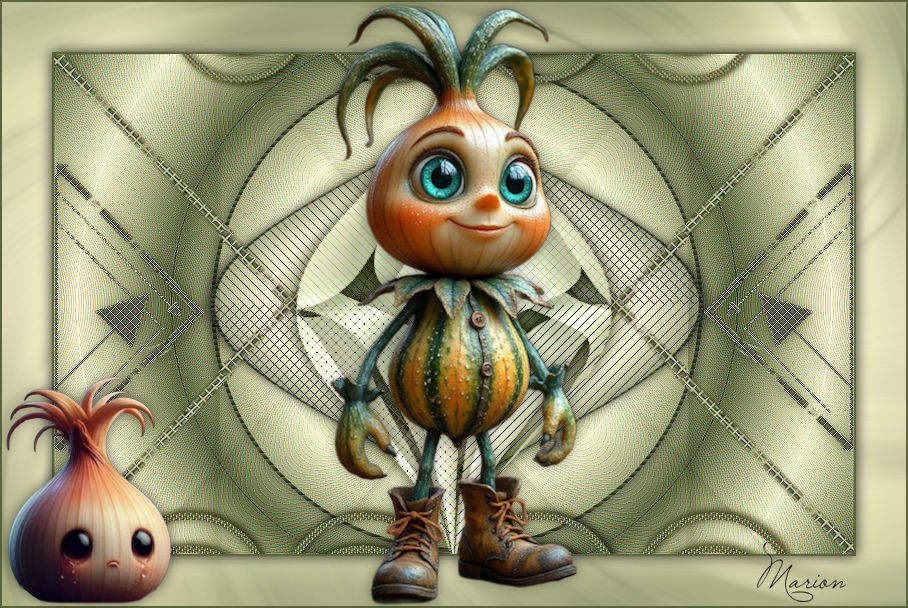
Voorbeelden gemaakt door Kamalini Hennie Corrie Marion

|