Lesson 283

Translation made by MARION
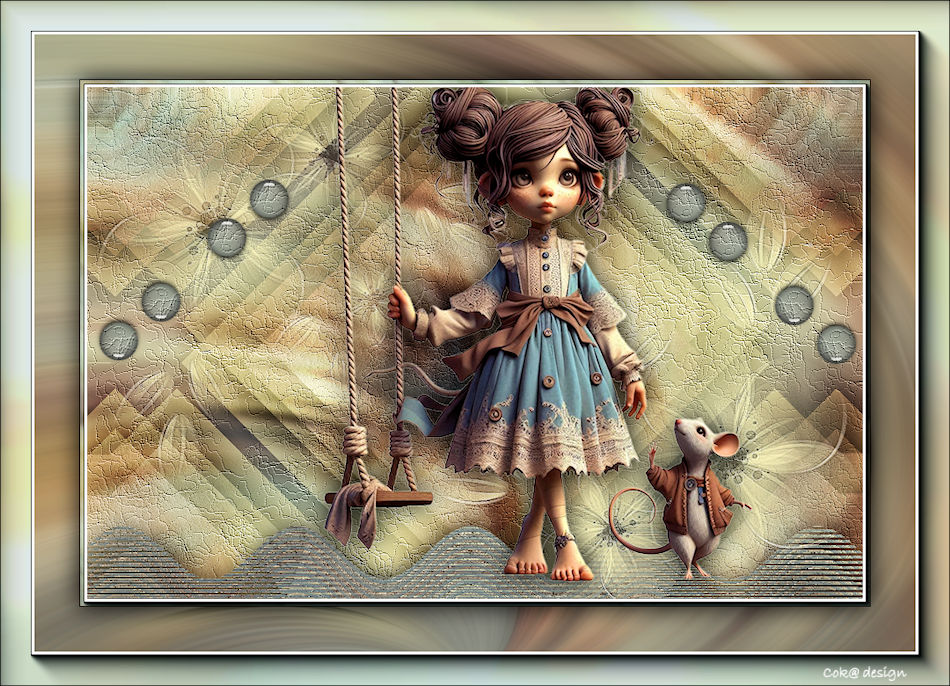
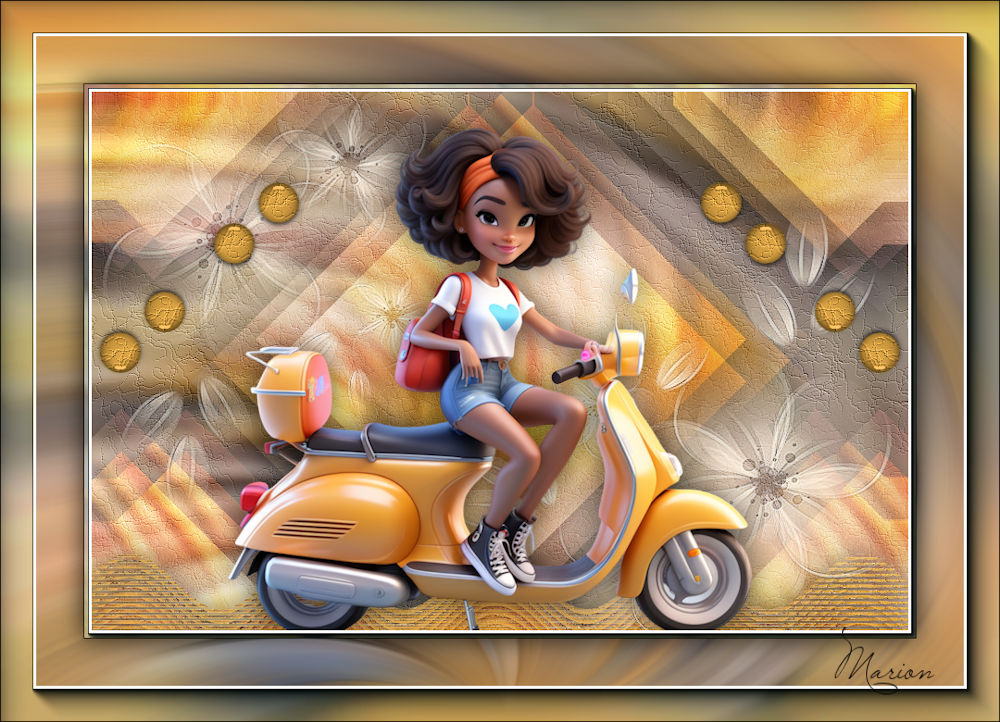
Supplies

Filters
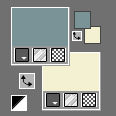
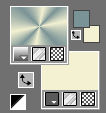
Material Properties: Set your Foreground color to color #7a9396
---Set your Background color to color #f2f0d1
Replace your foreground color with a foreground/background radial gradient configured as follows
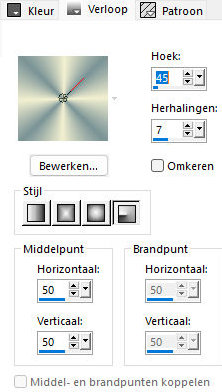
Your colors now look like this
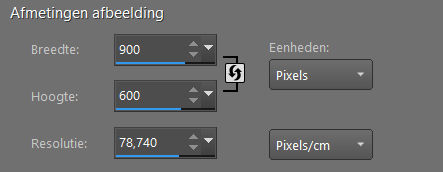
File-Open a new transparent image of this size
1.
Image dimensions. Width ---900 --- Height ---600.
Flood fill tool - flood fill the layer with the gradient
2.
Selections---Select All
3.
Open the tube--- emma-tubes-400.png
Edit- Copy
Activate your work - Edit - Paste into selection Selections---Deselect All
4.
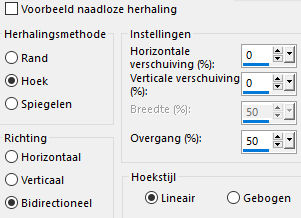
Effects- Image Effects- Seamless Tiling
Using the default settings
---Angle ---Bidirectional--- Horizontal offset 0--- Vertical offset 0---Transition---50
5.
Adjust- Blur- Radial Blur with these settings---Twirl---Strength 50---Twirl degrees--- 25----0---100---0.

6.
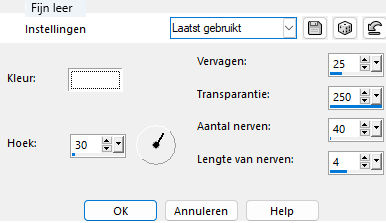
Effects---Texture Effects---Fine Leather---color white with these settings;---30---25---250---40---4,
7.
Layers---Duplicate.
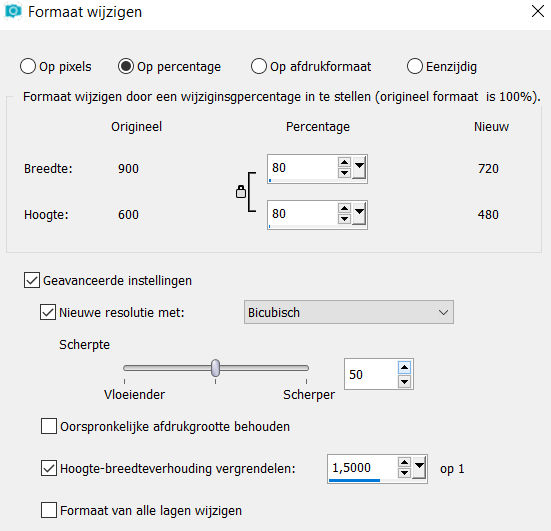
Image---Resize 80%--- Resize all layers not checked
8.
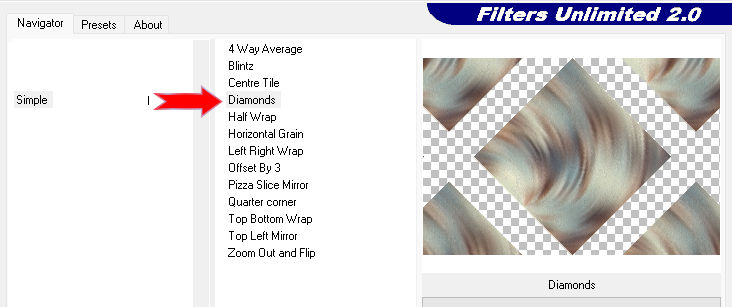
Effects---Plugins---<I C Net Software> Filters Unlimited 2.0>---Simple---Diamonds---Apply
9.
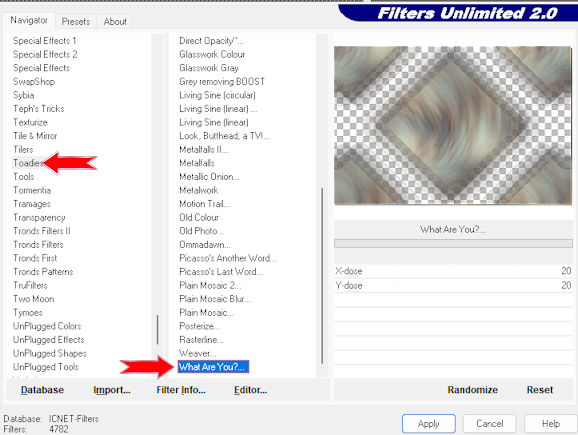
Effects---Plugins---<I C Net Software> Filters Unlimited 2.0---Toadies---What Are You—20---20.
10.
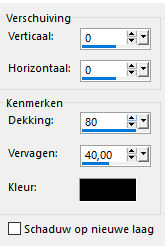
Effects---3D-Effects---Drop Shadow with these settings:---0---0--80---40. Color black.
Layers-Properties-Set the Blend Mode to " Overlay”
11.
Layers---Duplicate
Layers---Merge Down.
12.
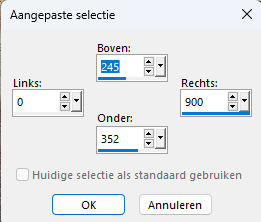
Activate Selection Tool -Custom Selection (S) -Rectangle with these settings---Top 245---Left 0---Right 900---Bottom 352
13.
Activate the bottom layer in the layers palette (Raster 1)
Selections- Promote selection to layer
Layers- Arrange- Bring to Top
Selections---Deselect All
14.
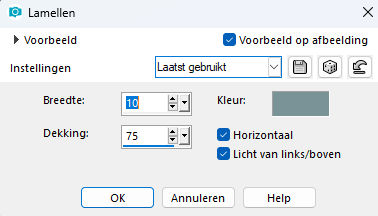
Effects---Texture Effects---Blinds---10---75---v---v---( Forderground color).
15.
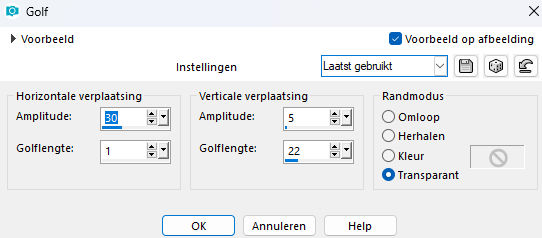
Effects---Distortion Effects---Wave---30---1---5---22---Transparent checked
16.
Pick Tool: (K) on your keyboard -Enter these parameters on the toolbar
Position ---X 0---Position Y 508.

Press ( M ) to close the Tool
17.
Effects- 3D- Effects- Drop Shadow with these settings:---0---0--80---40. Color black
18.
Layers---New Raster layer
Flood Fill Tool-Fill this layer with your light background color.
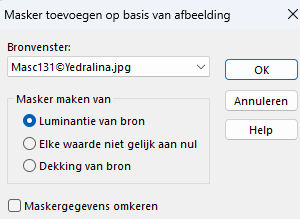
Layers---New Mask Layer---From Image---Select---Masc131CYedralina.jpg
Source luminance checked
Layers---Merge---Merge Group
Effects---Edge Effects---Enhance.
19.
Open Tube--- emma-tubes-400.png
Edit ---- Copy
Activate your work -Edit - Paste as new layer
Image---Resize---90 %
Resize all layers not checked
Move this tube slightly upward-(rope against the edge)
Effects- 3D- Effects- Drop Shadow with these settings:------0---0--80---40. Color black
20.
Open the tube –Deco png
Activate your work -Edit - Paste as new layer
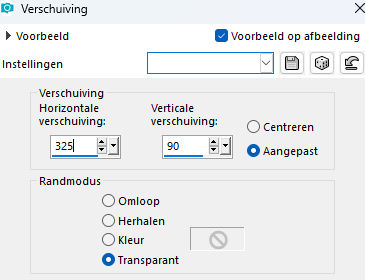
Effects—Image Effects- Offset
with these settings:
21.
Layers- Duplicate
Image - Mirror - Mirror Horizontal (Image - Mirror in older versions of PSP)
Place the tube in the right place
22.
Layers-Merge- Merge All
Selections- Select All
Edit- Copy !
23.
Image - Add Borders-Symmetric checked: 90 px white
24
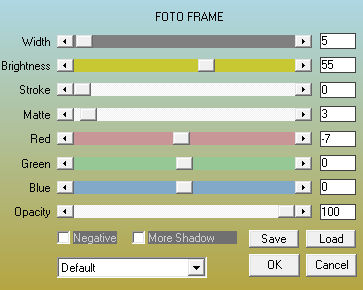
Effects—Plugins-Frames Foto Frame--0---3---min7---0---0---100
Selections- Invert
Edit-Paste into selection
Selections- Invert
Adjust- Blur- Radial Blur with these settings---Twirl---Strength 50---Twirl degrees--- 25----0---100---0.
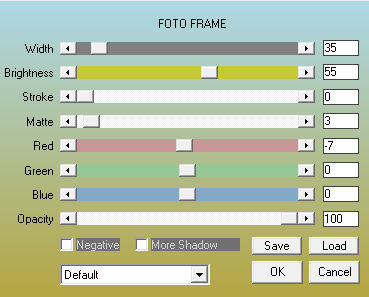
Effects—Plugins-Frames Foto Frame -change
Width to 35
Selections- Invert
Effects- 3D-Effects-Drop Shadow with these settings:
---0---0--80---40. Color black
24.
Selections- Deselect All
25.
Adjust- One Step Photo Fix
(Not mandatory)
Add you watermark on new layer.
Save as JPG
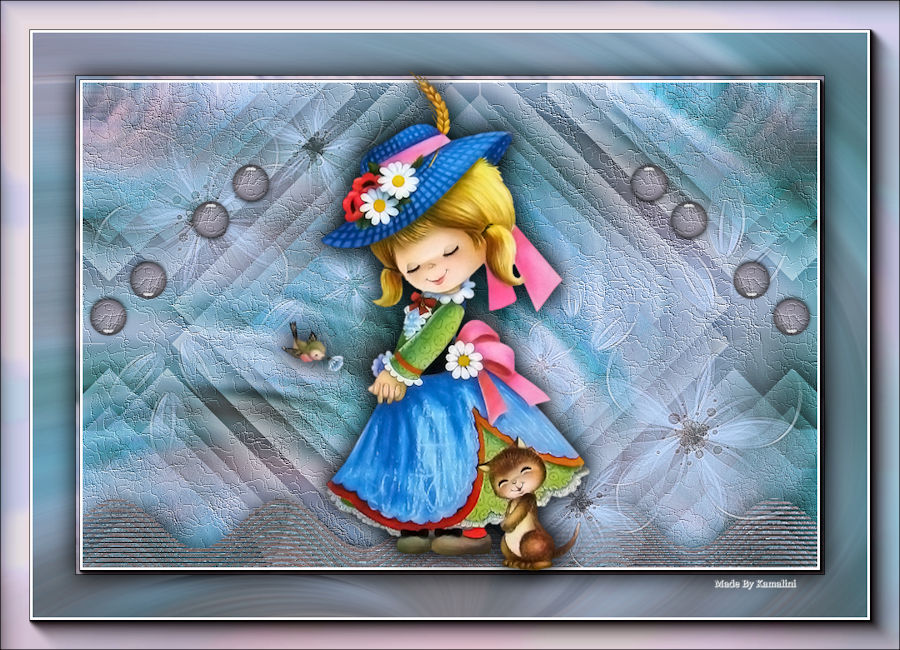
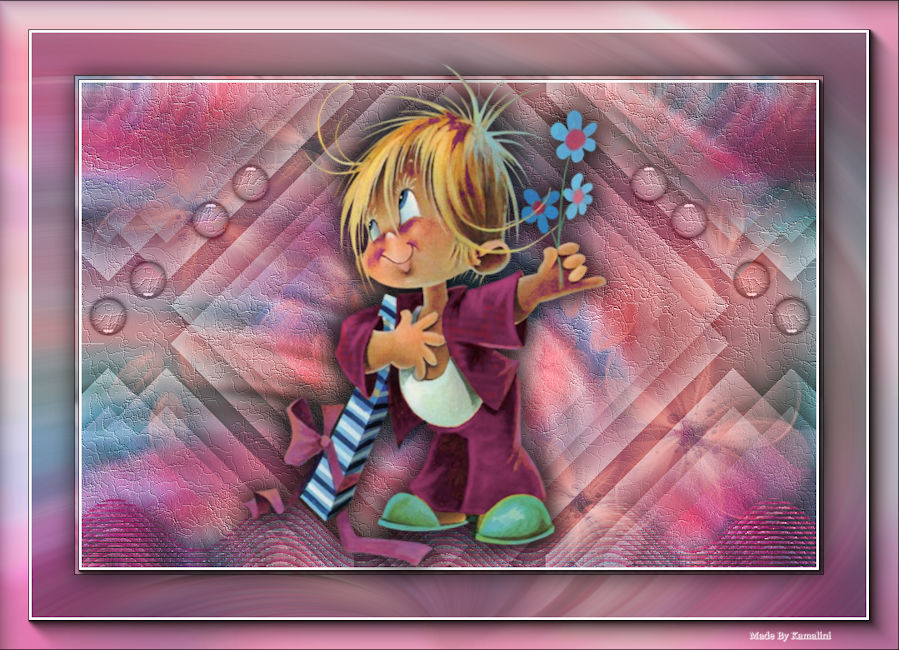
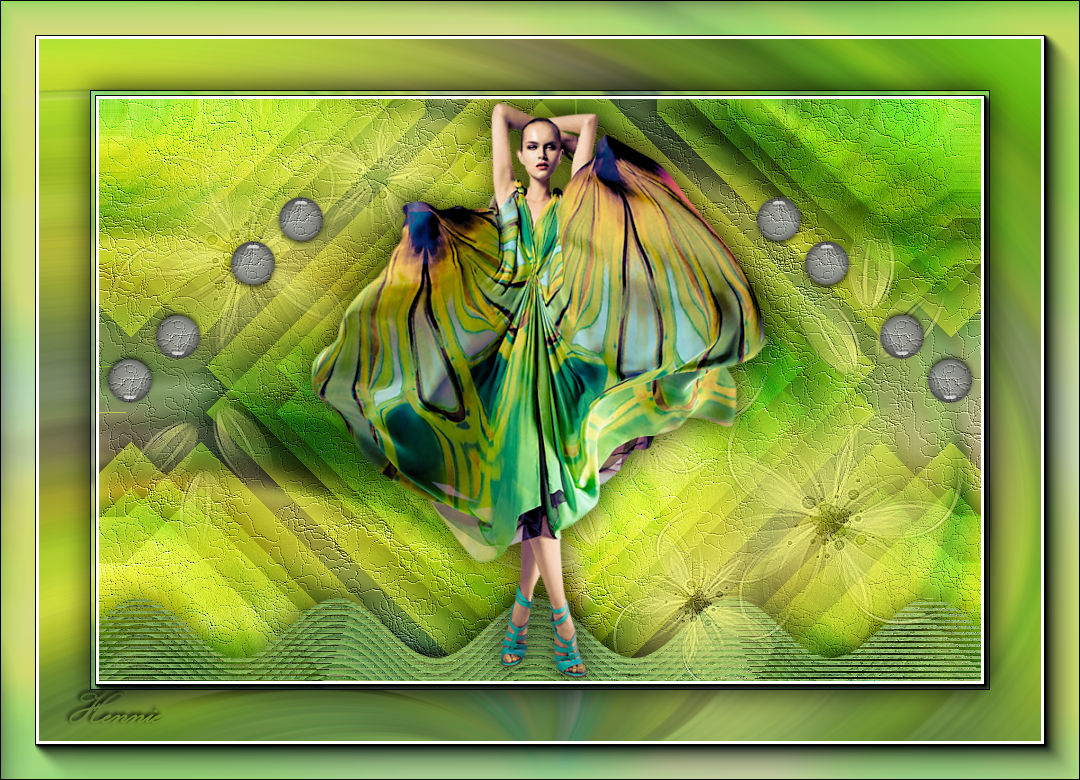
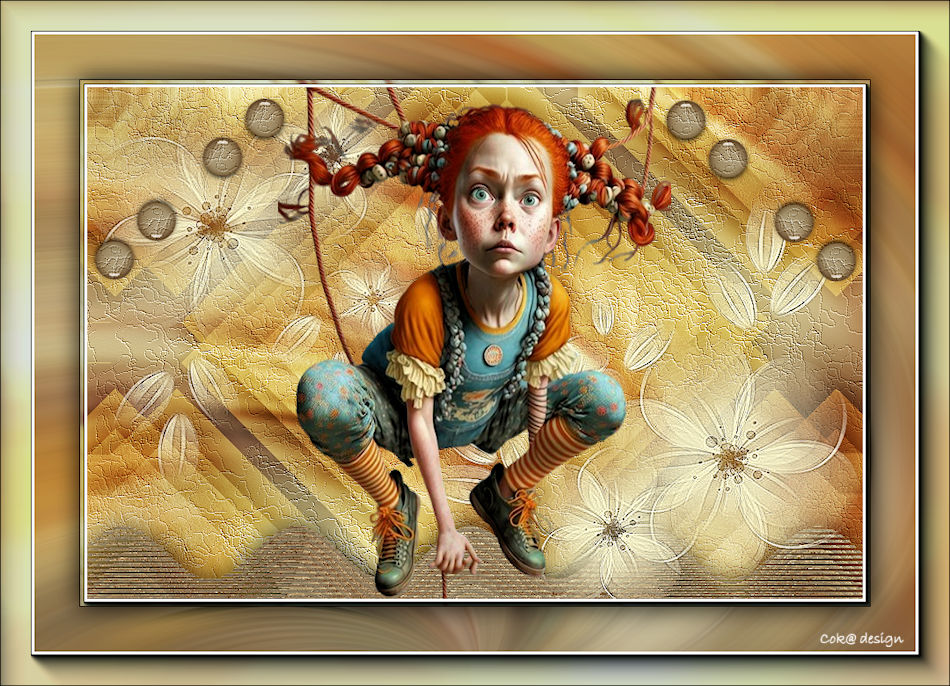
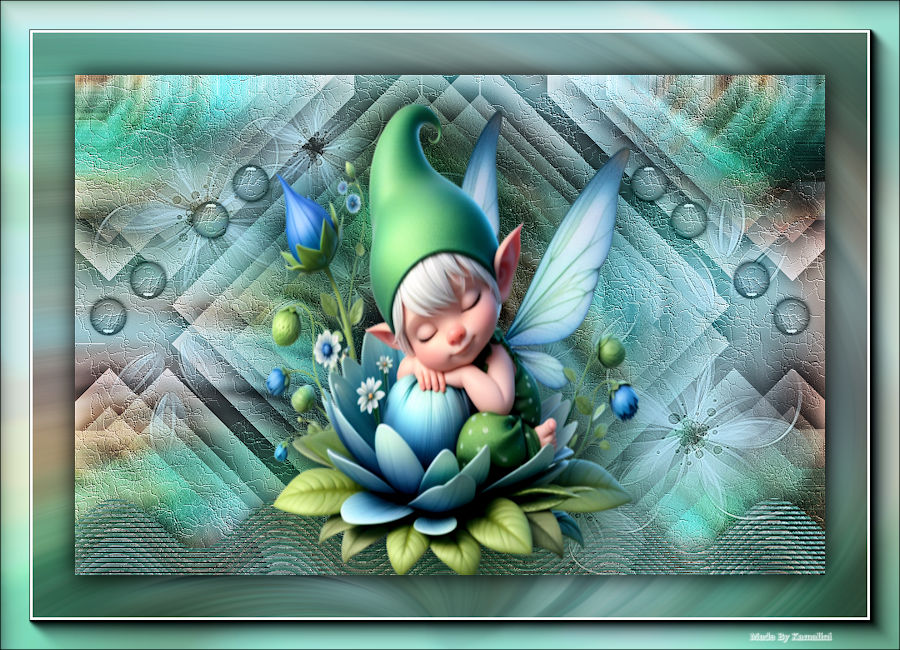
Examples by Kamalini---Henny---Corrie---Marion.(Engelse vertaalster.)

|