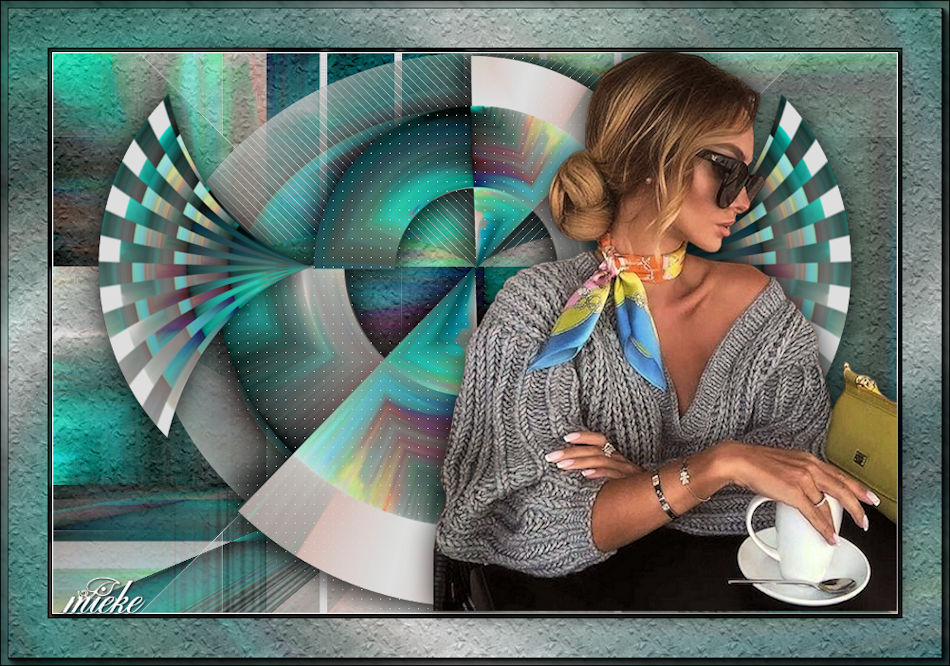
Lesson 278
Translation made by MARION


Problems opening the materials, please use the free program "7zip".
Material/Supplies

Plugins
Plugins---Mehdi---Sorting Tiles
Plugins---Flaming Pear---Flexify 2
Plugins---AP 01 (Innovations)-Lines-SilverLining
Plugins---Carolaine and Sensibility ---CS-Lineair-H
Plugins---Mura`s Meister---Perspective Tiling
Plugins---AAA Frames---Foto Frame
Material Properties-
Set your Foreground color to color:
---#556e9d— Set your Background color to color ----#ffffff
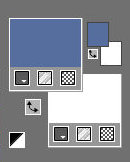
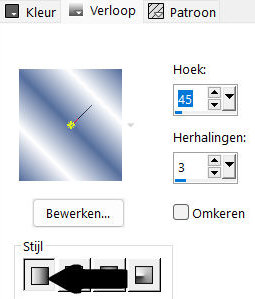
Replace your Foreground color with a Foreground/Background linear Gradient with
these settings ---45---3
1.
File-Open a New Transparent Image ---in this size:
Width---900---Height 600 Pixels

Flood Fill Tool – Fill the layer with the Gradient
2.
Selections---Select All
3.
Open—the tube vrouw-68ead.png
Edit - Copy- Activate your work -Edit - Paste into Selection
Selections---Select None
4.
Effects- Image Effects- Seamless Tiling with these settings;
---Corner---Bidirectional---0---0--- Transition 100---Linear checked

5.
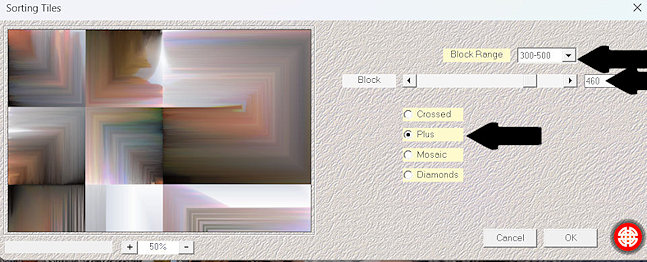
Effects---Plugins---Mehdi---Sorting Tiles with these settings
---300---500---460---Plus checked
-------------------------------------------------
6.
We will make a deco
Deco is included with the material
If you are going to use it then continue now after point —32.
----------------------------------------------------
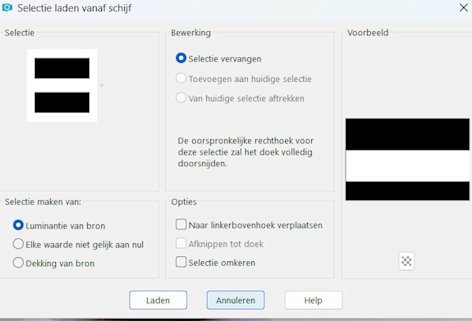
Selections –load/save selection –load selection from disc and select my selection:---mgg-1
7.
Selections- Promote selection to layer
Selections--- Select None
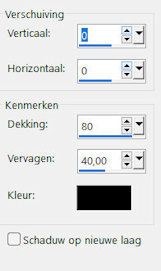
Effects---3D-Effects ---Drop Shadow with these settings:---0---0--80---40. Color Black
8.
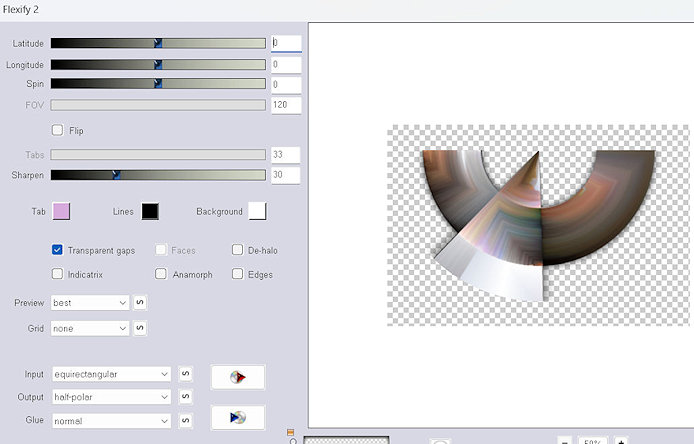
Effects---Plugins---Flaming Pear---Flexify 2---Input--- equirectangular ---Output---half-polar---
rest default settings.
9.
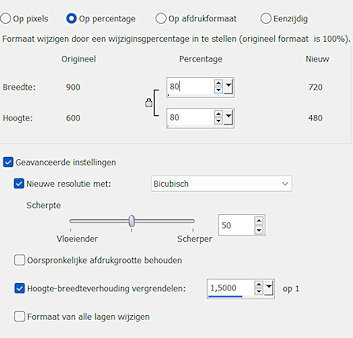
Image ---Resize---80%.
Resize all layers unchecked...
10.
Pick Tool: (K) on your keyboard -Enter these parameters on the toolbar-----X 90---Y 228-

Press ( M ) to close the Pick Tool
11.
Layers---Duplicate
Image - Mirror - Mirror Horizontal (Image - Mirror in older versions of PSP))
Image - Mirror - Mirror vertical ( Image - Flip in older versions of PSP)
12.
Image ---Resize---80%.
Resize all layers unchecked.
Repeat :Image ---Resize ---78%.
Resize all layers unchecked..
13.
Pick Tool: (K) on your keyboard -Enter these parameters on the toolbar ---
Positie x 227----Positir Y 8.00

Press ( M ) to close the Pick Tool
14.
Layers- Merge- Merge Down
Effects---3D-Effects---Drop Shadow ---0---0--40---80. Color Black
15.
Activate the bottom of the Layer Palette (Raster 1)
Selections –load/save selection –load selection from disc and select my selection: ---mgg-2
Selections- Promote selection to layer
Selections-- Select None
16.
Layers---Duplicate.
17
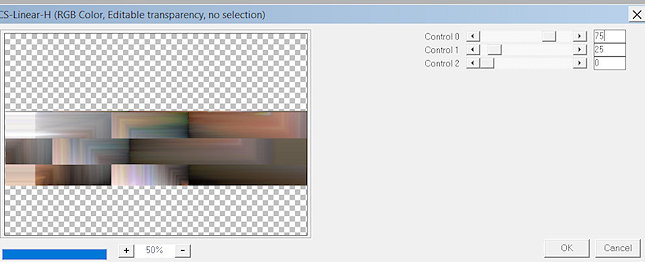
Effects---Pluginss---Carolaine and Sensibility ---CS-Lineair-H—75---25---0.
18.
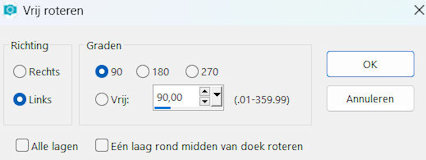
Image---Free Rotate---90% Left
19.
Layers---Arrange---Bring to Top..
20.
Repeat--- Effects---Plugins ---Flaming Pear---Flexify 2---
Input--- equirectangular ---Output---half-polar---
rest default settings.
21.
Edit---Repeat ---Flexify 2
Image---Free Rotate------90% Left
22.
Pick Tool: (K) on your keyboard -Enter these parameters on the toolbar ---509--- min 220

Press ( M ) to close the Pick Tool
Layers---Duplicate
Image - Mirror - Mirror Horizontal (Image - Mirror in older versions of PSP)
23.
Layers---Merge---Merge Down
Effects---3D-Effects---Drop Shadow with these settings: ---0---0--40---80. Color Black
24.
Layer Palette ---activate the promoted selection layer 1.
Image---Free Rotate---90% Left
25.
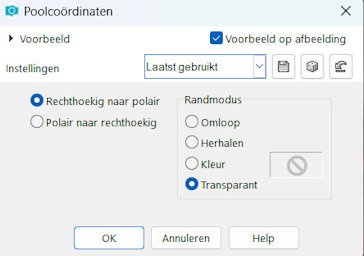
Effects---Distortion Effects---Polar Coordinates---Rectangcular to Polar---Transparent.
26.
Repeat--- Effects---Plugins ---Flaming Pear---Flexify 2---Input--- equirectangular ---Output---half-polar---rest default settings.
Pick Tool: (K) on your keyboard -Enter these parameters on the toolbar ---min 1---min 140

Press ( M ) to close the Pick Tool.
27.
Layers---Duplicate
Image - Mirror - Mirror vertical ( Image - Flip in older versions of PSP)
28.
Pick Tool: (K) on your keyboard -Enter these parameters on the toolbar ---0---min 220

Press ( M ) to close the Pick Tool
29.
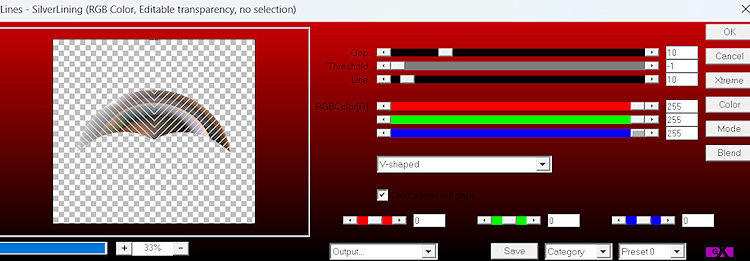
Effects---Plugins ---Filter---AP 01 (Innovations)-Lines-SilverLining---V-shaped---use the settings below
Layers---Merge---Merge Down..
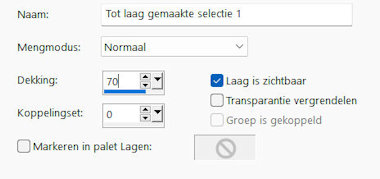
Layers-Properties-Lower the Opacity of the layer to 70%.
30.
In the Layer Palette -activate the layer above (promoted selection layer)
31.
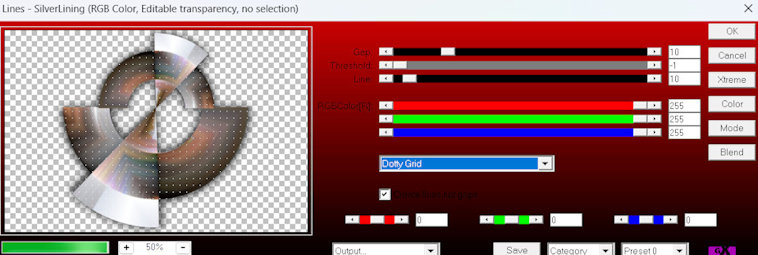
Effects---Plugins---AP 01 (Innovations)-Lines-SilverLining---Dotty grid use the settings below.
32.
Repeat--- Effects---3D-Effects Drop Shadow with the same settings.
-------------------------------------------------------
Tube Deco 1 is finished
( Deco 1 is included with the material)
Attention ! If you're using my Tube Deco
---Edit - Copy- Activate your work -Edit - Paste as a new layer
Drop Shadow at your discretion.
--------------------------------------------------
Activate the Bottom of the Layer Palette.
Layers---New Raster Layer---
Flood Fill Tool---Fill the layer with the Background color #ffffff.
34.
Layers---New Mask Layer ---From Image and select---mask_hazal5.jpg
Source luminance checked.
Layers---Duplicate----
Layers---Merge---Merge Group
35.
Activate the Bottom of the Layer Palette ---Raster 1
Layers---Duplicate..
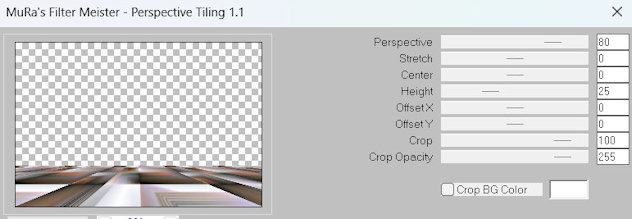
Effects---Plugins---Mura`s Meister---Perspective Tiling with these settings:
---80---0---0---25---0---0---100---255
36.
Activate your Magic Wand Tool --- Mode Replace --- Feather 60---
click in the upper part

Delete 3 times.
Selections---Select None.
37.
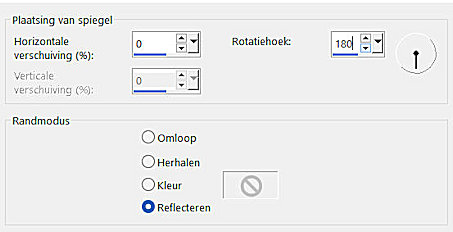
Effects- Reflection Effects- Rotating Mirror with these settings: 0---180--- Reflect checked
38.
Layers-Properties-Lower the Opacity of the layer to 70 %.
Repeat--- Effects---3D-Effects Drop Shadow with the same settings.
39.
Activate the Bottom of the Layer Palette ---Raster 1
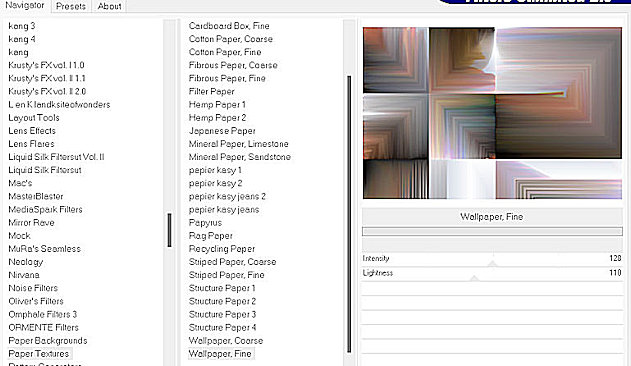
Effects---Plugins<I C Net Software> Filters in Unlimited 2.0>Paper Textures---
Wall Paper Fine use the settings below
40.
Layers--- Merge--- Merge All.
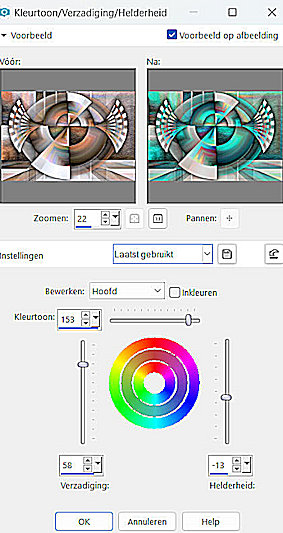
Adjust --- Hue and Saturation---
Hue/Saturation/Lightness--- 153---58---min 13.
Ore choose your own colors.
41.
Image - Add borders-Symmetric checked:1 Pixel Color Black.
Selections---Select All..
Image - Add borders-Symmetric checked: 50 Pixels #ffffff..
Effects---Image Effects---Seamless Tiling with the same settings
Selections---Invert
42
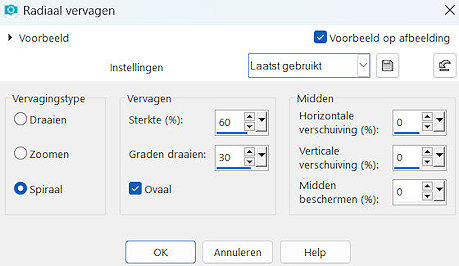
Adjust--- Blur--- Radial Blur ---Twirl---60---30---0---0---0---Elliptical checked
43.
Effects---Plugins <I C Net Software> Filters in Unlimited 2.0>Paper Textures---
Wall Paper Fine use the settings below.
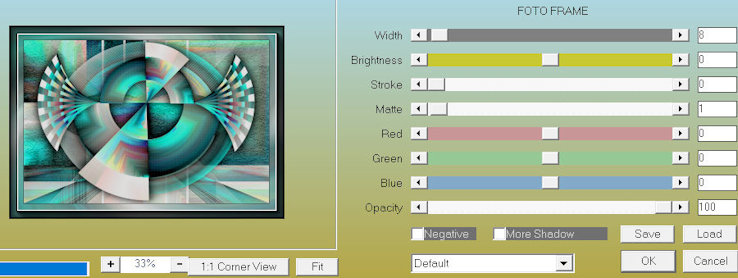
Effects---Plugins---AAA Frames---Foto Frame
8---0---0---1---0---0---0---100
44.
Selections---Invert
---
Repeat ---Effects—Plugins Foto Frame --- width at 4.
Selections---Select None.
45.
Open---Tube---- Open--- vrouw-68ead.png
Edit --- Copy---
Edit - Copy- Activate your work -Edit - Paste as a new layer
Image---Resize---90 %
Resize all layers unchecked...
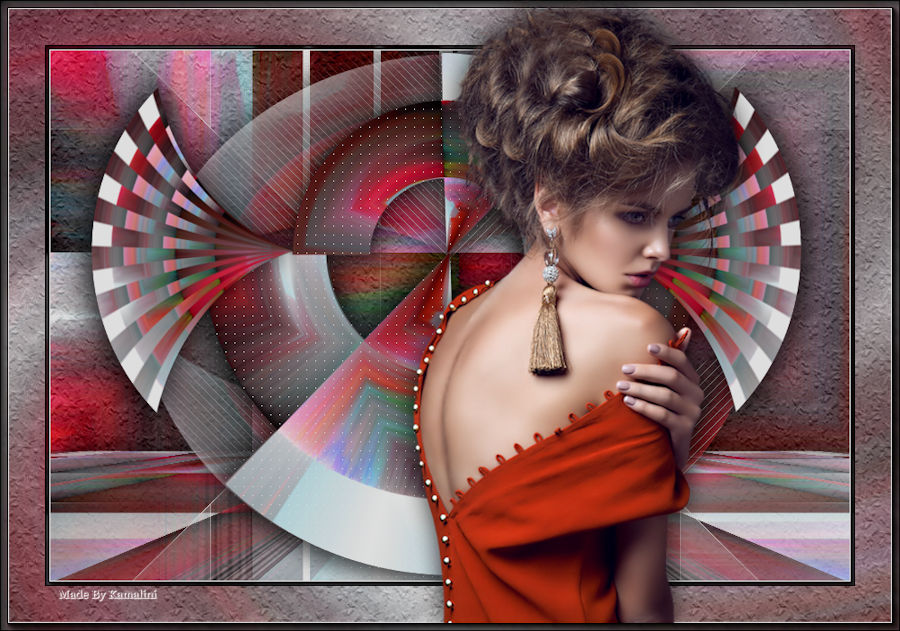
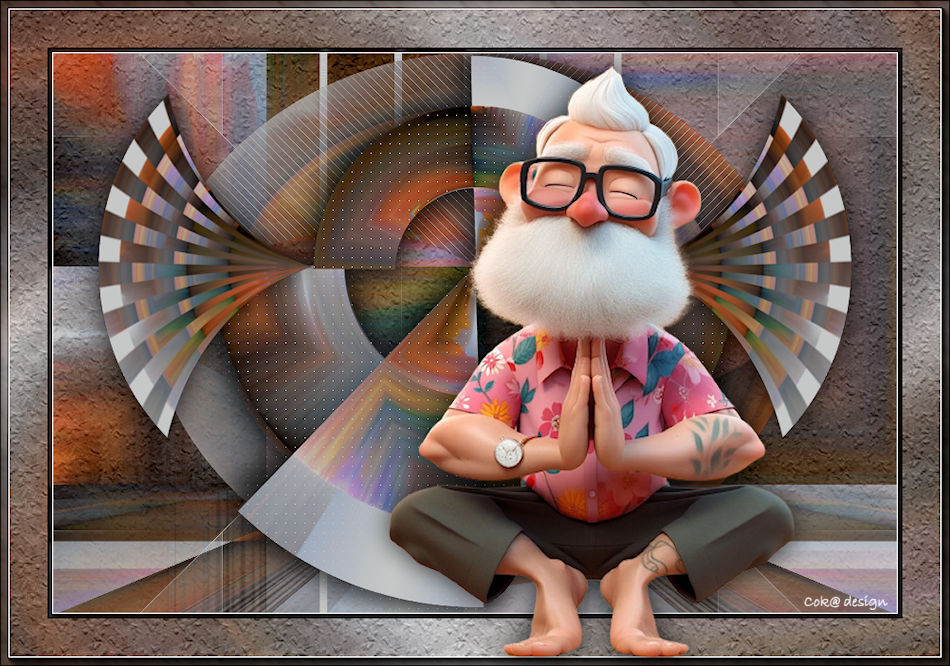
Move the tube to the bottom right (see finished image)
Repeat--- Effects---3D-Effects Drop Shadow with the same settings..
Add you watermark on New Layer.
Save as JPG>
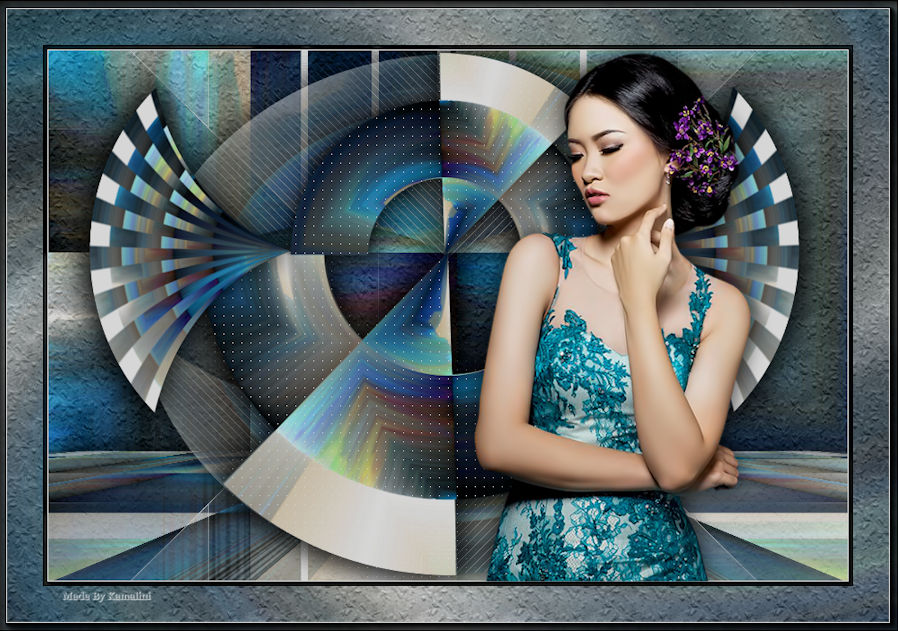
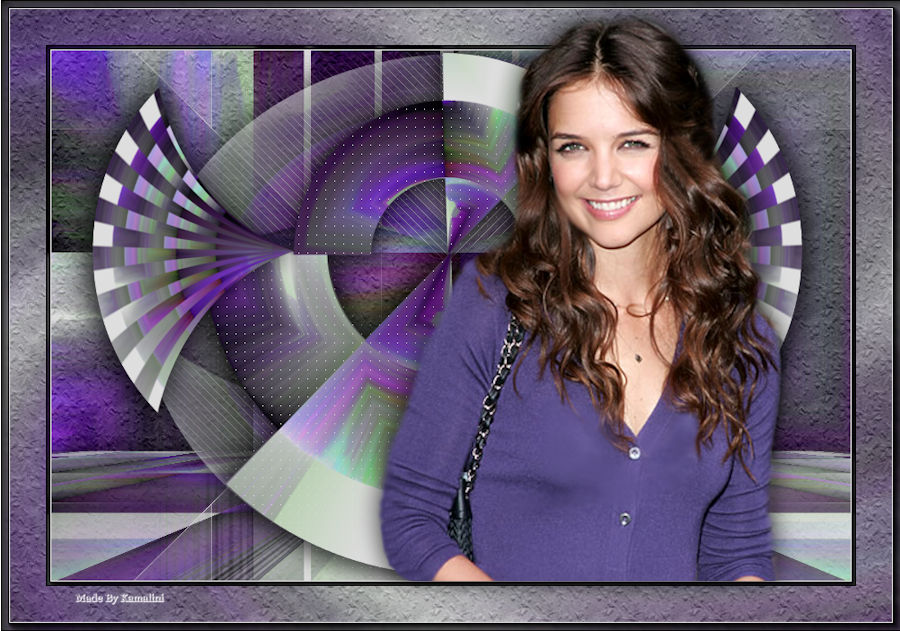
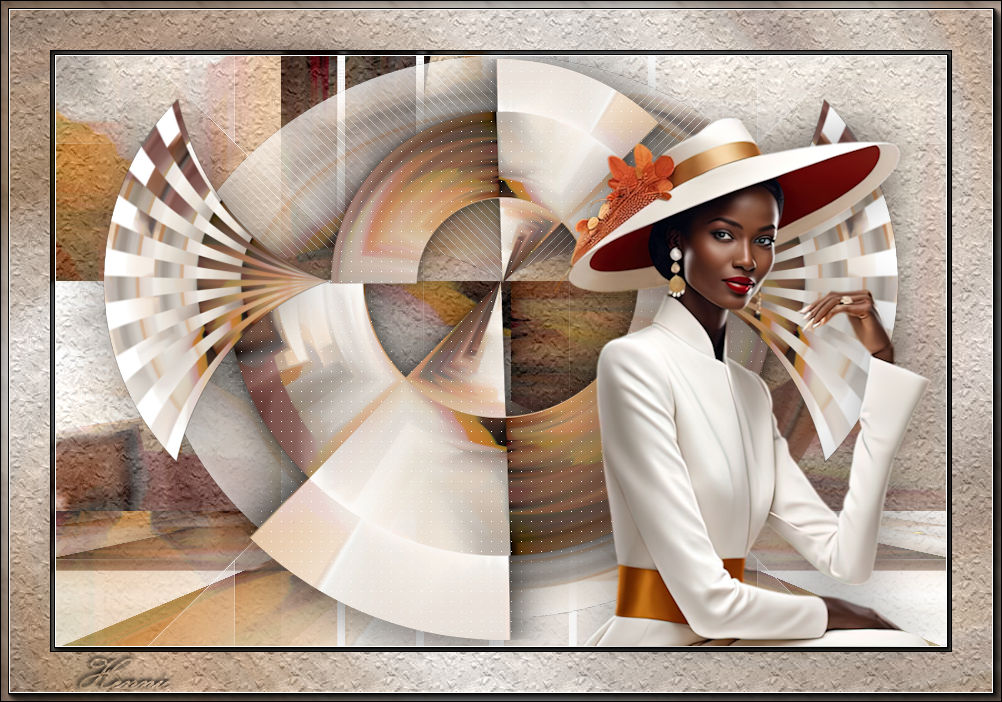
Voorbeelden gemaakt door Kamalini---Hennie---Corrie---Marion

|