Lesson 275

Translation made by MARION
Benodigdheden
Materiaal

Lesson 275
Supplies
Material
PLUGINS
Filter---<I C Net Software> Filters in Unlimited 2.0---Alf Import---sq border 2
Filter---AAA Frames---Foto frame
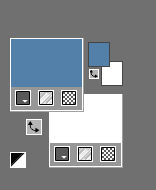
Material Properties: Set your Foreground color to #528089 and your Background color to #ffffff
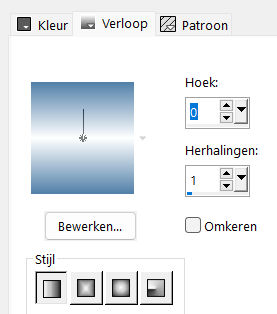
Properties Foreground- Prepare a Foreground/Background Linear Gradient configured like this
1.
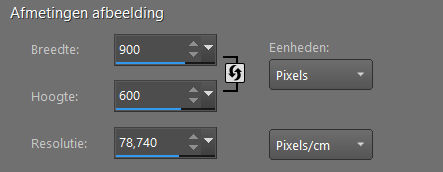
File: Open a Transparent Image in this size :
Width ---900---Height---600 Pixels
2.
Flood Fill Tool – Fill the layer with the Gradient
3.
Selections ---Select All
4.
Open---the Tube 62d7f6.png
5.
Edit - Copy- Activate your work –
Edit - Paste into Selection
6.
Selections---Select None
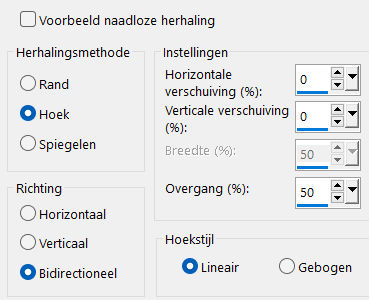
7.
Effects---Image Effects---Seamless Tiling using the default settings
8.
Adjust---Blur ---Gaussian Blur---Radius ---20
9.
Effects---Plugins---<I C Net Software> Filters in Unlimited 2.0---AFS Import---sq border 2---Default settings.

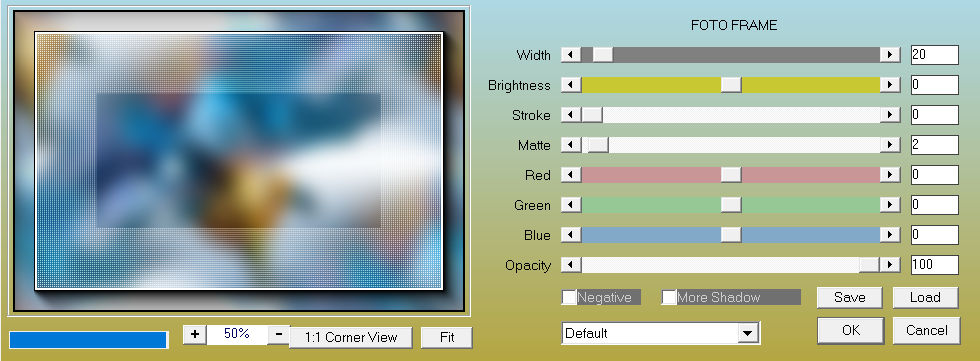
10.
Effects---Plugins---AAA Frames---Foto frame---20---0---0---2---0---0---0-100---OK
11.
Open—the Tube -frame-1aa-.png.
Edit – Copy
Activate your work
Edit - Paste as a new layer
Adjust---Scharpness---Sharpen More
12.
Open—the Tube - 62d7f6.png
Edit – Copy
Activate your work
Edit - Paste as a new layer
Pick Tool: (K) on your keyboard -Enter these parameters on the toolbar---Positions X----94---Positions Y---108

Press ( M ) to close the Pick Tool.
13.
Effects- 3D-Effects - Drop Shadow with these settings:---0---0--80---20. Color Black
14.
Open---the Tube frame-1a.png
Activate your work
Edit - Paste as a new layer
15.
Open---the Tube blokjes.png
Activate your work
Edit - Paste as a new layer
Pick Tool: (K) on your keyboard -Enter these parameters on the toolbar---Positions X--258---Positions Y---148

16.
Open---the Tube deco-1.png
Activate your work
Edit - Paste as a new layer
Pick Tool: (K) on your keyboard -Enter these parameters on the toolbar---Positions X----697---Positions Y---295

17.
Open---the Tube deco-12.png
Activate your work
Edit - Paste as a new layer
Pick Tool: (K) on your keyboard -Enter these parameters on the toolbar---Positions X--438---Positions
Y---82

18.
Open---the Tube deco-2.png
Activate your work
Edit - Paste as a new layer
Pick Tool: (K) on your keyboard -Enter these parameters on the toolbar---Positions X----66---Positions Y---20

Press ( M ) to close the Pick Tool..
19.
Effects- 3D-Effects - Drop Shadow with these settings:---0---0--80---20. Color Black
20.
Layers---Duplicate
Image - Mirror - Mirror Horizontal (Image - Mirror in older versions of PSP)
Image - Mirror - Mirror vertical ( Image - Flip in older versions of PSP)
21.
Image - Add Borders-Symmetric checked:---1 Pixel- with your dark color
Add you watermark on new layer..
Save as JPG.
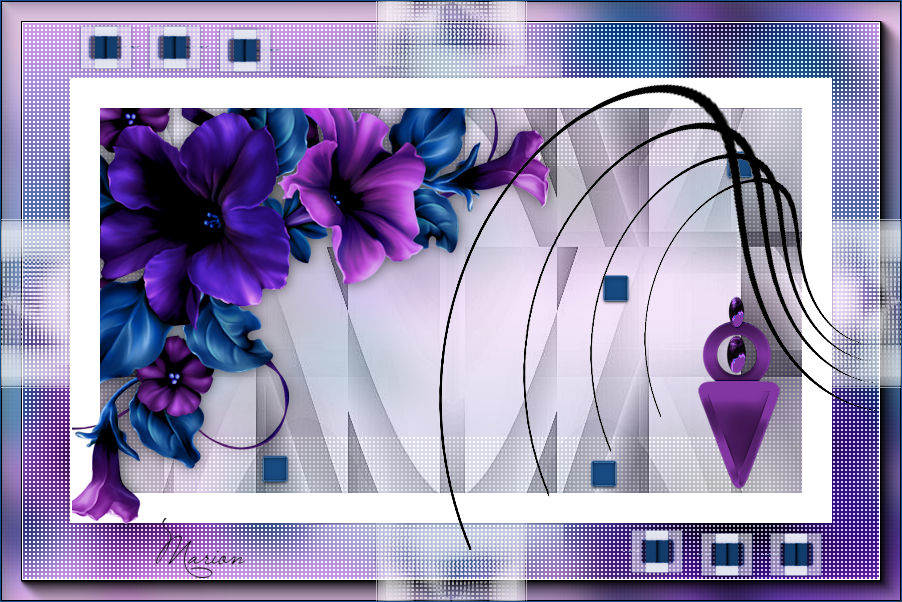
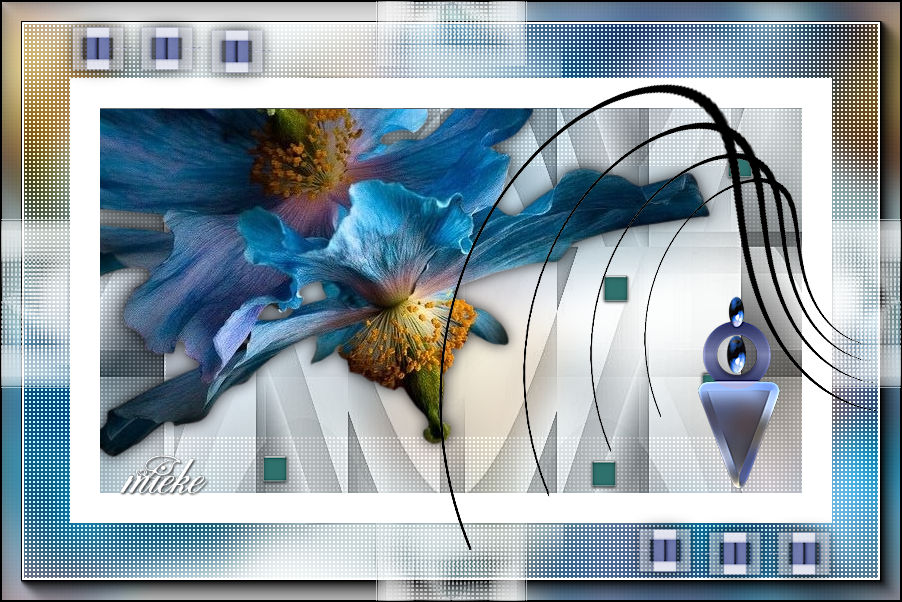
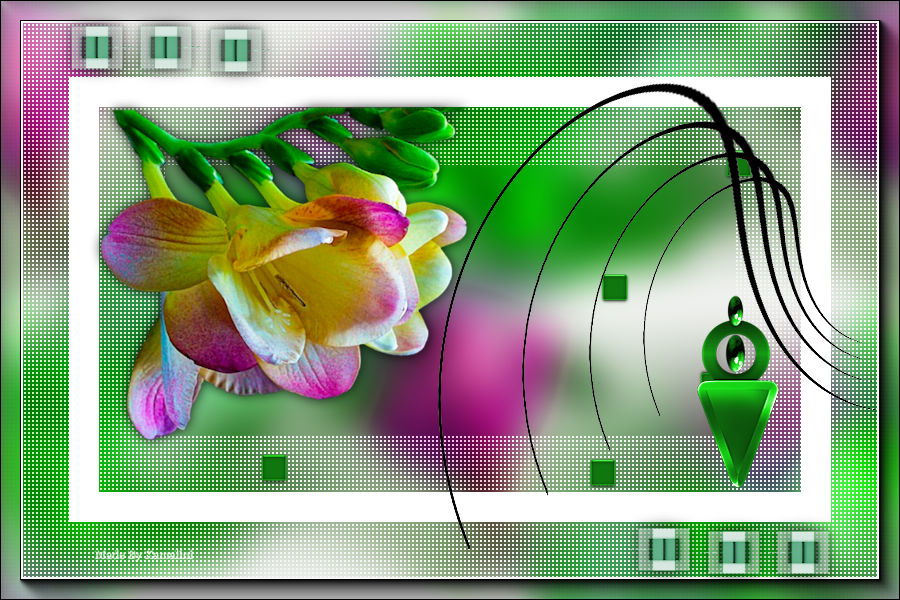
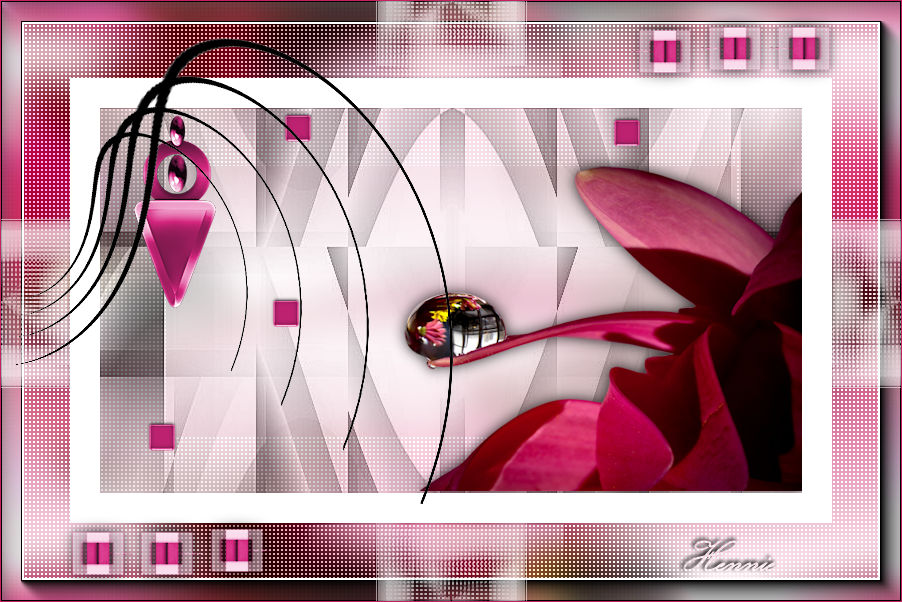
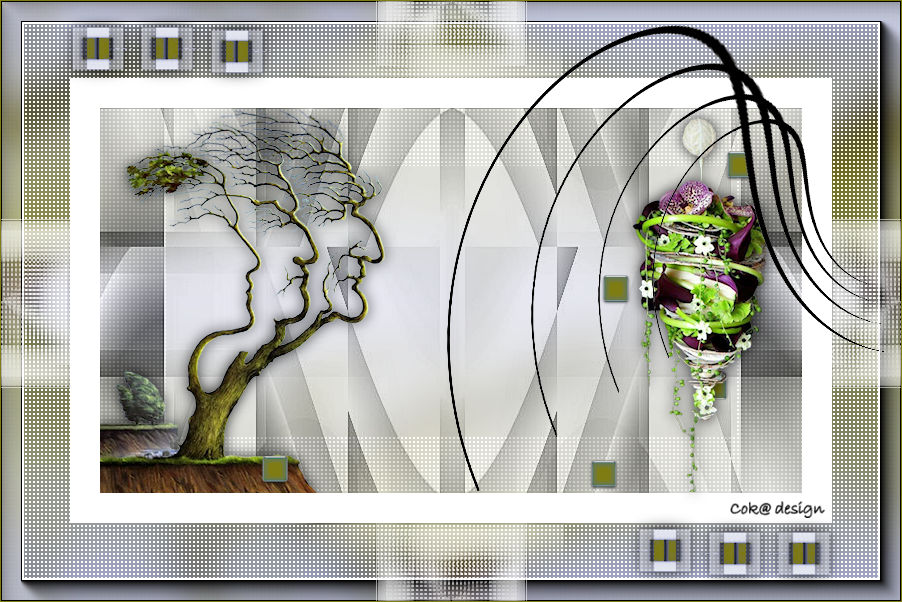
Voorbeelden gemaakt door Kamalini---Hennie---Corrie---Marion
 
|