Lesson-274

Translation made by MARION
Material/Supplies

Plugins
Plugins---<I C Net Software> Filters Unlimited 2.0---Filter Factory Gallery D
Plugins---<I C Net Software> Filters Unlimited 2.0---VM-1---Web Weaver
Plugins---Flaming Pear---Flexify 2
Plugins---AP 01 (Innovations)-lines-Silverlining
Plugins---AAA Frames---Texture Frame
-Material Properties:
Set your Foreground color to color #8d7151---Set your Background color to color#ffffff (white)
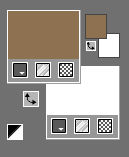
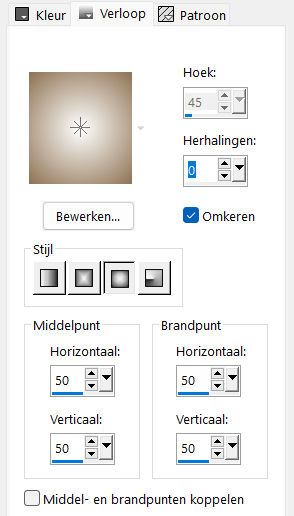
- Properties Foreground- Prepare a Foreground/Background Sunburst Gradient configured like this
1.
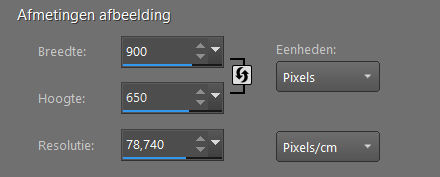
File: Open a transparent image in this size:
---Width---900---Height---650.
2.
Flood Fill Tool – Fill the layer with the gradient
3.
Selections---Select All
Open---the Tube lady-250.png
Edit---Copy
Activate your work ---Edit - Paste into selection.
Selections---Select None
4.
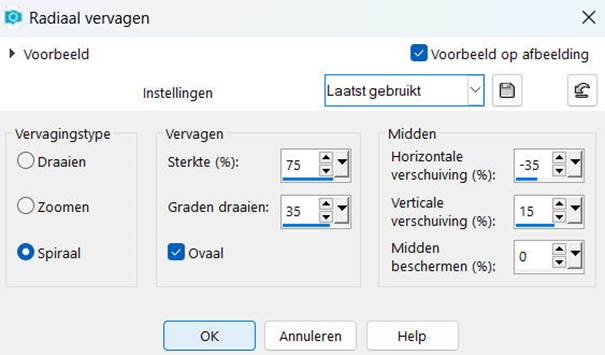
Adjust- Blur- Radial Blur with these settings
---Twirl---Strength 75---Twirl degrees 35---Horizontal Offset min 35---Vertical Offset 15---Protect Center 0---Ovaal checked
5.
Effects---Edge Effects---Enhance More.
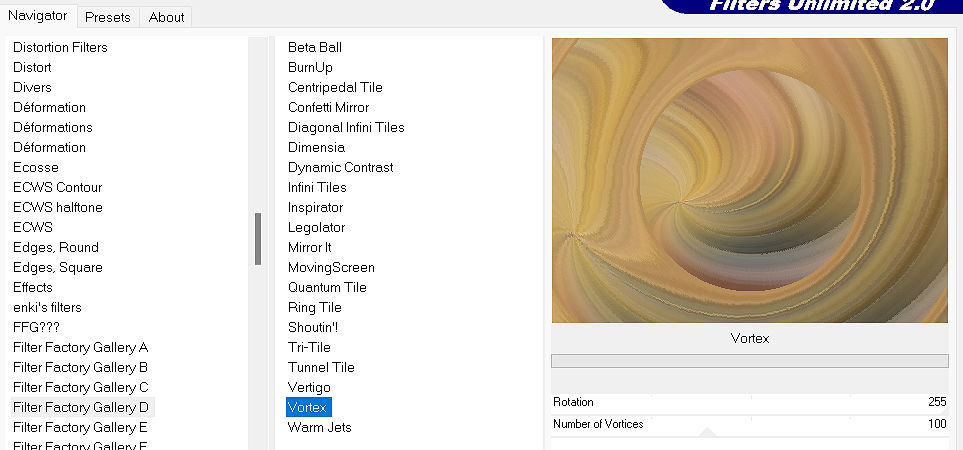
Effects- Plugins---<I C Net Software> Filters in Unlimited 2.0---Filter Factory Gallery D---Vortex with these settings
6.
Effects---Edge Effects---Enhance More.
Layers---Duplicate
7.
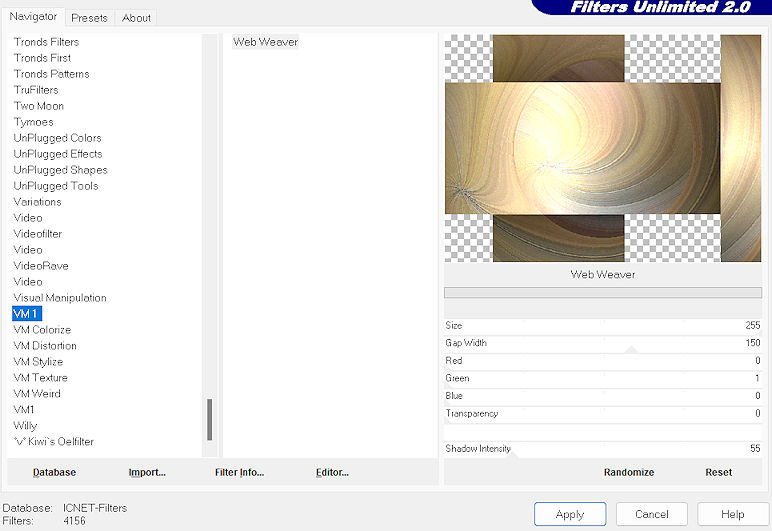
Filter---<I C Net Software> Filters Unlimited 2.0---VM-1---Web Weaver---Size 255---Transparency ---Shadow Intensity 55
8.
Layers---Duplicate
9.
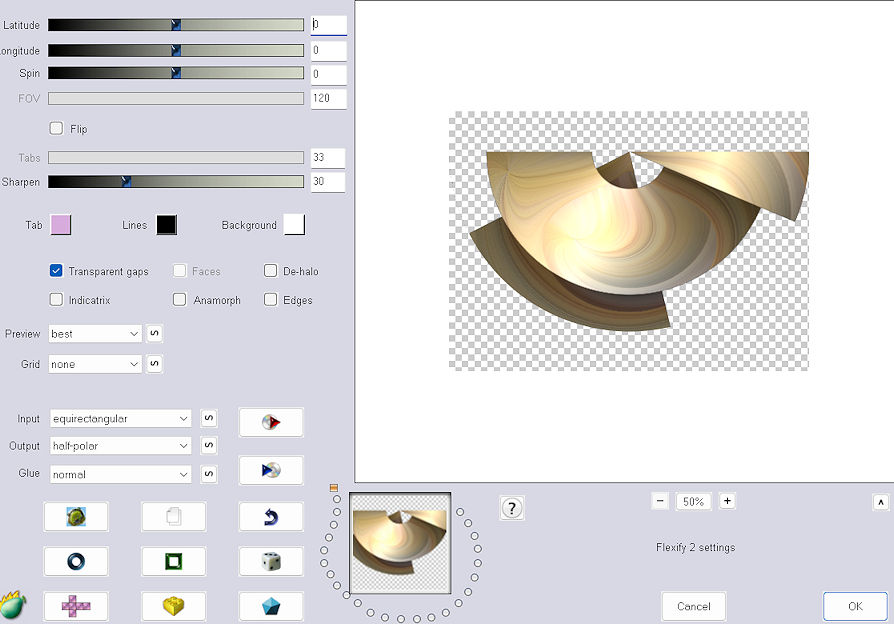
Effects---Plugins---Flaming Pear---Flexify 2---Input---Equirectangular----Output---- Half-polar--- the rest by Default
10.
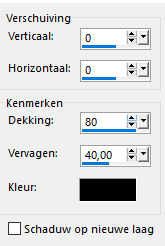
Effects---3D-Effects---Drop Shadow with these settings:---0—0---80---40---Color Black
11.
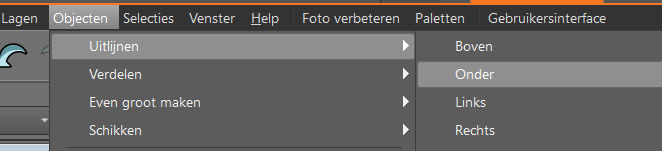
Objects---Align---Bottom
12.
Layers---Duplicate
Image Resize ---80 %.
Resize all layers unchecked..

13.
Image - Mirror - Mirror vertical ( Image - Flip in older versions of PSP)
15.
Pick Tool: (K) on your keyboard -Enter these parameters on the toolbar
---Position X 53---Position Y 2.00

Press ( M ) to close the Pick Tool
15.
Layers ---Merge---Merge Down
In the Layers Palette--activate--Copy of Raster 1.
16.
Effects---Plugins---AP 01 (Innovations)-lines-Silverlining---Dotty Grid---10---min 1---10---3x 255.

17.
Open---the Tube lady-250.png
Edit---Copy
Activate your work -Edit - Paste as a new layer
Layers---Arrange---Bring to Top
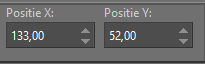
Pick Tool: (K) on your keyboard -Enter these parameters on the toolbar
---Position X 133---Position Y52.00
18.
Effects---3D-Effects---Drop Shadow with these settings:
---0—0---80---40---Color Black
(or make your own choice)
19.
Open---the Tube deco-25.png
Edit---Copy
Activate your work -Edit - Paste as a new layer
Pick Tool: (K) on your keyboard -Enter these parameters on the toolbar
---Position X 678---Position Y 25.00
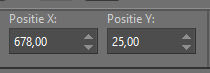
Press ( M ) to close the Pick Tool
20.
Image - Add borders-Symmetric checked:---1Pixel with your dark color
Image - Add borders-Symmetric checked:------2 Pixels with your light color
Image - Add borders-Symmetric checked:-----1 Pixel with your dark color
Selections---Select All
Image - Add borders-Symmetric checked:------50 pixels with your light color
Selections---Invert
21.
Effects---3D-Effects---Drop Shadow with these settings: ---0—0---80---40---Color Black
22.
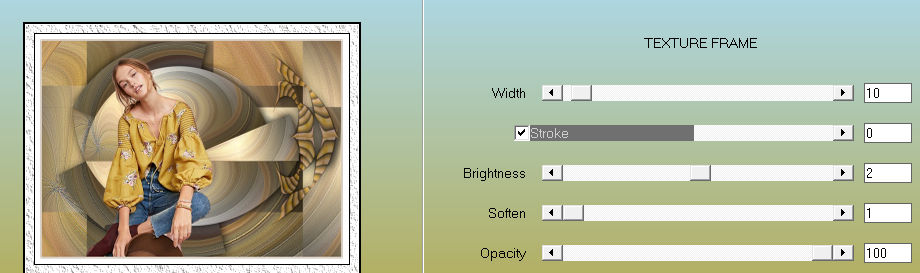
Effects---Plugins---AAA Frames---Texture Frame---10---0---2---1---100
23.
Selections---Invert
Effects---3D-Effects---Drop Shadow with these settings :---0—0---80---40---Color Black
(or make your own choice)
Selections---Select None.
24.
Adjust---One Step Photo Fix---Default settings
(or make your own choice)
25.
Add you watermark on new layer.
Save as JPG
Voorbeelden gemaakt door Kamalini---Hennie---Corrie---Marion

|