Lesson ---271
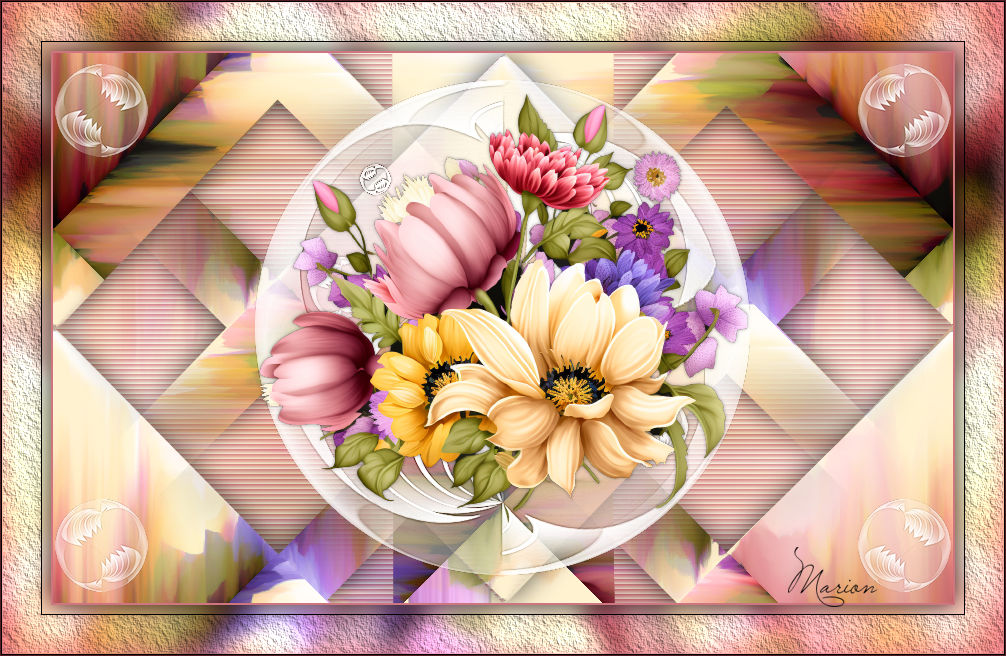
Translation made by MARION
- 
Material/Supplies

Plugins
Plugins ---Mehdi ---Sorting Tiles
Plugins---<I C Net Software> Filters Unlimited 2.0>---Simple.
Plugins---<I C Net Software> Filters in Unlimited 2.0---Graphics Plus---Cross Shadow
Plugins---AAA Frames---Texture frame
Plugins -Adjust-Variations
Material Properties:
Set your Foreground color to color #b195e6
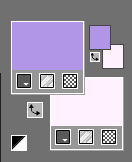
---Set your Background color to color #ffffff
1.
File: Open a transparent image in this size :
Width---900---Height---550.

2.
Flood Fill Tool – Fill the layer with the Background color (White)
3.
Open the Tube ---bloem-fantasie.png
Edit---Copy
4.
Activate your work
Selections---Select All
5.
Edit - Paste into Selection.
6.
Selections---Select None
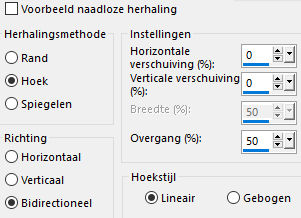
7.
Effects---Image Effects---Seamless Tiling using the default settings
8.
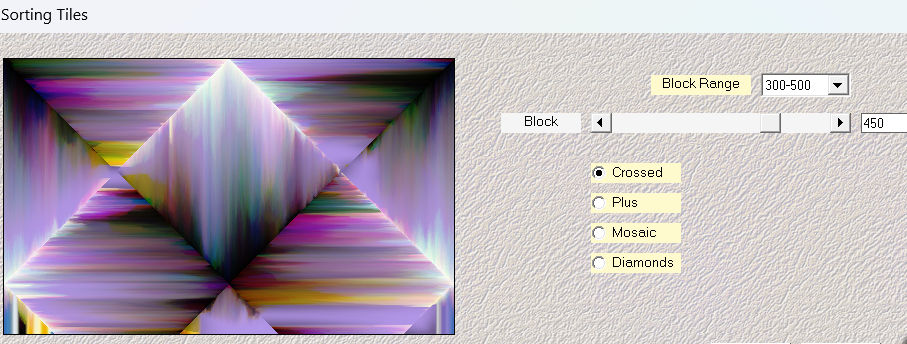
Effects---Plugins---Mehdi ---Sorting Tiles –
Block Range
300-500---Block-450---crossed.
9.
Selections –load/save selection –load selection from disc and select my selection:---les-mb-271-1.PspSelection
10.
Selections---Promote Selection to Layer
11.
Selections---Select None
12.
Effects---Image Effects---Seamless Tiling using the default settings
13.
Effects---3D-Effects---Drop Shadow with these settings:---0---0--80---40. Color Black.
14.
Open—the Tube - deco-271-1.png
15.
Edit---Copy
Activate your work -Edit - Paste as a new layer
.(do not move)
16.
Open--- the Tube deco-271-2.png
Edit---Copy
Activate your work -Edit - Paste as a new layer
17.
Move to Top Left
Pick Tool: (K) on your keyboard -Enter these parameters on the toolbar
---Position X 2---Position Y 11
Press ( M ) to close the Pick Tool

18.
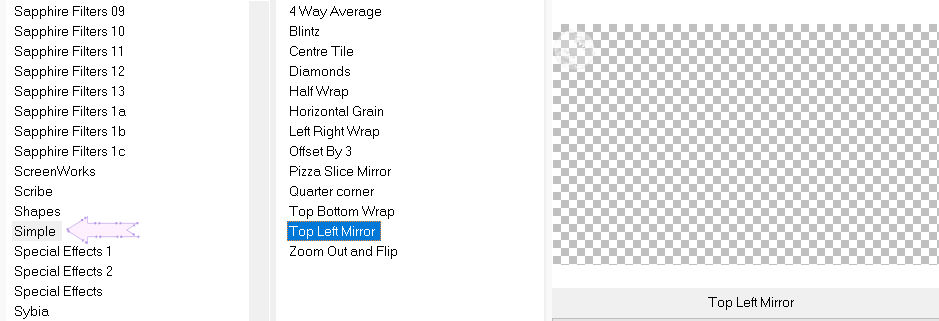
Effects---Plugins---<I C Net Software> Filters Unlimited 2.0>---Simple---Top Left Mirror---Apply
19.
In the Layer Palette----Activate Raster 1---(Bottom Layer)
20.
Layers- New Raster Layer
Flood Fill Tool--- Fill the layer with the Background color (#ffffff)
Layers-Properties-Lower the Opacity to 70.
Layers---Merge---Merge Down
21.
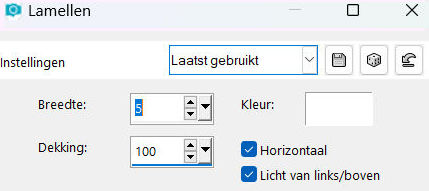
Effects---Texture Effects---Blinds---5---100---Color white ( all checked).
22.
Activate the Top of the Layer-Palette
23.
Open- the Tube --bloem-fantasie.png (or use your own tube)
Edit---Copy
Activate your work -Edit - Paste as a new layer
Effects---3D-Effects--- Drop Shadow with these settings:------0---0--80---40. Color Black.
(or at your own discretion)
24.
Image - Add borders-Symmetric checked: ---2 pixels---Dark Color.
Edit---Copy
Selections---Select All
Image - Add borders-Symmetric checked: ---50 pixels---Color White (#ffffff)
Selections---Invert
Edit - Paste into selection.
Adjust---Blur---Gaussian Blur---Radius 10.
25.
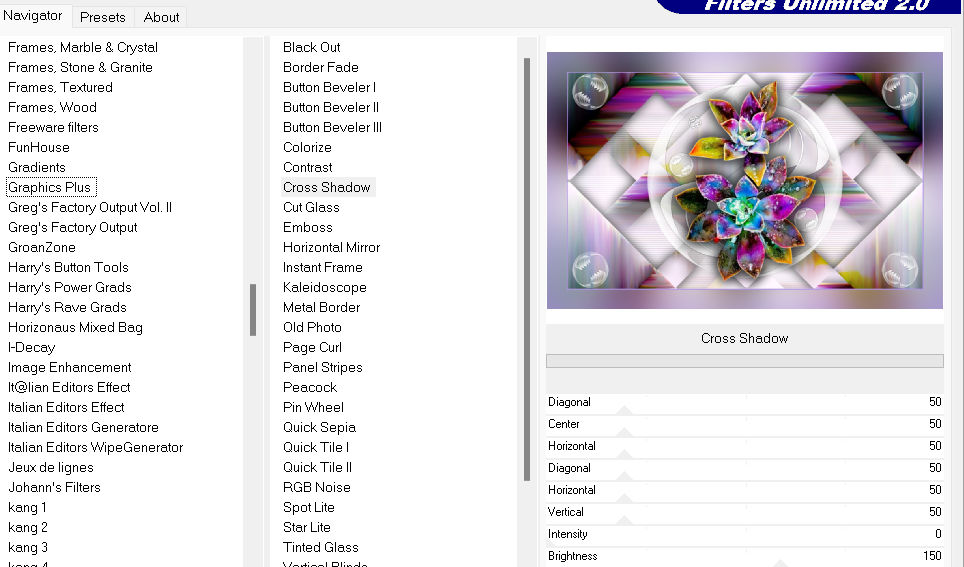
Effects---Plugins---<I C Net Software> Filters Unlimited 2.0---Graphics Plus---Cross Shadow--- Put the last two sliders at 0 and 150.
26.
Selections---Invert.
Effects---3D-Effects---Drop Shadow with these settings ---0---0--80---40. Color Black.
Selections ---Select None.
27.
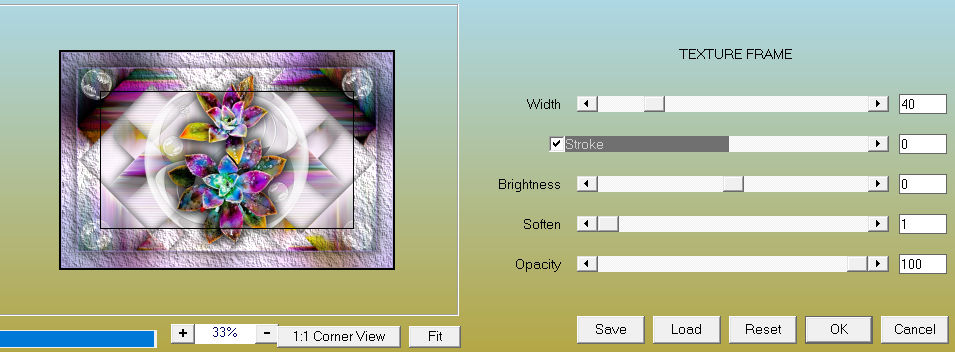
Effects---Plugins---AAA Frames---Texture Frame ---Default settings.
40---0---0---1---100.
28.
Image - Add borders-Symmetric checked: ---1 Pixel---Color Black
29.
Effects---Plugins-Adjust-Variations— Click once on Original --- Click once on Lighter.---OK.

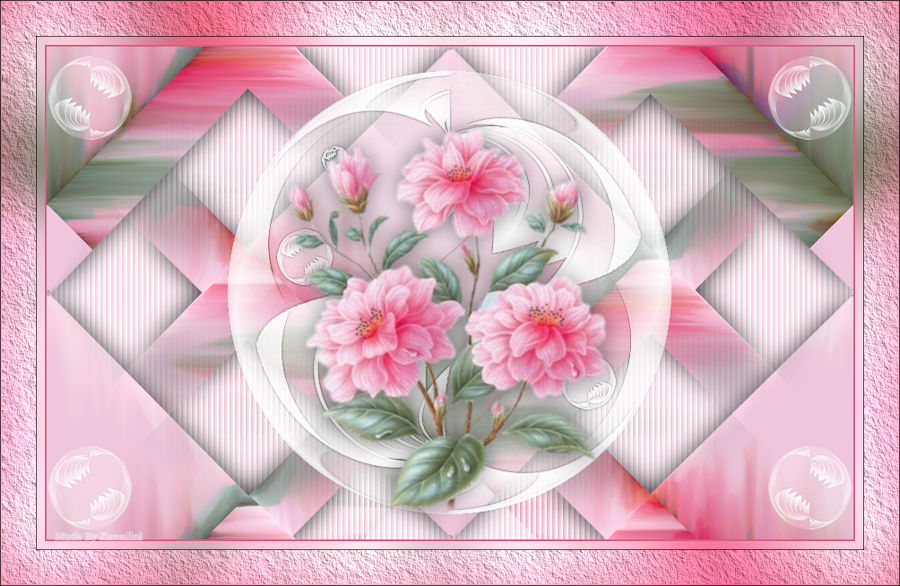
Add you watermark on New Layer..
Save as JPG

|