Lesson -262

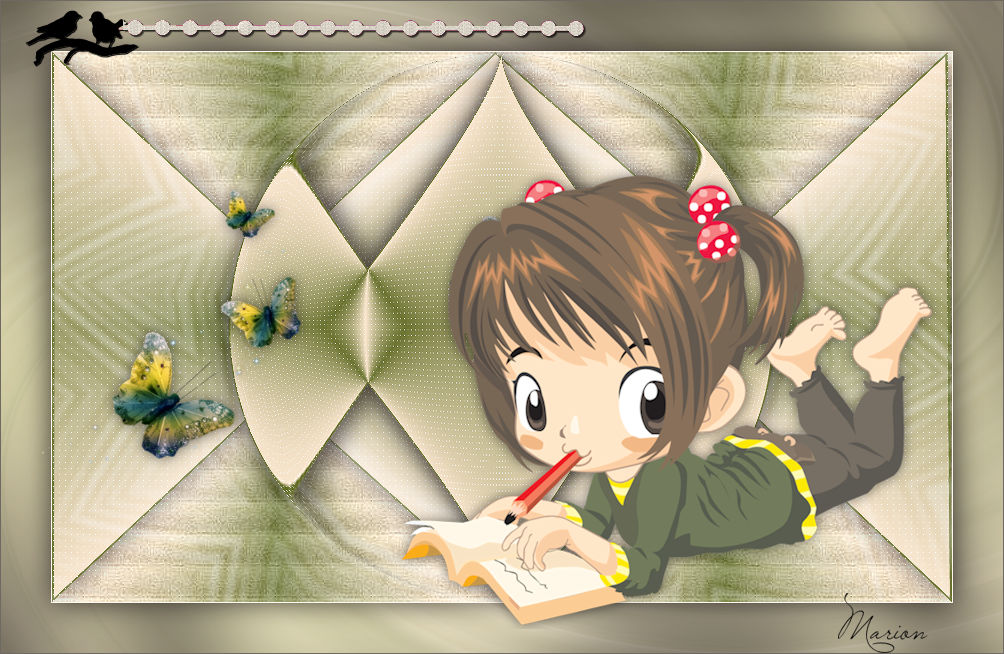
Translation made by MARION
Supplies/Material

Plugins
Filter---<I C Net Software> Filters Unlimited 2.0>---Simple
Filter—Carolaine and Sensibility CS-LDots
Filter <I C Net Software> Filters Unlimited 2.0>Paper Textures---
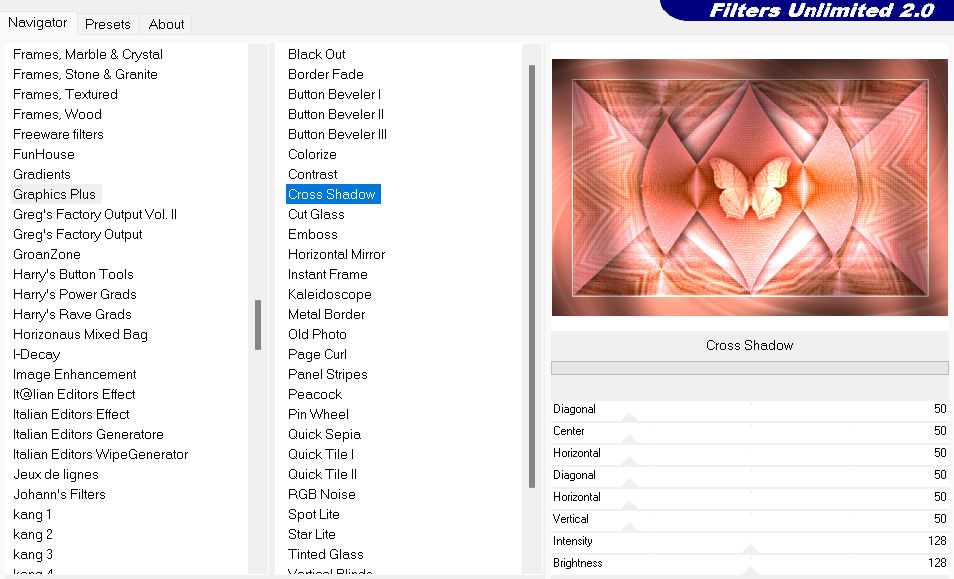
Filter---<I C Net Software> Filters Unlimited 2.0---Graphics Plus---Cross Shadow
These colors are used for this lesson
Material Properties
Foreground color #da7072---Background color #772902
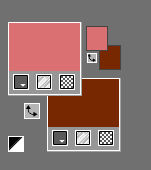
Set your Foregroundcolor to Foreground/Background Radial Gradient with these settings ---0---5---25---38---Invert checked

1.
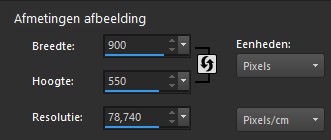
File-Open -New Transparent Image with these settings
Width----900---Height---550.
Flood Fill Tool-Fill the layer with the gradient
2.
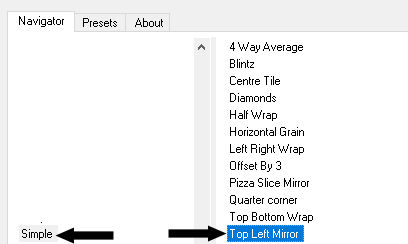
Effects---Plugins---<I C Net Software> Filters Unlimited 2.0>---Simple---Top Left Mirror---and Apply
3.
Selections –load/save selection –load selection from disc and select my selection:
sel.mb-262-1.PspSelection
4.
Selections-Promote selection to layer
5.
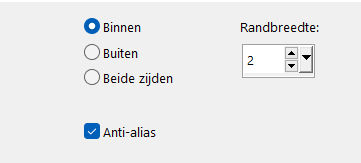
Selections---Modify---Select Selection Borders 2---Inside---Anti-alias checked.
6.
Flood Fill Tool-Fill the layer with the Background color/dark color.
7.
Selections-Select None
8.
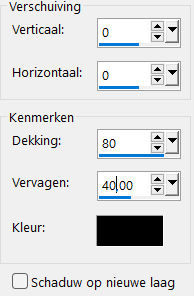
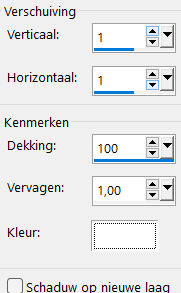
Effects- 3D-Effects - Drop Shadow with these settings: ---0---0--80---40. Color black
9.
Effects---Plugins—Carolaine and Sensibility CS-LDots---255-3-2
10.
Layers- Duplicate .
11.
Effects---Geometric Effects ---Circle---Transparent
12.
Effects- 3D-Effects - Drop Shadow with these settings: 0---0--80---40. Color black.
13.
Open-the Tube --vlinder-1
Edit---Copy
Activate your work -Edit - Paste as a new layer
Layers-Properties-Set the Blend Mode to " Luminance Legacy "
Open—the Tube -deco-1-262
15.
Edit---Copy
Activate your work -Edit - Paste as a new layer
16.
Layers---Arrange---Move Down--- Repeat this one more time.
17.
Activate the bottom of the layer palette =Raster 1
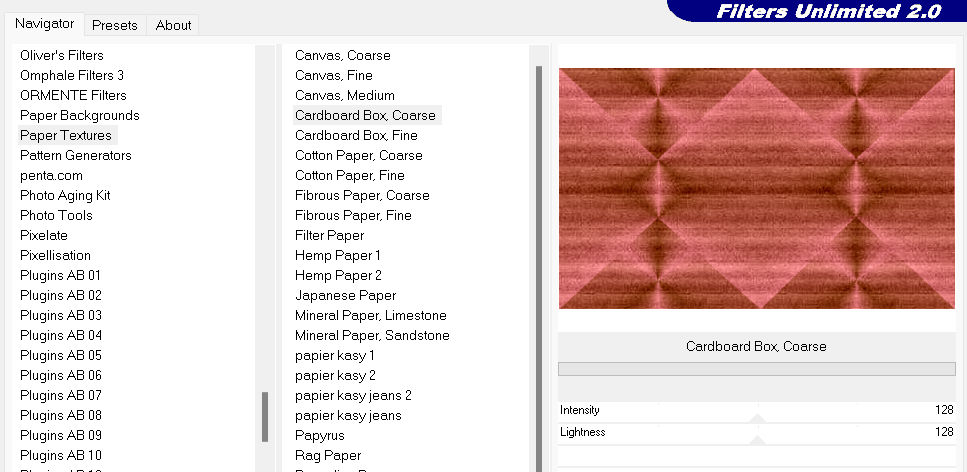
Effects---Plugins <I C Net Software> Filters Unlimited 2.0>Paper Textures---Cardboard Box,Coarse---128---128
18.
Effects---Edge Effects---Enhance.
19.
Image - Add Borders-Symmetric checked ---2 pixels---Color white
20.
Selections- Select All
21.
Edit---Copy
Image - Add Borders-Symmetric checked ---50 pixels---Color white
Selections---Invert
Edit - Paste into Selection
22.
Adjust---Blur---Radial Blur use the settings below

23.
Effects---Plugins---<I C Net Software> Filters Unlimited 2.0---Graphics Plus---Cross Shadow---using the default settings.
24.
Selections---Invert
25.
Effects- 3D-Effects - Drop Shadow with these settings: ---0---0--80---40. Color black
26.
Selections- Select none
27.
Open—the Tube -Vogeltjes-zwart
Edit---Copy
Activate your work -Edit - Paste as a new layer
8.
Pick Tool: (K) on your keyboard -Enter these parameters on the toolbar-- Position X 54---Position Y 379

Press ( M ) to close the Pick Tool
29.
Open—the Tube -Kamalini-1004
Edit---Copy
Activate your work -Edit - Paste as a new layer
Move to the right side
30.
Effects- 3D-Effects - Drop Shadow with these settings ---0---0--80---40. Color black
31.
Open-the Tube --Rand
Edit---Copy
Activate your work -Edit - Paste as a new layer
Move to Top Left
Effects- 3D-Effects - Drop Shadow with these settings ---1-1-100-1---Color white
32.
In the Layer Palette-Activate Raster 1
Adjust---One Step Photo Fix (default).
(in accordance with your wishes)
33.
Image - Add Borders-Symmetric checked ---1 Pixel---Black.
Add you watermark on new layer.
Save as JPG.
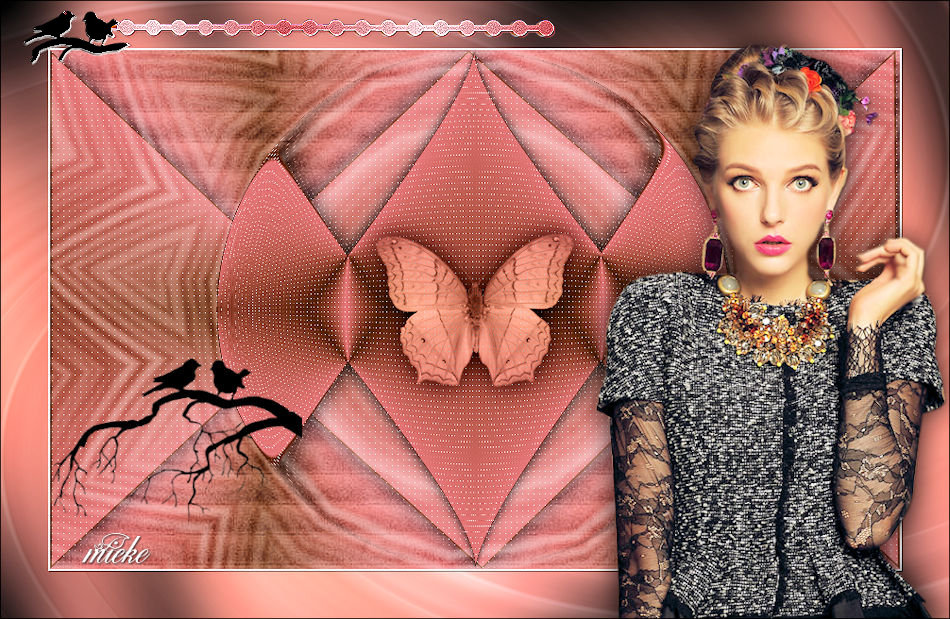
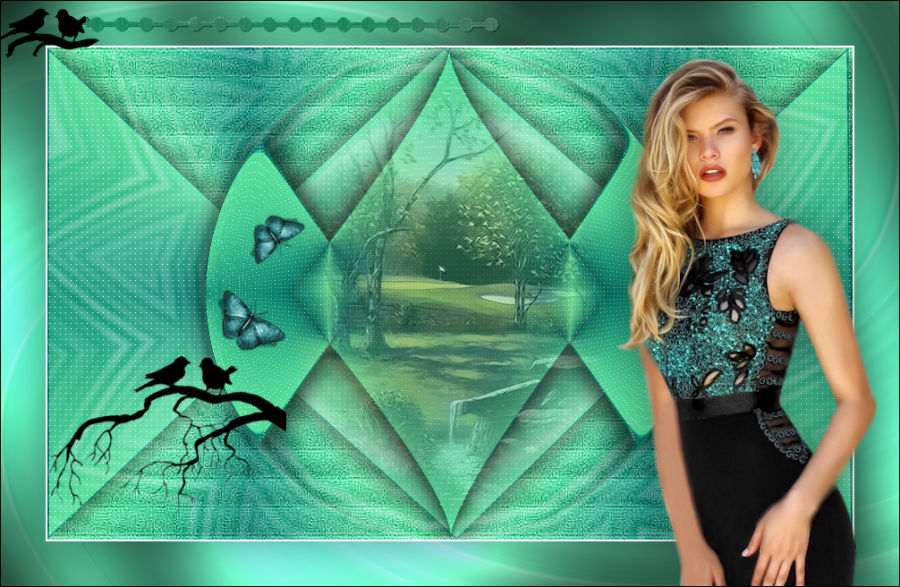
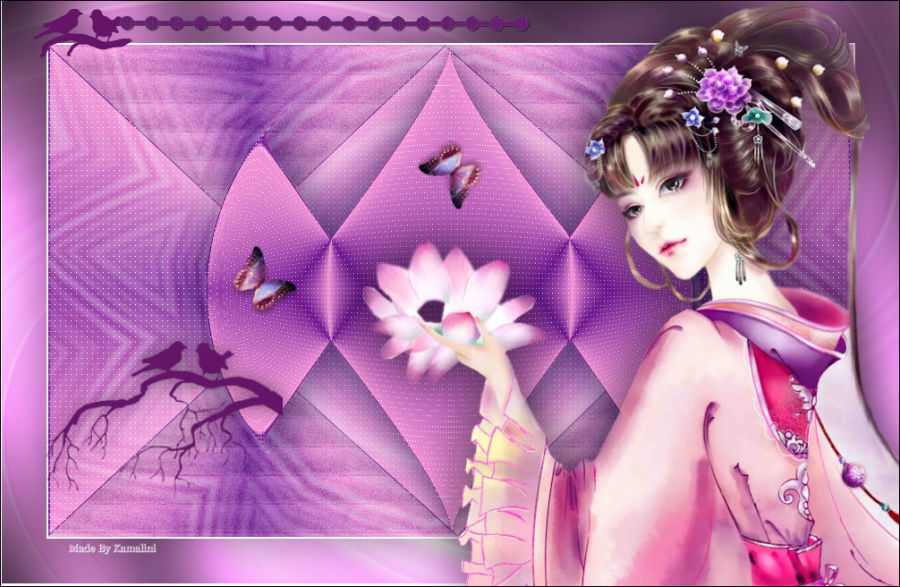
Voorbeelden gemaakt door Kamalni---Hennie---Corrie

|
