Lesson-260

Translation made by MARION
Supplies
Material

Colors
Material Properties-
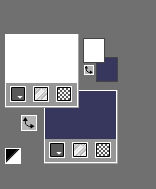
Set your Foreground color to color #ffffff---Set your Background color to color---#37375d
Plugins
These filters are used.
Filter---Mehdi---Sorting Tiles
Filter---<I C Net Software> Filters Unlimited 2.0---Filter Factory Gallery A---weave
Filter <I C Net Software> Filters Unlimited 2.0> (AFS IMPORT)---sqborder2
Filter ---Alien Skin Eye Candy 5: Impact---Glass
Filter---AAA Frames---Texture Frame
File-Open a new transparent Image---in this size
Width---900---Height 600.

Selections---Select All
1.
Open---the Tube ---Chris.jpg.
2.
Edit---Copy
Activate your work -Edit--- Paste into Selection.
Selections---Select None
3.
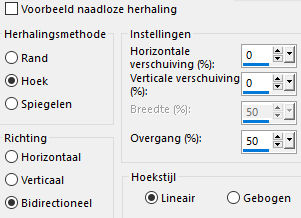
Effects- Image Effects---Seamless Tiling---using the Default Settings
4.
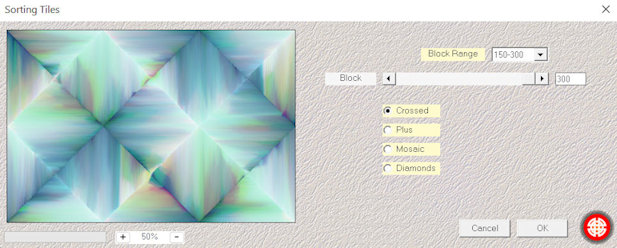
Effects---Plugins---Mehdi---Sorting Tiles---150---300-300-Crossed
5.
Effects---Edge Effects---Enhance More.
6.
Layers---Duplicate
7.
Image---Resize 80%.--- Resize all layers NOT checked.
8.
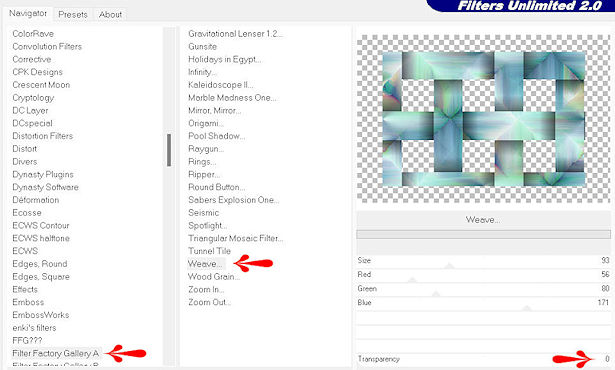
Effects--- Plugins--- Filter---<I C Net Software> Filters Unlimited 2.0---Filter Factory Gallery A---weave---93---56---80---171---0.
9.
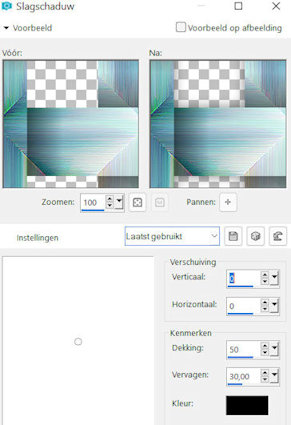
Effects---3D-Effects---Drop Shadow---0---0---50---30---color black
10.
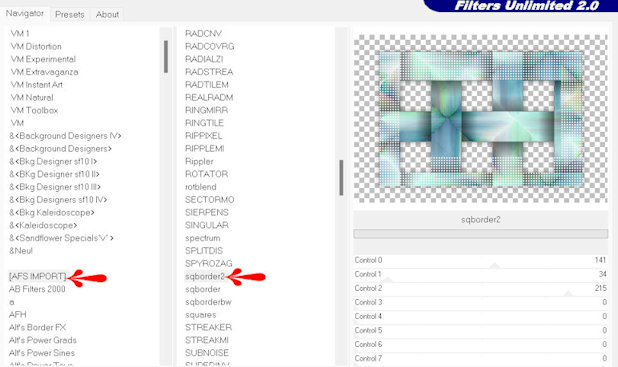
Effects---Plugins <I C Net Software> Filters Unlimited 2.0> (AFS IMPORT)-sqborder2---Default Settings.
11.
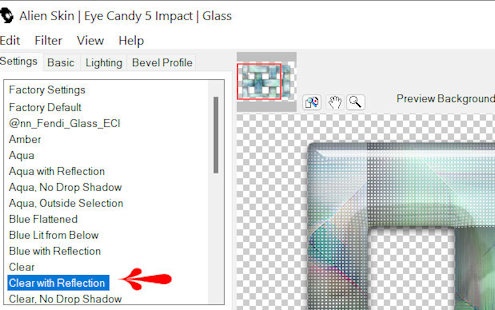
Effects--- Plugins ---Alien Skin Eye Candy 5: Impact---Glass---Clear with Reflection
12.
Layers-Properties---Change the Blend Mode to " Luminance Legacy “
13.
Layers---New Raster Layer
Flood Fill Tool-Fill te Layer with color #ffffff (white).
14.
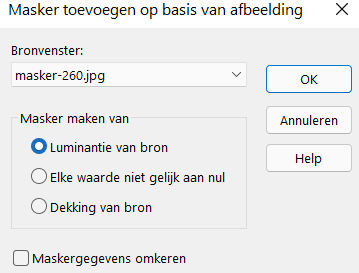
Layers- New Mask Layer---From Image select Mask
---masker-260
Source Luminance- checked---
15.
Layers---Merge---Merge- Group
16.
Open---Tube deco-260.png
Edit---Copy
Activate your work ---Edit - Paste as a new layer
Pick Tool: (K) on your keyboard -Enter these parameters on the toolbar--- Position X 270---Position Y min 26

Press ( M ) to close the Pick Tool
17.
Layers---Duplicate
Image---Mirror---Mirror Horizontal (Image---Mirror in older versions of PSP)
Layers--- Merge--- Merge Down.
18.
Open---the Tube --- ag-2.jpg
Edit---Copy
Activate your work---Edit--- Paste as a new layer
Layers---Arrange---Move Down.
Repeat 2 more times. (Layer is above Raster 1)
19.
Layers---Properties---Change the Blend Mode to " Luminance Legacy “ (customize to your liking)
20.
Image---Add Borders-Symmetric checked---2 pixels---with the dark color
Image---Add Borders-Symmetric checke ---3 pixels---Color white
Image---Add Borders---Symmetric checked ---2 pixels---with the dark color
Selections---Select All
Image---Add borders---Symmetric checked---40 pixels with your light color
Effects---3D-Effects---Drop Shadow ----0---0---50---30---color black
Selections---Select none
21.
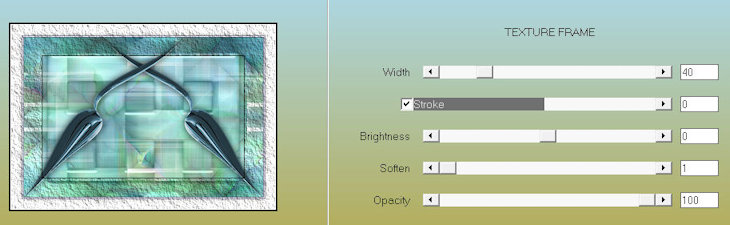
Effects---Plugins---AAA Frames---Texture Frame---Default settings
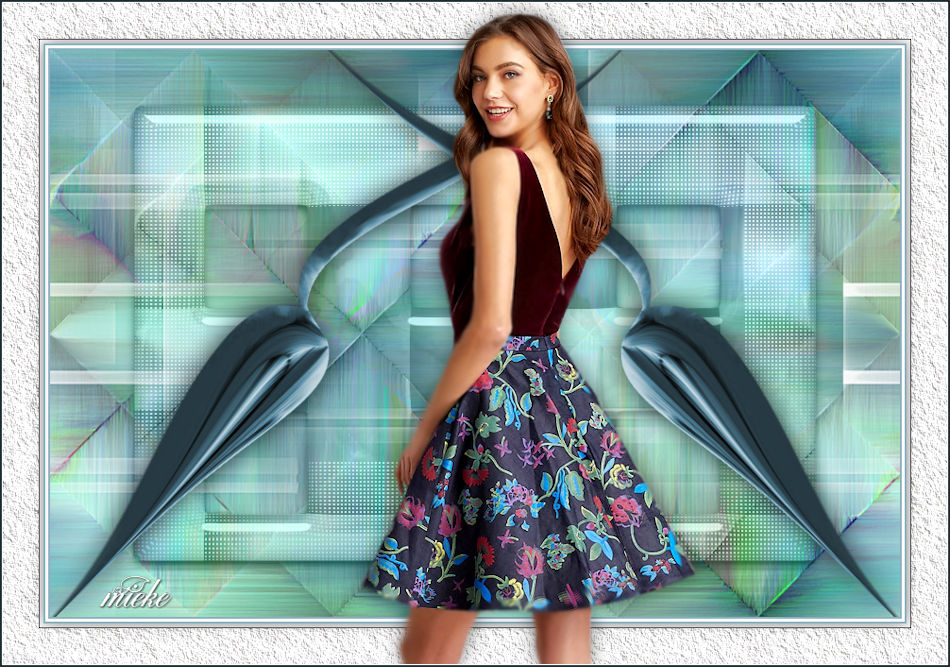
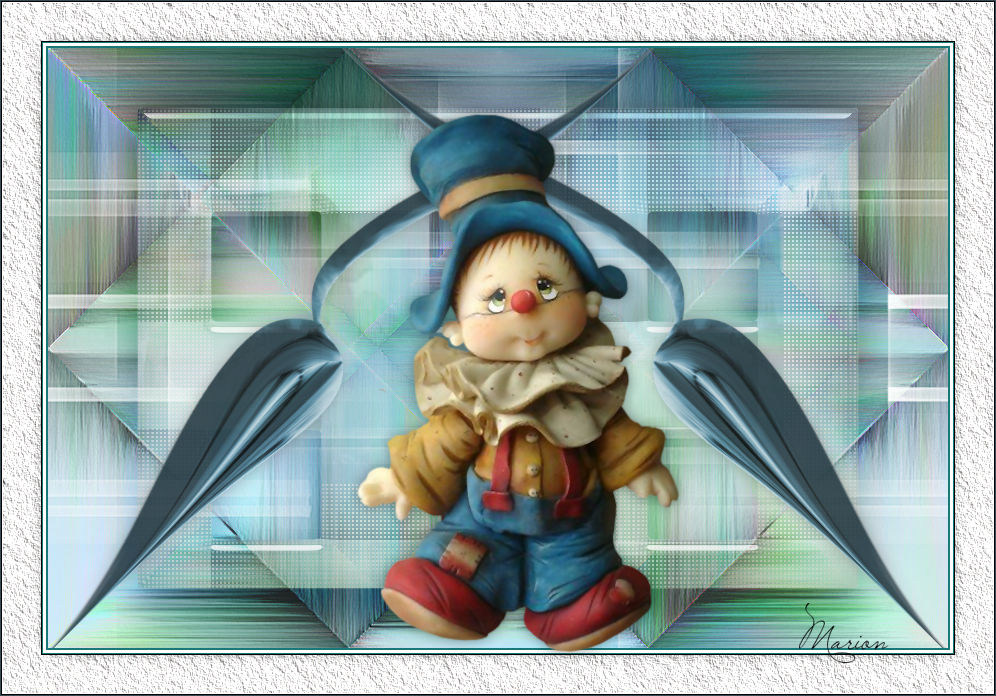
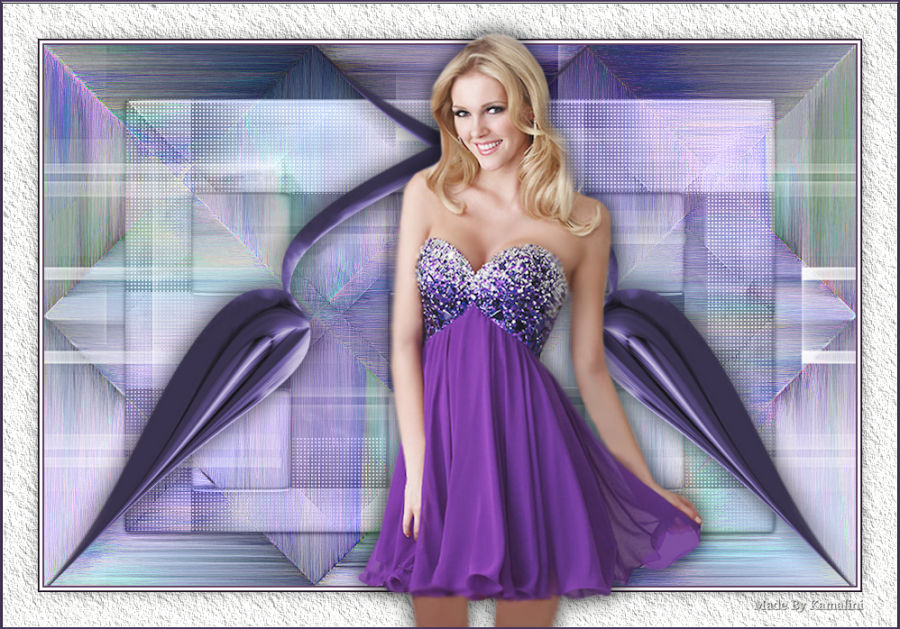
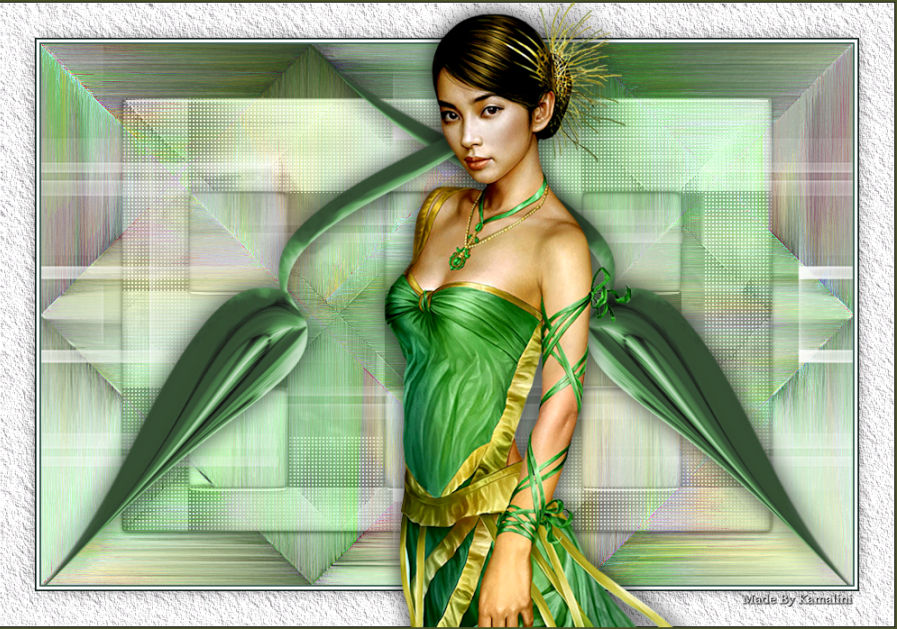
22.Open---Tube---Kamalini-764.png
Edit---Copy
Activate your work -Edit - Paste as a new layer
Move the tube slightly down.
Effects---3D-Effects---Drop Shadow : 0---0---50---30---color black
23.
Add you watermark on new layer.
Save as JPG

|