Lesson 257

Translation made by MARION
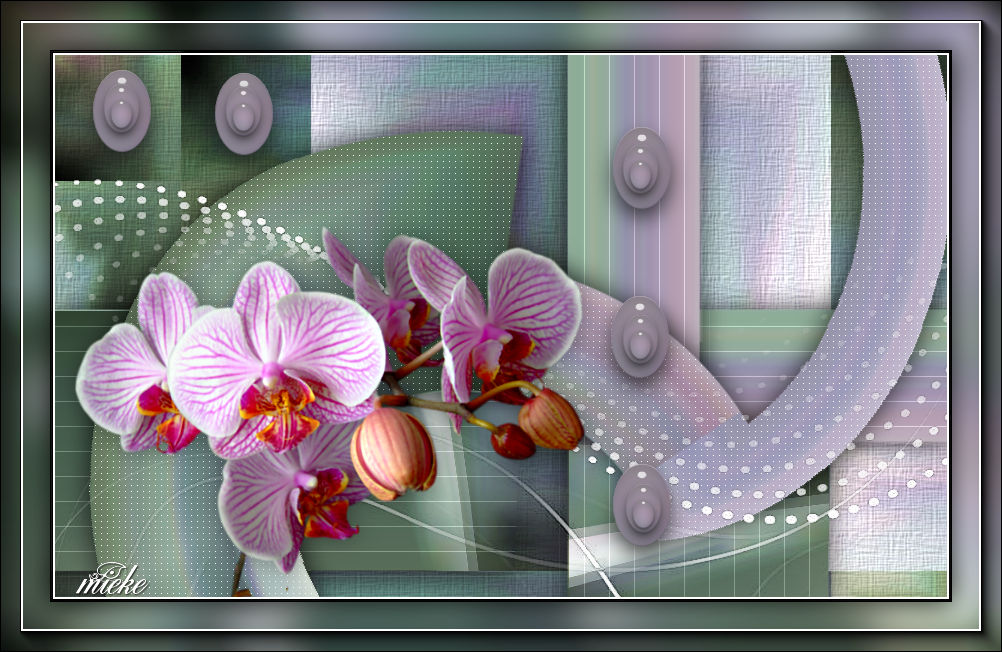 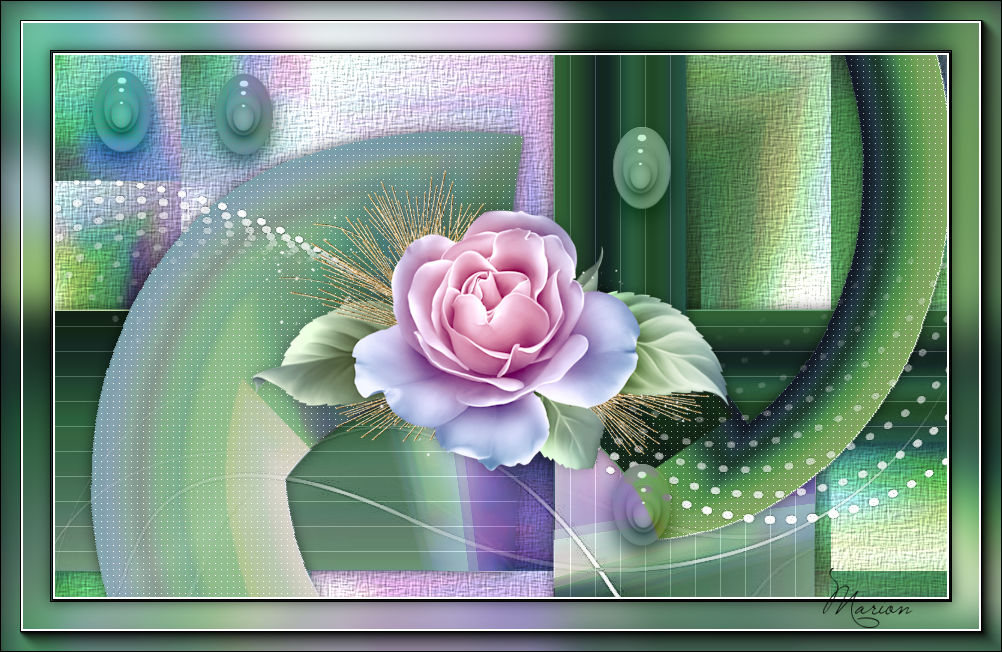
Supplies
Material

Textuur----Arcering fijn--- Place the Texture in the Texture folder of psp.
Preparation
Material Properties:
Set your foreground color to color #ffffff---white
Set your background color to color #000000---black
Plugins
Filter Unlimited 2.0>---Render---Color Clouds
Filter---Mehdi---Sorting Tiles
Filter---Mura`s Meister---Pole Transform 2.1
Filter--- Unlimited 2.0---VM Extravaganza
Filter---Carolaine and Sensibility CS-LDots
Filter---AAA Frames---Foto Frame
1.
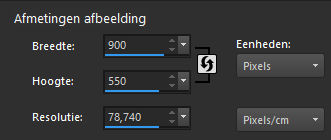
File-Open a new transparent Image ---in this size
Width---900---Height---550.
2.
Flood Fill Tool-Fill the layer with the foreground color #ffffff
3.
Effects-Plugins -Filter---<I C Net Software> Filters Unlimited 2.0>---Render--- First click on reset ---Color Clouds—167
(this background is in the zip file)

4.
Effects---Plugins---Mehdi---Sorting Tiles---150---300---260---Plus

5.
Selections –load/save selection –load selection from disc and select my selection: mb-257
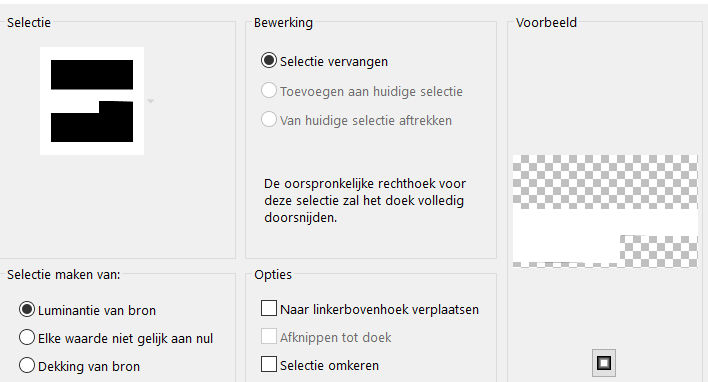
6.
Selections- Promote selection to layer
7.
Selections- Select None
8.
Layers---Duplicate
9.
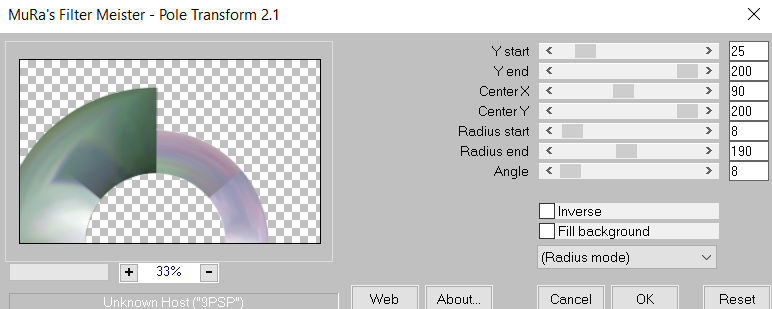
Effects---Plugins--- Mura`s Meister---Pole Transform 2.1—25---200---90---200---8---190---8.
10.
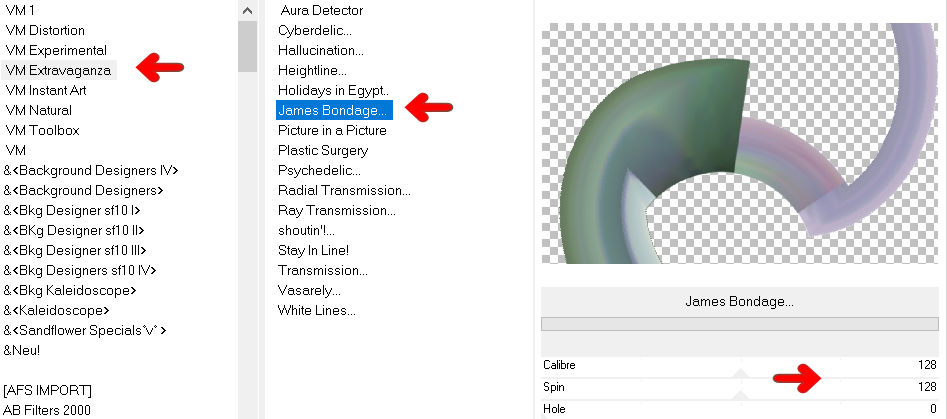
Effects—Plugins- Filter---<I C Net Software> Filters Unlimited 2.0---VM Extravaganza----James Bondage---128---128---0.
11.
Effects---Plugins—Carolaine and Sensibility CS-LDots---140---3---2

12.
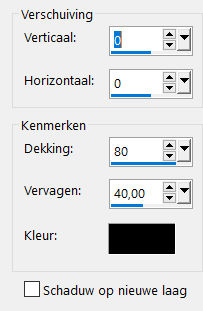
Effects---3D-Effects---Drop Shadow with these settings: : 0---0---80---40--Color-Black
13.
Activate -Promoted selection layer in the Layer Palette (middle layer)
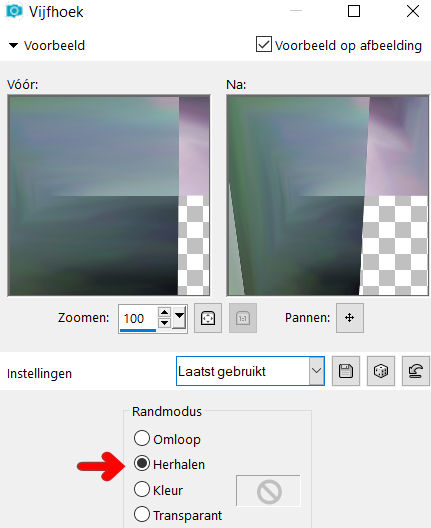
Effects---Geometric- Effects--- Pentagon--Repeat checked.
14.
Repeat-Effects---Geometric- Effects--- Pentagon--Repeat checked.

15.
Effects---3D-Effects---Drop Shadow with these settings: ----0---0---80---40--- Color -Black
16.
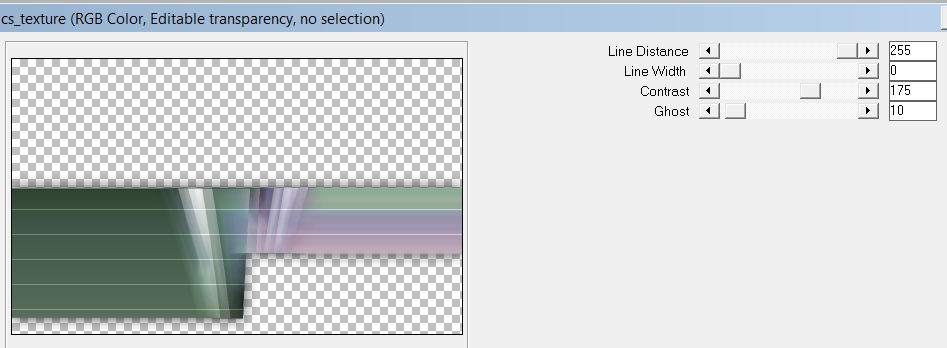
Effects---Plugins—Carolaine and Sensibility CS-Texture ---255---0---175---10
17.
Layers---Duplicate
18.
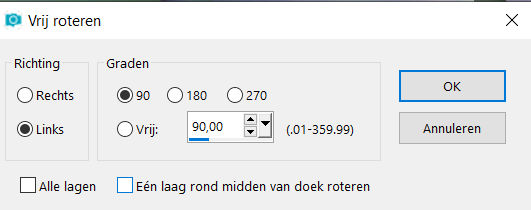
Image- Free Rotate---90% left— Nothing checked.
19.
Pick Tool: (K) on your keyboard -Enter these parameters on the toolbar-Position X 486---Position Y min 30
Press ( M ) to close the Pick Tool

20.
- Activate the bottom of the layer palette =Raster 1
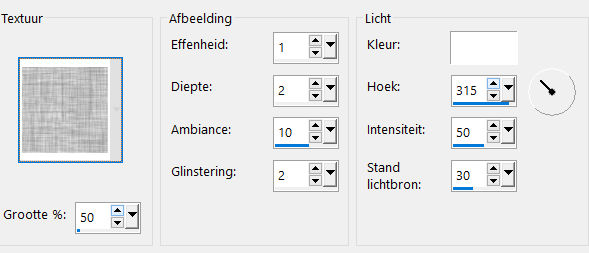
Effects---Texture Effects---Texture----Arcering fijn---50---1---2---10---2---315---50---30-= color white
21.
- To replace the top of the layer-palette
Layers- New raster Layer
Flood Fill Tool-Fill the layer with the foreground color #ffffff (white)
22.
Open--- masque-511-faniemargot.jpg---in your Psp
Click on the minus sign at the top right.
Layers- New Mask Layer- From Image and select- masque-511-faniemargot.jpg
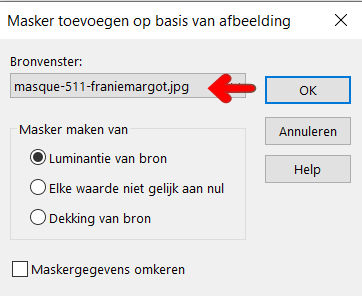
Source Luminance---Checked.
Layers---Merge---Merge Group
23.
Image - Mirror - Mirror vertical ( Image - Flip in older versions of PSP)
Pick Tool: (K) on your keyboard -Enter these parameters on the toolbar-Position X 0---Position Y 128

24.
Effects---Edge Effects---Enhance.
25.
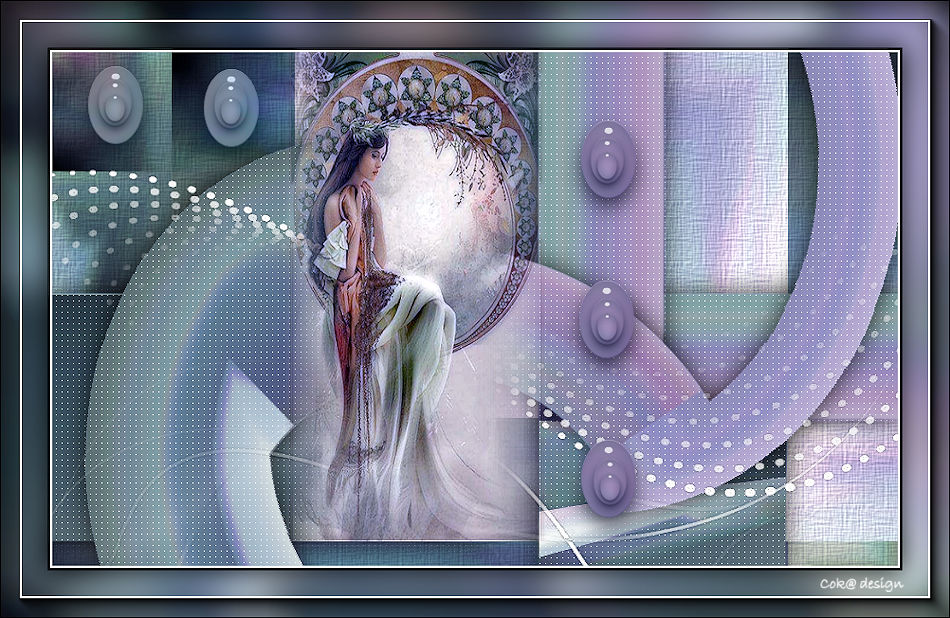
Open—the Tube - deco--1-257.png
Edit - Copy-
Activate your work -Edit - Paste as a new layer
Pick Tool: (K) on your keyboard -Enter these parameters on the toolbar-Position X 530---Position Y 57

26.
Open-- the —tube - deco-2-257.png
Edit - Copy-
Activate your work -Edit - Paste as a new layer
Pick Tool: (K) on your keyboard -Enter these parameters on the toolbar---- Position X 12---Position Y 0

Layers-Properties-Set the Blend Mode to " Luminance Legacy "
27.
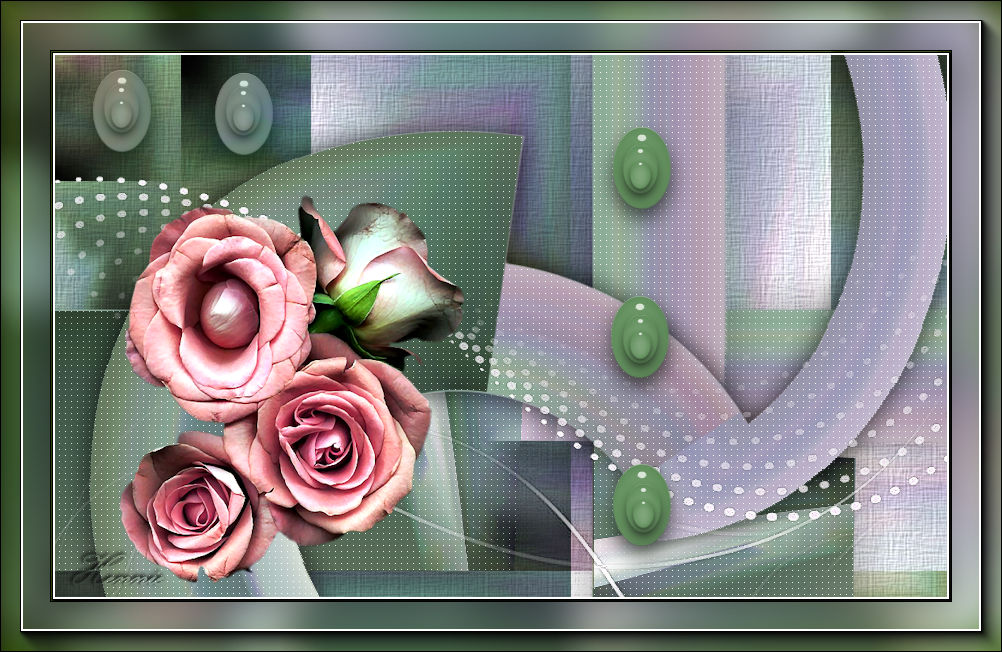
Open—the Tube - orchide-paars.png
Edit - Copy-
Activate your work -Edit - Paste as a new layer
Pick Tool: (K) on your keyboard -Enter these parameters on the toolbar---- Position X min 7---Position Y 151
 . .
Press ( M ) to close the Pick Tool (deselect)
28.
Image - Add borders-Symmetric checked: 1 pixel- Color #000000(black)
Selections---Select All
Edit - Copy-
Image - Add borders-Symmetric checked ---50 pixels---Color white
Selections-Invert
Edit - Paste into selection
Adjust---Blur---Gaussian Blur- Radius ---20.
Selections-Invert
Effects---Plugins--- filters---AAA Frames---Foto Frame use the settings below
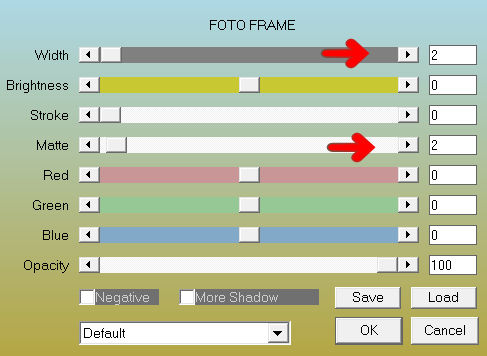
Effects- 3D-Effects - Drop Shadow with these settings:----0---0---80---40---Color Black
Selections---Select None
29.
Effects---Plugins---AAA Frames---Foto Frame with these settings
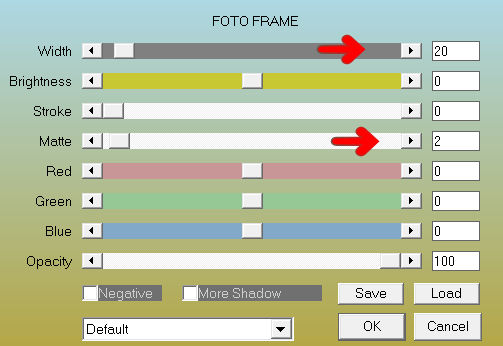
Add you watermark on new layer.
Save as JPG
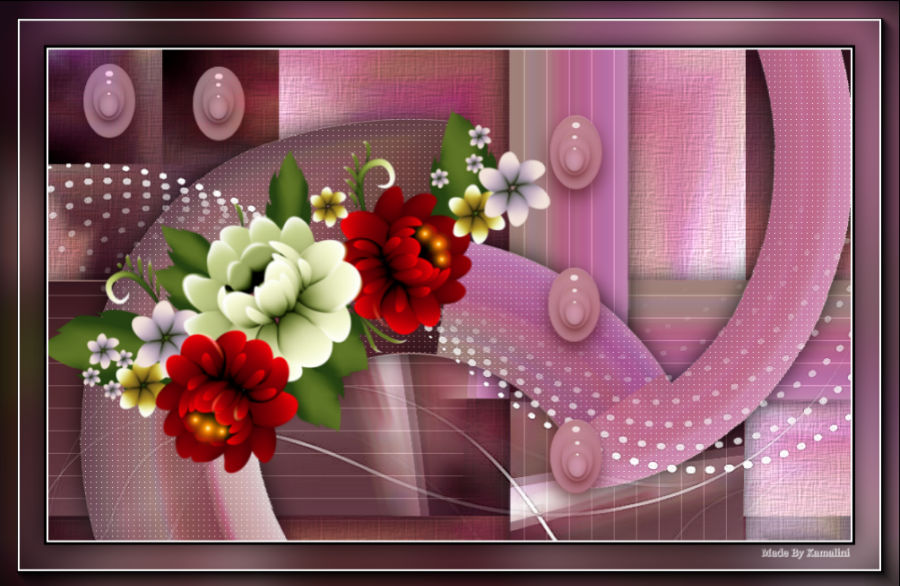
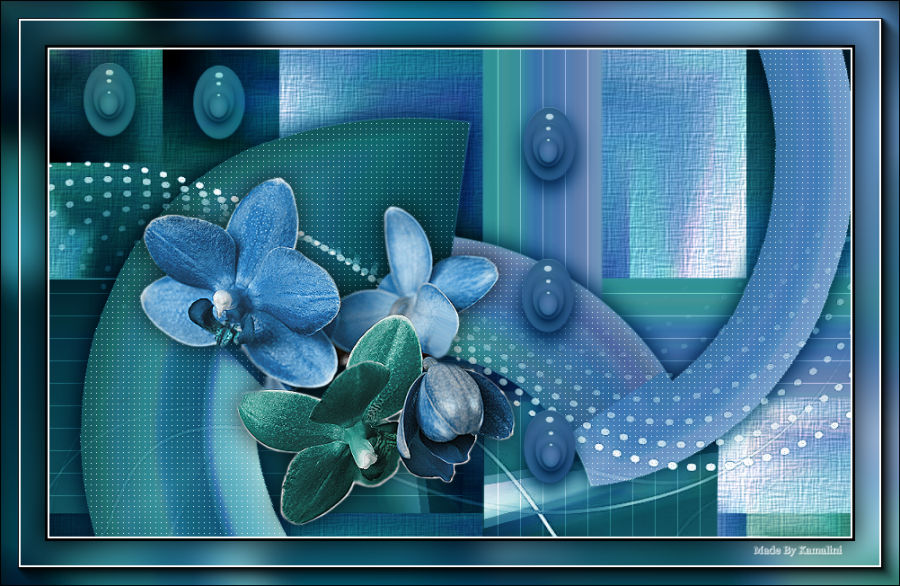
Kamalini Hennie en Marion

|