LESSON 255

Translation made by MARION
Material

Flower/Bloemen Tube by LB Tubes
Woman Tube--- Kamalini Tubes
Thank you for your permission.
Plugins
Sapphire Filters 06---559
Alien Skin Eye Candy 5: Impact---Glass
Material Properties: Set your foreground color to color #091973--- Set your background color to color # 6c7bce
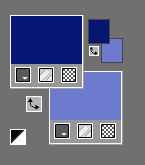
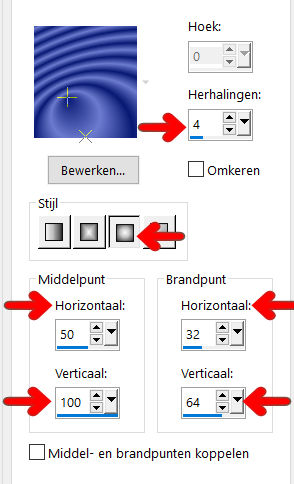
Set your Foreground color to a Foreground/Background Gradient, style Sunburst
configured like this ----0---4---Centerpoint 50---100. Focalpoint 32---64.
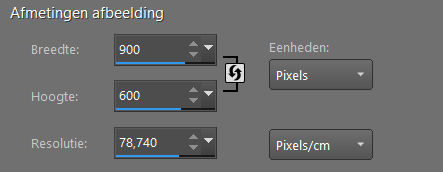
1 File: Open a transparent image of
Width---900---Height---600.
1.
Activate your Flood Fill Tool - Fill the layer with the gradient
2.
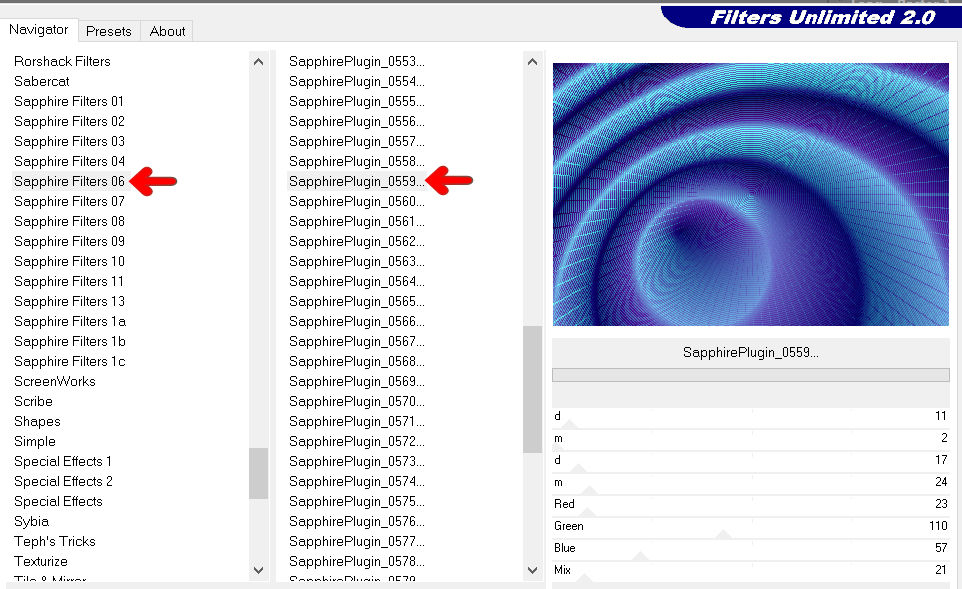
Effects -Plugins---<I C Net Software> Filters Unlimited 2.0>---Sapphire Filters 06---559---using the default settings
3.
Layers- New Raster Layer
4.
Set your background color to white
Activate your Flood Fill Tool - Fill the layer with the Background color #ffffff.
5.
Layers- New Mask Layer -From Image —Select Mask 07ba.jpg
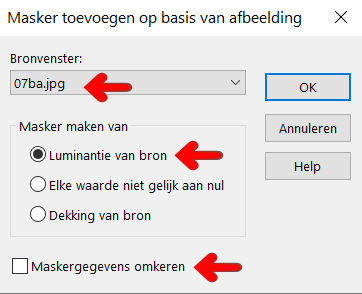
Layers- Merge- Merge Group
6.
Layers-Properties-Change the Blend Mode to " Luminance -Legacy "
7.
Open—the tube - BLAUW-DECO-1.png
Edit-Copy
Activate your work -Edit - Paste as a new layer.
8.
Activate the bottom of the layer palette =Raster 1
9.
Selections –load/save selection –load selection from disc and select my selection:-mb-xxx.PspSelection
Selection-Promote Selection to Layer
Layers- Arrange- Bring to Top
10.
Effects---Plugins----Filter ---Alien Skin Eye Candy 5: Impact---Glass----instelling Clear.

11.
Selections- Deselect All
Effects- 3D-Effects - Drop Shadow with these settings: 0---0---80---40. Color Black

13.
Open- the tube --deco-2-255.-BLAUW.png
Edit-Copy
Activate your work -Edit - Paste as a new layer
Pick Tool: (K) on your keyboard -Enter these parameters on the toolbar.----Position X---304 ---Position Y---10

Effects- 3D-Effects - Drop Shadow with these settings: 0---0---80---40. Color Black.
14.
Open—the tube --3482 - still life - LB TUBES.png
Delete--- text ----LB tubes.
Edit-Copy
Activate your work -Edit - Paste as a new layer
15.
Pick Tool: (K) on your keyboard -Enter these parameters on the toolbar Position X---61 ---Position Y---71

16.
Layers-Properties-Change the Blend Mode to " Luminance-Legacy "
17.
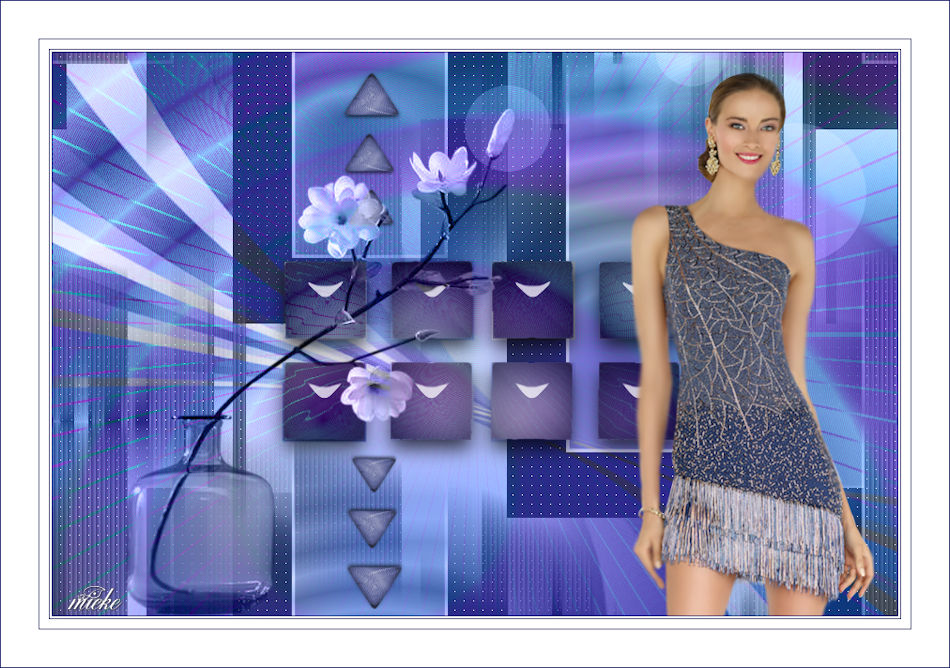
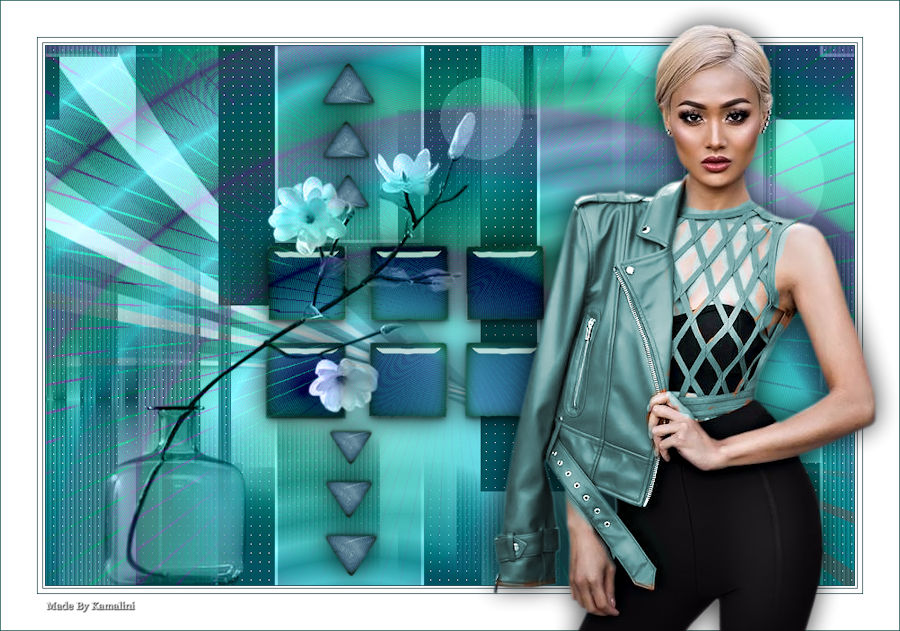
Open—the tube - Kamalini-960 .png
Edit-Copy
Activate your work -Edit - Paste as a new layer
Move to the right
18.
Effects---3D-Effects-Drop Shadow with these settings : 0---0---80---40. Color Black
19.
Image - Add borders-Symmetric checked:---1 pixel—Dark Color
Image - Add borders-Symmetric checked:---2 pixels---Color White
Image - Add borders-Symmetric checked:---1 pixel---Dark Color
Image - Add borders-Symmetric checked:---5 pixels---Color White
Image - Add borders-Symmetric checked:—1 pixel---Dark Color
Image - Add borders-Symmetric checked:---40 pixels---Color White
Image - Add borders-Symmetric checked:---1 pixels---Dark Color
Place your watermark on a new layer
Save as JPG.
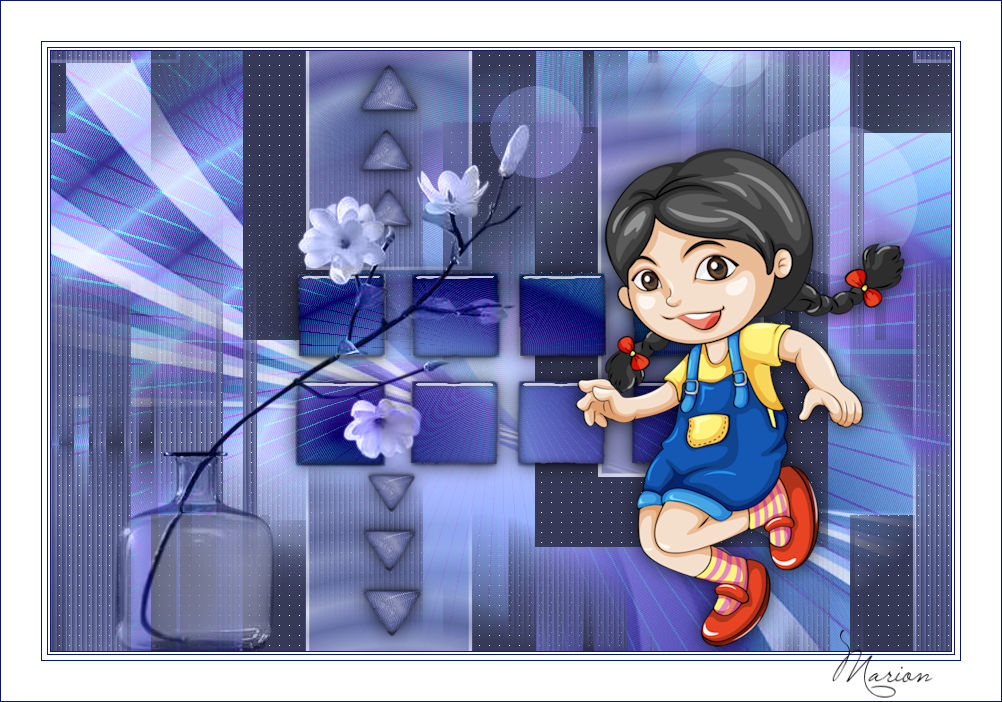
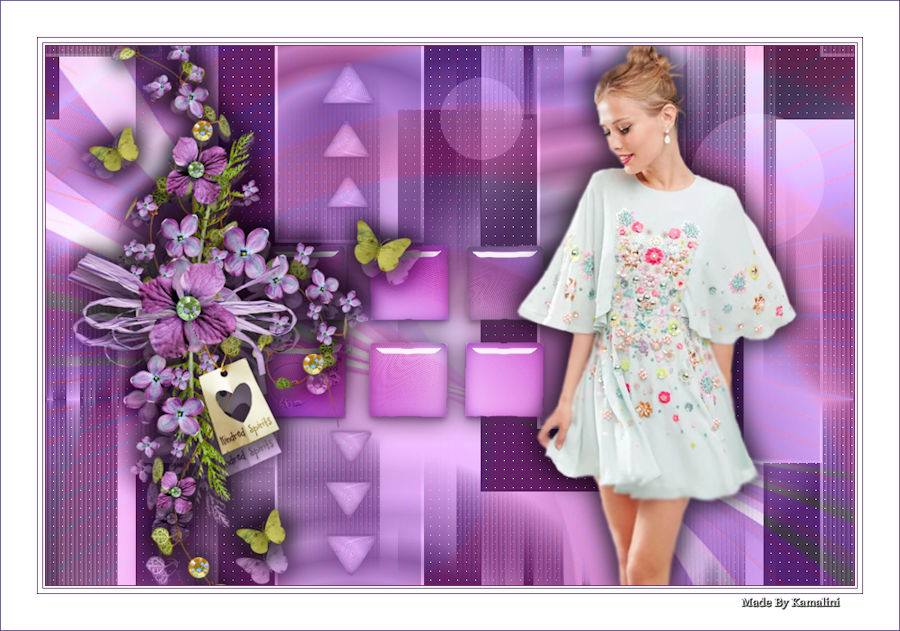
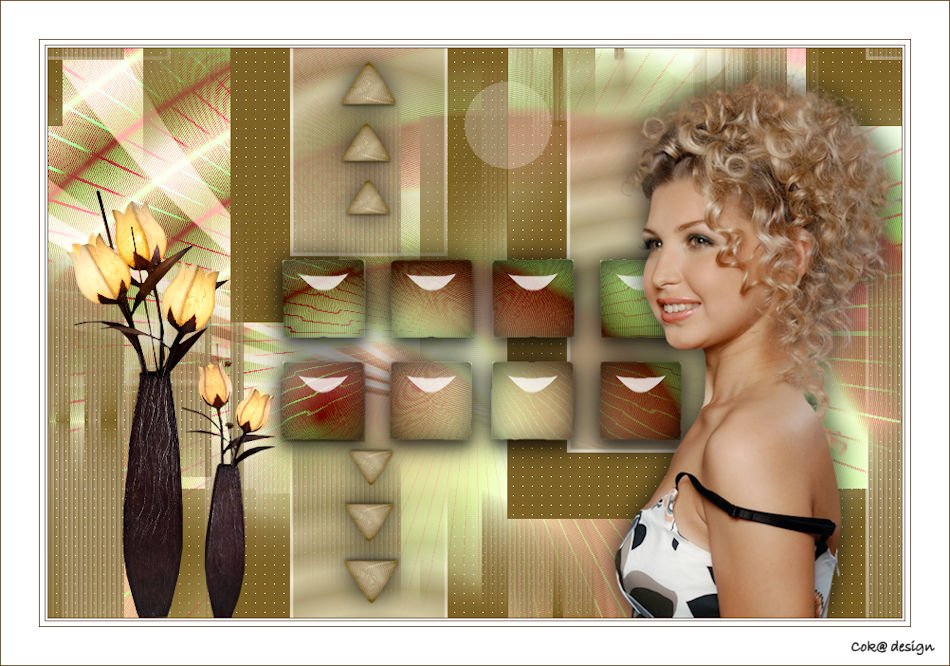
Voorbeelden gemaakt door Kamalini Hennie en Corrie

|