Lesson-253

Translation made by MARION
Material

Plugins
Filter---Mehdi ---Sorting Tiles
Filter---<I C Net Software> Filters Unlimited 2.0
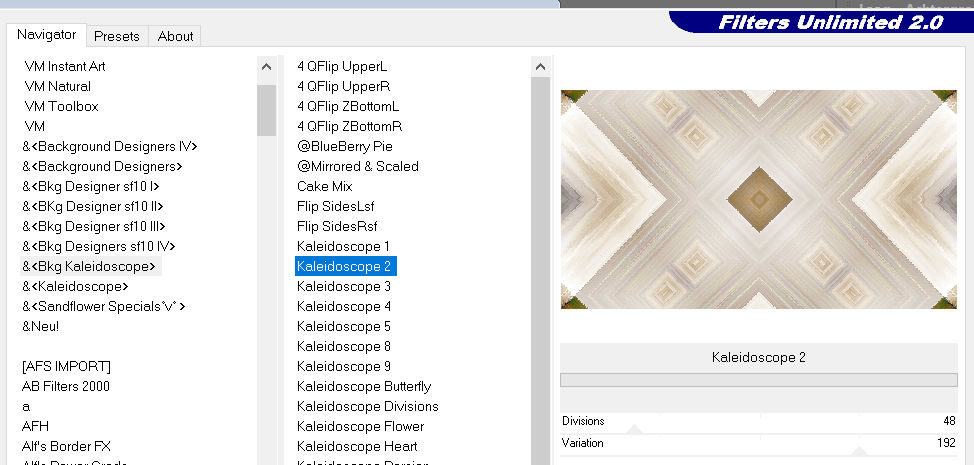
&<Bkg Kaleidoscope>---Kaleidoscope 2
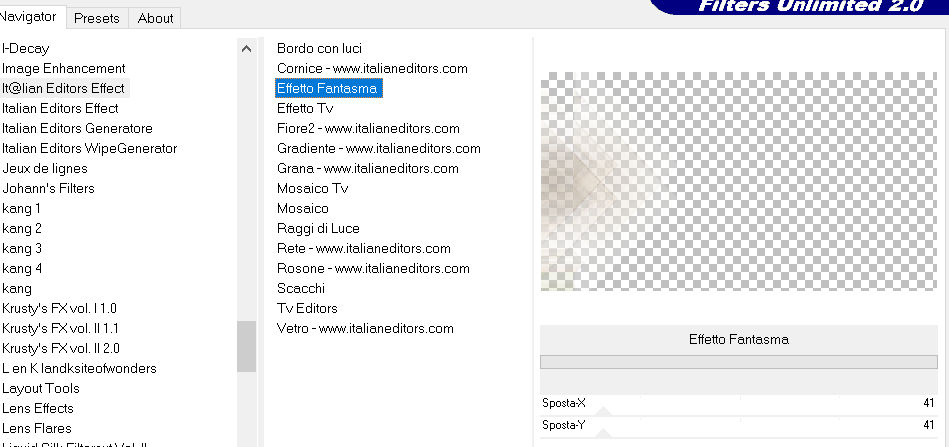
Filter---<I C Net Software> Filters Unlimited 2.0>---It@lian Editors Effects---Effetto Fantasma
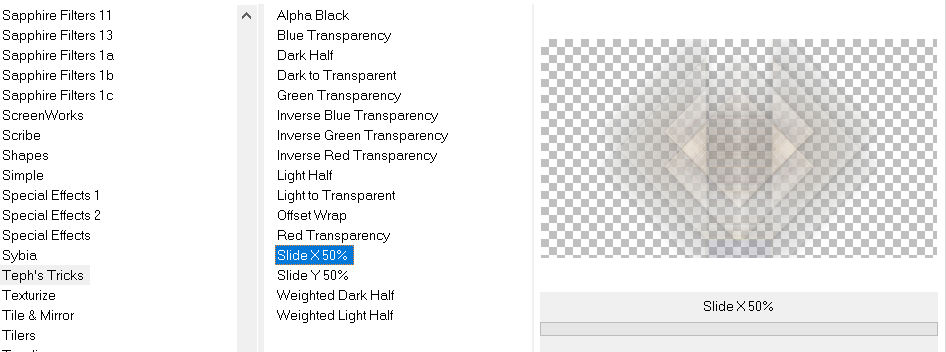
Filter---<I C Net Software> Filters Unlimited 2.0>---Teph`s Tricks
Filter---AAA Frames---Foto Frame
Material Properties: Set your foreground color to color #cdc9c6--- Set your background color to color #ffffff

1.
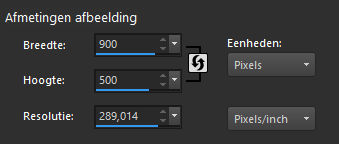
File: Open a transparent image of
900x 500.Pixels
2.
Selections-Select All
3.
Open—the image - 1903pg17.png
Edit-Copy
Edit - Copy- Activate your work -Edit - Paste into Selection
Selections-Deselect All
4.
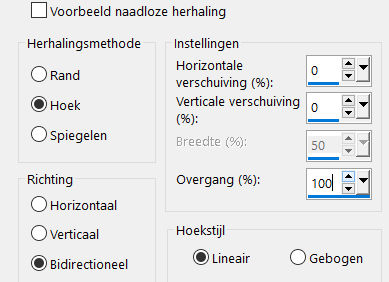
Effects-Image Effects-Seamless Tiling—Default Settings---Transition 100
5.
Layers- Merge- Merge All
6.
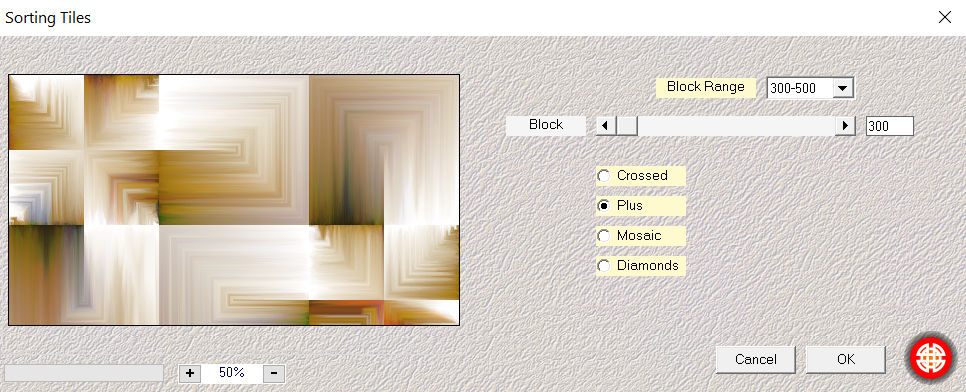
Effects---Plugins---Mehdi ---Sorting Tiles –Block Range 300-500---Block 300---Plus.
7.
Effects---Edge Effects---Enhance More.
8.
Effects---Plugins---<I C Net Software> Filters Unlimited 2.0
&<Bkg Kaleidoscope>---Kaleidoscope 2 with these settings:
48---192
9.
Selections –load/save selection –load selection from disc and select my selection -mb-253-1.PspSelection.
Selections- Promote selection to layer
Selections---Deselect All
10.
Effects---Plugins---<I C Net Software> Filters Unlimited 2.0>---It@lian Editors Effects---Effetto Fantasma---41---41.
11.
Layers---Duplicate
Image - Mirror - Mirror Horizontal (Image - Mirror in older versions of PSP)
Layers>Merge>Merge Down.
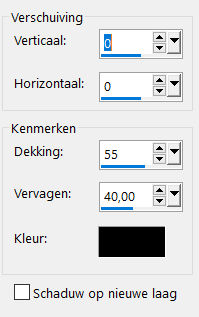
Effects- 3D-Effects - Drop Shadow with these settings:
0---0---55---40. Color Black
12.
Layers---Duplicate
Effects -Plugins---<I C Net Software> Filters Unlimited 2.0>---Teph`s Tricks---Slide X 50%
13.
Effects- 3D-Effects - Drop Shadow with these settings
0---0---55---40. Color Black
14.
Layers- Merge merge Down
15.
Effects---Edge Effects--- Enhance.
16.
Selections –load/save selection –load selection from disc and select my selection
-mb-253-12.PspSelection
Selections- Promote selection to layer
Selections- Deselect All
Effects- 3D-Effects - Drop Shadow with these settings
0---0---55---40. Color Black
17.
Open-the tube carres_b&w_vir..png
Edit---Copy
Activate your work -Edit - Paste as a new layer Effects- 3D-Effects - Drop Shadow with these settings
0---0---55---40. Color Black
18.
Open—the tube - deco-253-3.png
Edit---Copy
Activate your work -Edit - Paste as a new layer.
Do not move it is in the right place
19.
Open—the tube - deco-gaas.png
Edit---Copy
Activate your work -Edit - Paste as a new layer.
Do not move, it is in the right place
20.
Selections –load/save selection –load selection from disc and select my selection: mb-253-13.PspSelection.
Effects- 3D-Effects - Drop Shadow with these settings 0---0---55---40. Color Black
Selections- Deselect All
22.
Image - Add borders-Symmetric checked: ---1 pixel---Foreground Color
Image - Add borders-Symmetric checked: ---3 pixels---Color White
Image - Add borders-Symmetric checked: ---1 pixel--- Foreground Color
23.
Edit- Copy
Selections---Select All
24.
Image - Add borders-Symmetric checked: ---30 pixels---Color White
Selections -Invert
25.
Activate your work -Edit - Paste into selection.
Adjust---Blur---Gaussian Blur---Radius 20.
Selections -Invert
Effects---3D-Effects--- Drop Shadow with these settings:0---0---55---40. Color Black
26.
Selections---Deselect All
Image - Add borders-Symmetric checked: ---1 pixel--- Foreground Color
Image - Add borders-Symmetric checked: ---3 pixels---Color White
27.
Open—the tube - Kamalini-446.png
Remove watermark
Edit- Copy
Activate your work -Edit - Paste as a new layer
Image ---Resize ---80%--- All layers not checked
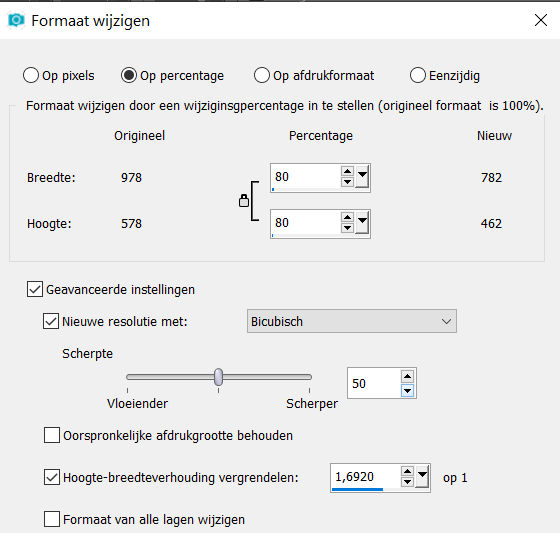
Repeat this 2 more times.
Move to the right--see example.
Effects---3D-Effects--- Drop Shadow with these settings:
0---0---55---40. Color Black
28.
Open—the tube - a0db1b8b.png
Edit- Copy
Activate your work -Edit - Paste as a new layer
Move to Left--see example.
Effects---3D-Effects--- Drop Shadow with these settings:0---0---55---40. Color Black
29.
Image - Add borders-Symmetric checked:---1 pixel--- Foreground Color
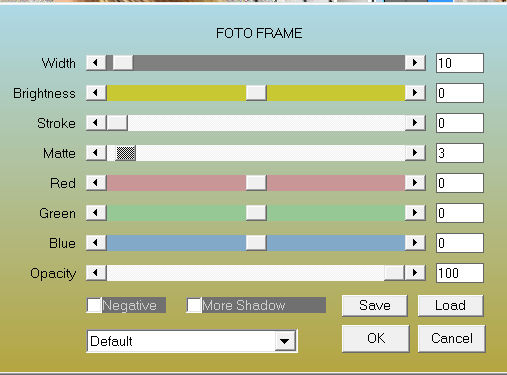
Effects---Plugins -AAA Frames---Foto Frame---Width—10---Matte 3---use the settings below
Place your watermark on a new layer
Save as JPG.
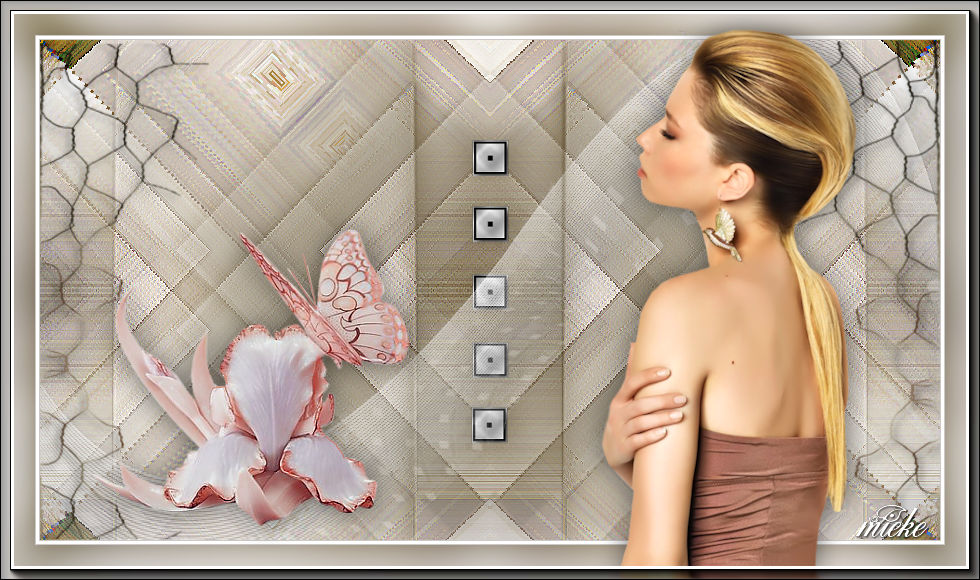
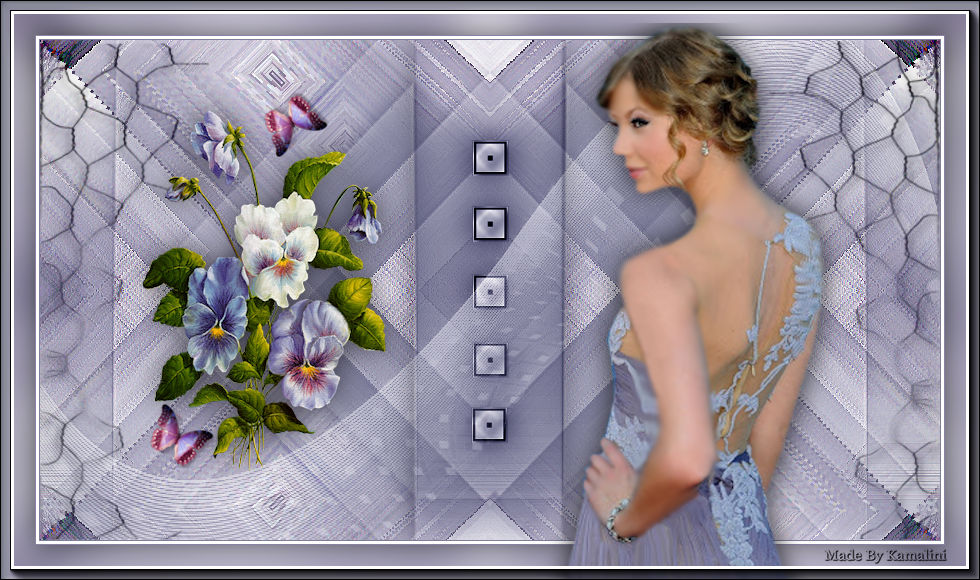
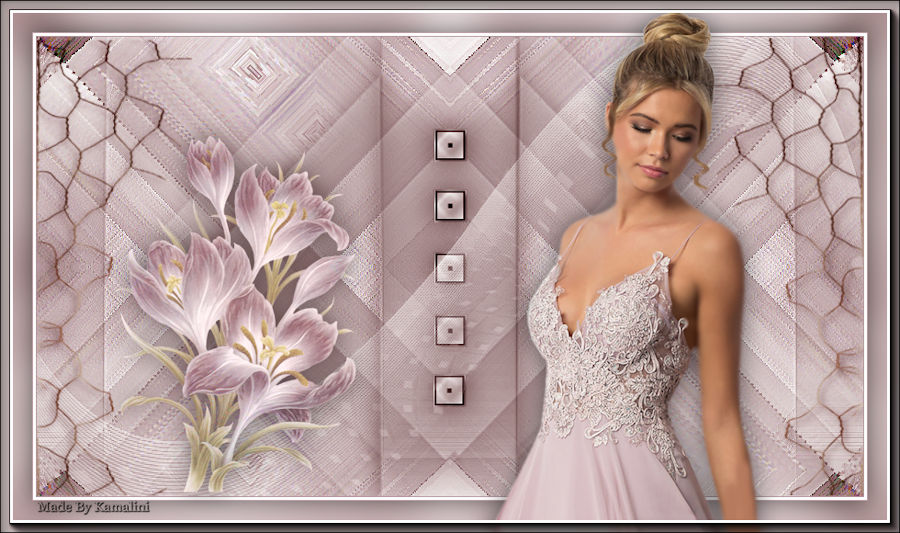
Voorbeelden gemaakt door Kamalini Hennie en Corrie

|