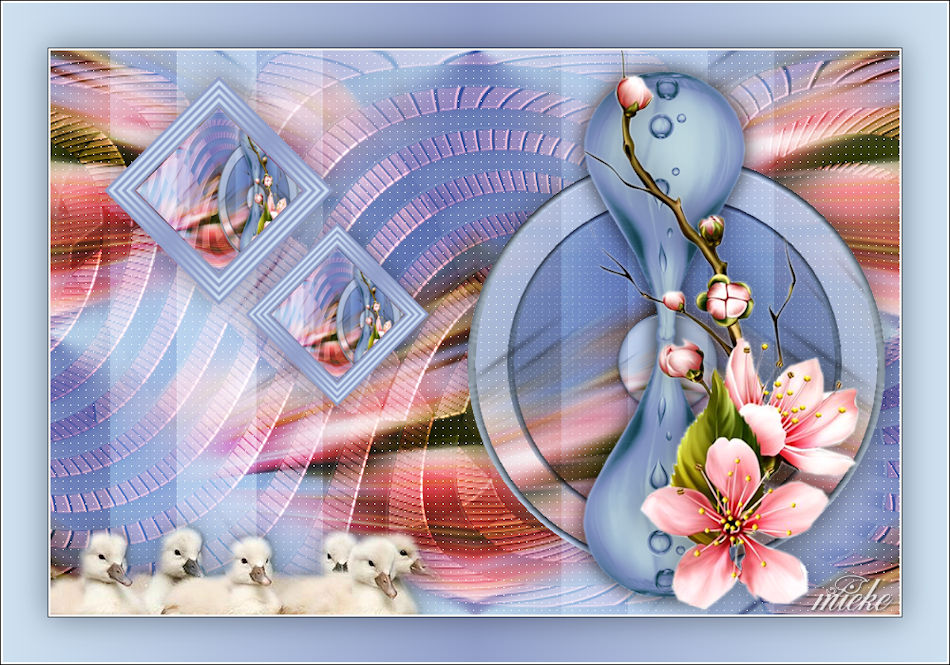
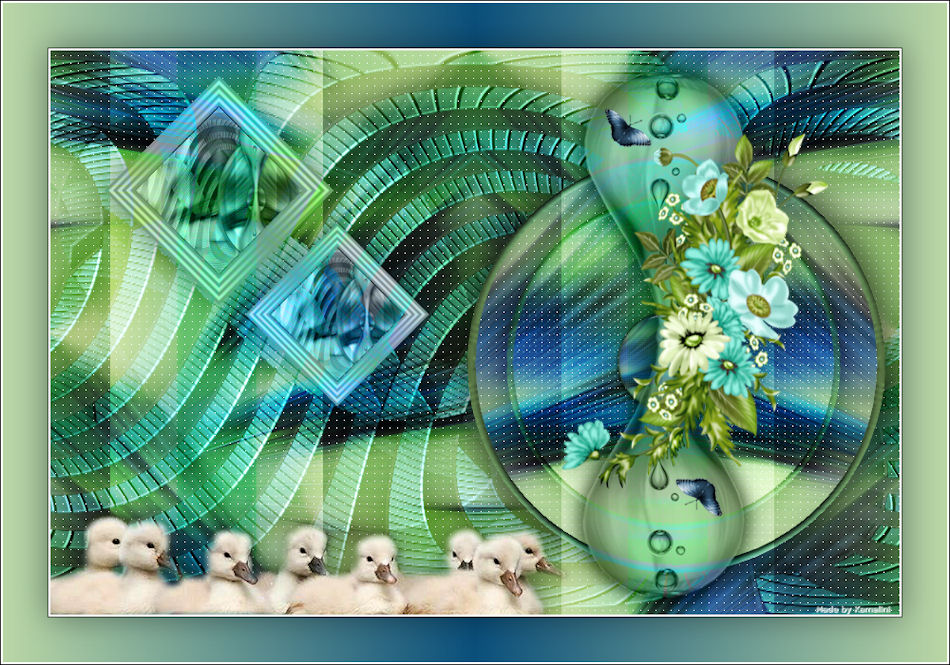
Lesson-250

Translation made by MARION
Supplies/Material.

Plugins
Effects-Plugins--- AP 01 (Innovations)-lines-Silverlining
Effects-Plugins-Alien Skin Eye Candy 5: Impact---Glass----Clear
Effects- Plugins---<I C Net Software> Filters Unlimited 2.0>---Toadies---What Are You
Effects- Plugins---AAA Frames---Foto Frame
Colors
Filters
Filter--- AP 01 (Innovations)-lines-Silverlining
Filter---Alien Skin Eye Candy 5: Impact---Glass----Clear
Filter---<I C Net Software> Filters Unlimited 2.0>---Toadies---What Are You
Filter---AAA Frames---Foto Frame
Preparation
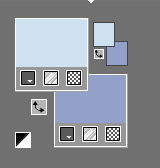
- Material Properties :
- Set your foreground color to color #cee1f0 -
Set your background color to color # 93a0Ca
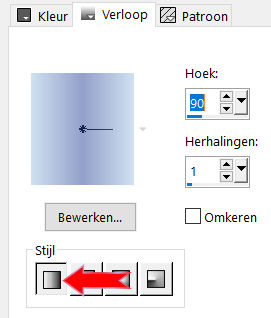
Properties foreground: Change foreground material into gradient
Prepare a foreground/background linear gradient configured like this
---Angel 90---Repeats 1---Invert not checked.
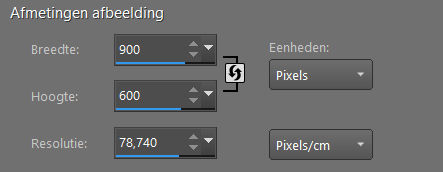
1. File---New---Transparent Image
Size. Width---900---Height---600.
2. Flood Fill Tool-Fill the layer with the gradient.
3. Selections---Select All
4.Open-tube--bloemen-250.png
5. Edit -Copy
Activate your work -Edit - Paste into selection
Selections- Deselect All
6. Effects---Edge Effects---Enhance.
7. Adjust- Blur- Radial Blur with these settings:
Click on Preview---Zoom 29
---Strength 60---Elliptical checked---Horizontal offset 92---Vertical offset 56---Protect center--- 17.

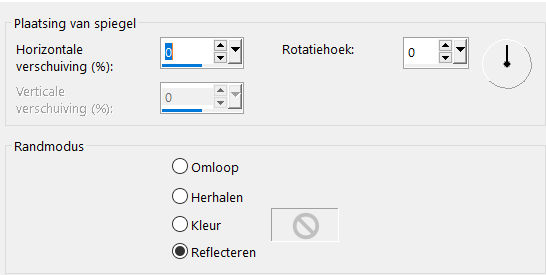
8. Effects---Reflection Effects---Rotating Mirror using the ---default settings
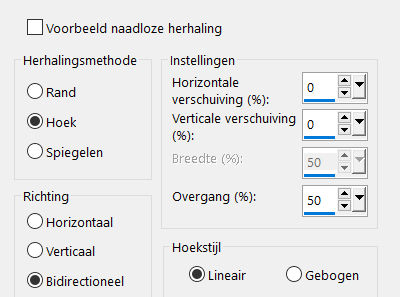
9. Effects- Image Effects-Seamless Tiling using the default settings--
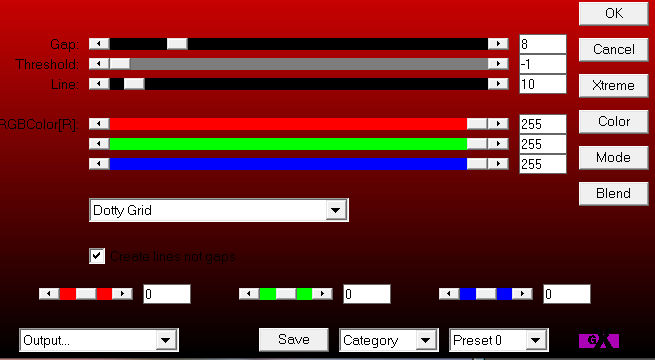
10. Effects---Plugins---AP 01 (Innovations)-lines-Silverlining
---Dotty Grid---8---minus1---10---3 x 255.
11.Open—the tube -deco-1.png
Edit-Copy
Activate your work -Edit - Paste as a new layer—do not move, it is in the right place.
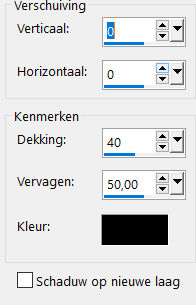
12. Effects - 3D-Effects Drop Shadow with these settings: ---0---0---40---50---Color black
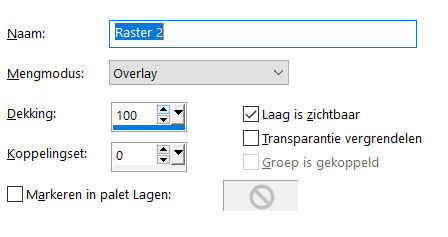
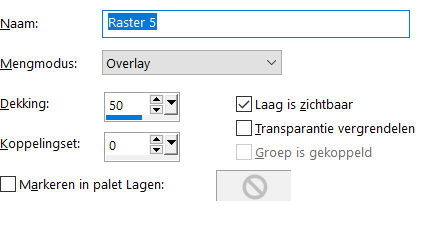
Layers-Properties-Set the Blend Mode to " Overlay "
13. Activate the bottom of the layer palette (Raster 1)
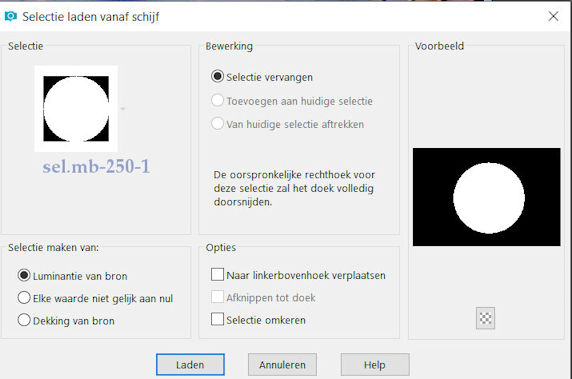
Selections –load/save selection –load selection from disc and select my selection
-mb-250-1
14. Selection-Promote selection to layer
Layers---Arrange---Bring to Top
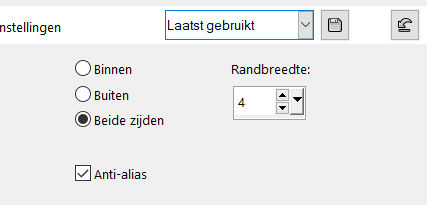
15. Selections- Modify-Select Selection Borders----Both sides checked---4---Anti-alias checked.
16.Flood Fill Tool-Fill the selection with the gradient (match mode none)

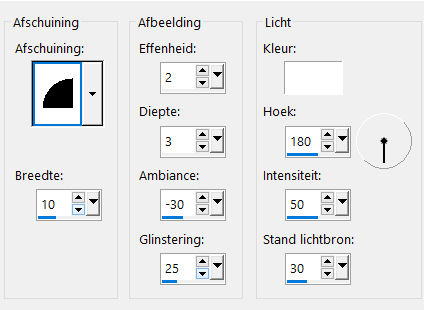
17. Effects---3D Effects---Inner Bevel with these settings---(2)
Width10
Smoothness: 2
Depth: 3
Ambience: minus 30
Shininess : 25
Color-White—
Angle: 180
Intensity: 50
Elevation: 30.
18. Selections---Deselect All
Effects-3D Effects-Drop Shadow with these settings:---0---0---40---50---Color black
19.Layers---Duplicate.
Image--- Resize by 80 %.
Resize all layers not checked.
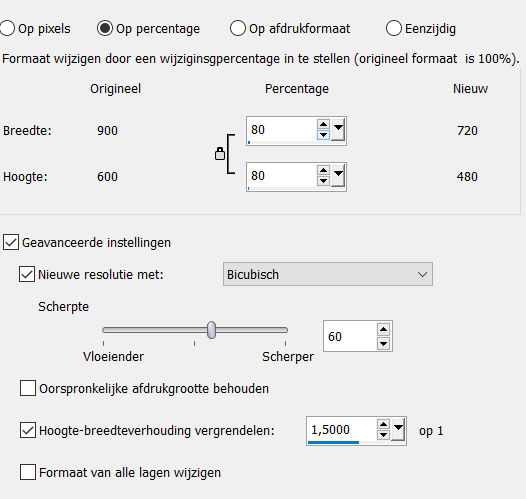
Layers-Properties-Set the Blend Mode to " Multiply "
20. Layers---Duplicate.
Image--- Resize by 30 %.
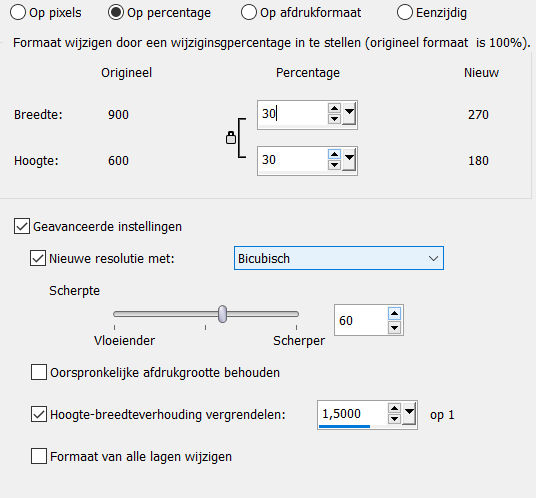
Resize all layers not checked
21. Layers-Properties-Set the Blend Mode to " Normal "
22.Layer palette –Activate the copy of promoted selection layer .
23.Layers- Merge- Merge Down.
24. Effects-3D Effects-Drop Shadow with these settings:------0---0---40---50---Color black
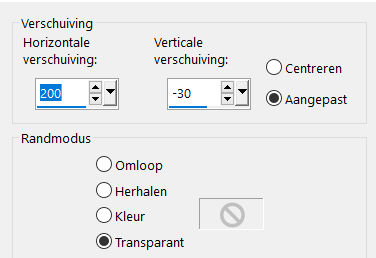
25.Effects---Image Effects-Offset with these settings---200---min 30
26.Activate the top of the layer palette
(copy 2 of promoted selection layer)
Effects---Image Effects-Offset with these settings:
200---minus 30
27. Effects---Plugins ---Alien Skin Eye Candy 5: Impact---Glass---Clear

28. Effects-3D Effects-Drop Shadow with these settings: ---0---0---40---50---Color Black
29.Open the tube deco---deco-2.png
Edit – Copy
Activate your work -Edit - Paste as a new layer
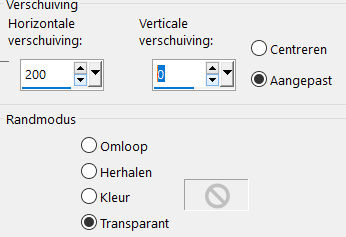
Effects---Image Effects-Offset with these settings: 200---0
.
30. Layers- New Raster Layer
Selections –load/save selection –load selection from disc and select my selection: -mb-250-2
Flood Fill Tool: Fill the selection with the gradient.
Selections –Deselect All
31. Effects---Plugins---<I C Net Software> Filters Unlimited 2.0>---Toadies---What Are You---20---20.---Apply
Layers-Properties-Change the Blend Mode to " Overlay " –Lower the Opacity to 50 %.
32.Layers---Duplicate.
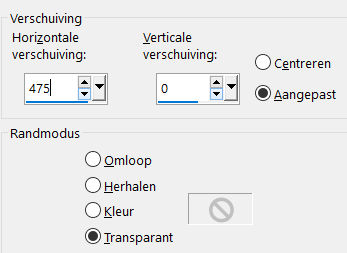
Effects ---Image Effects---Offset with these settings: 475---0
33.Layers- Merge-Merge Down
Repeat: Layers- Arrange-Move Down
34. Open the tube---bloemen-250.png
Edit – Copy
Activate your work -Edit - Paste as a new layer
Layers---Arrange-Bring to Top
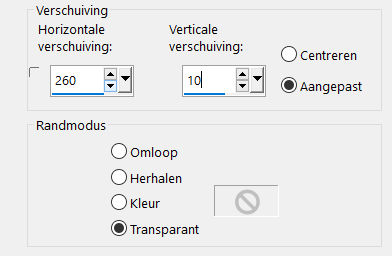
Effects---Image Effects-Offset with these settings:260---10
35. Effects-3D Effects-Drop Shadow-with these settings:---0---0---40---50---Color black
36.Edit-Copy Special-Copy Merged
Edit –Paste as New Image.
Minimize it, don't close we need it again .
37.Open—the tube-deco---3.png
Edit – Copy
Activate your work -Edit - Paste as a new layer
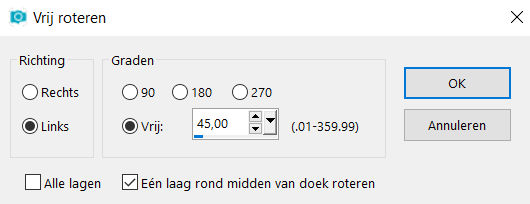
38.Image---Free Rotate---45% Left—
Rotate single layer around canvas center checked
39. Activate-Magic Wand---Mode add (shift)---Match mode RGB value---Tolerance---Feather---Both 0
Click in the middle of your triangle
Activate the minimized image from point 36,
Edit – Copy
Activate your work -Edit - Paste into selection
Selections---Deselect All
40. Effects---3D Effects---Drop Shadow with these settings: ---0---0---40---50---Color black
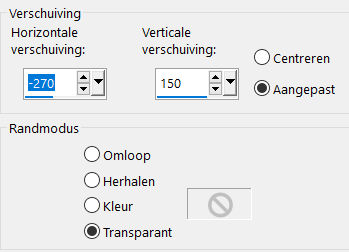
41. Effects---Image Effects-Offset with these settings:---minus 270---150
42.Layers- Duplicate.
Image---Resize with---80 %.
Resize all layers not checked
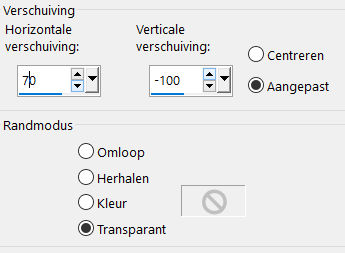
Effects---Image Effects-Offset with these settings:---70---minus 100
43.Open-the tube-- zwaantjeskuikensEllyd-1.png
Edit – Copy
Activate your work -Edit - Paste as a new layer
Move Tool-Move to the bottom left side.
Effects---3D Effects---Drop Shadow with these settings: ---0---0---40---50---Color black

44.Layers- Merge-Merge All
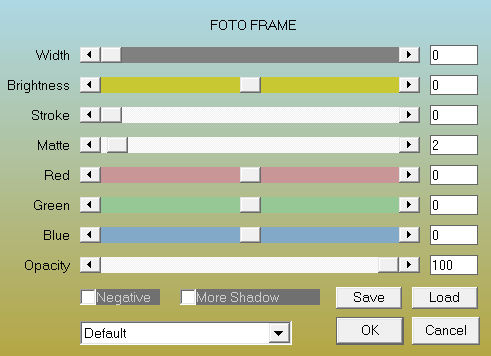
Effects---Plugins---AAA Frames---Foto Frame---Width at 0----Matte at 2
45.Selections---Select All.
46. Image - Add borders-Symmetric checked ---50 Pixels---FG-Color.
Selections---Invert
Flood Fill Tool-Fill the selection with the gradient.
Selections---Invert
.
Effects-3D Effects-Drop Shadow—with these settings:---0---0---40---50---Color black
Selections- Deselect All.
47.Effects---Plugins---AAA Frames---Foto Frame---Width at 0---Matte at 2
Place your watermark on a new layer
Adjust the size of your image as desired.
Save as JPG.
Voorbeelden gemaakt door Kamalini Hennie en Corrie

|