Les-249

Translation made by MARION
Supplies/Material
Plugins
Effects- Plugins---<I C Net Software> Filters Unlimited 2.0>---Simple
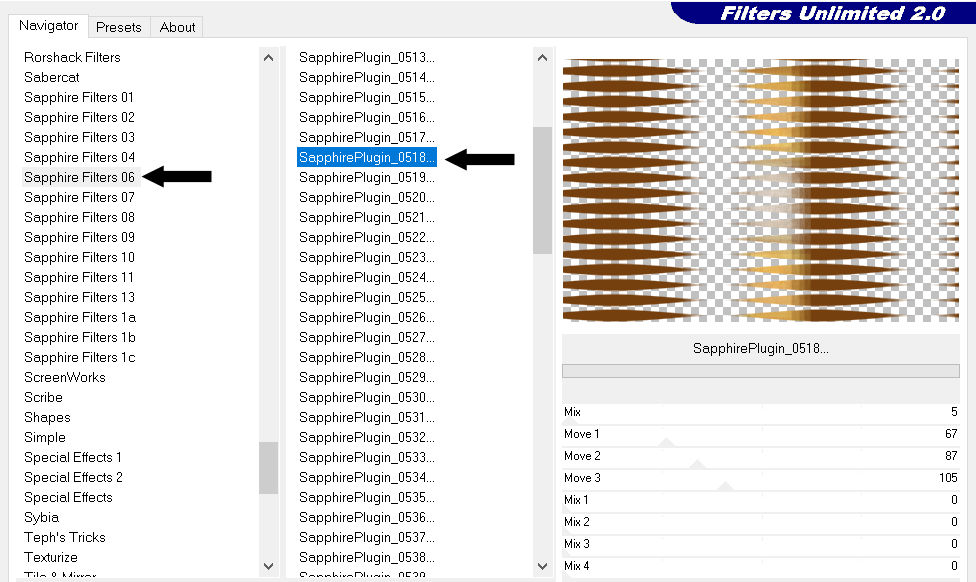
Effects-Plugins- ---<I C Net Software> Filters Unlimited 2.0---Sapphire –06-0518
Effects- Plugins--- AP 01 (Innovations)-lines-Silverlining
Effects- Plugins---AAA Frames---Texture Frame
Colors
Preparation
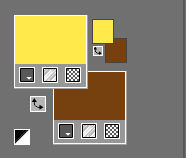
Material Properties:
Set your foreground color to color # ffe94c
Material

1.
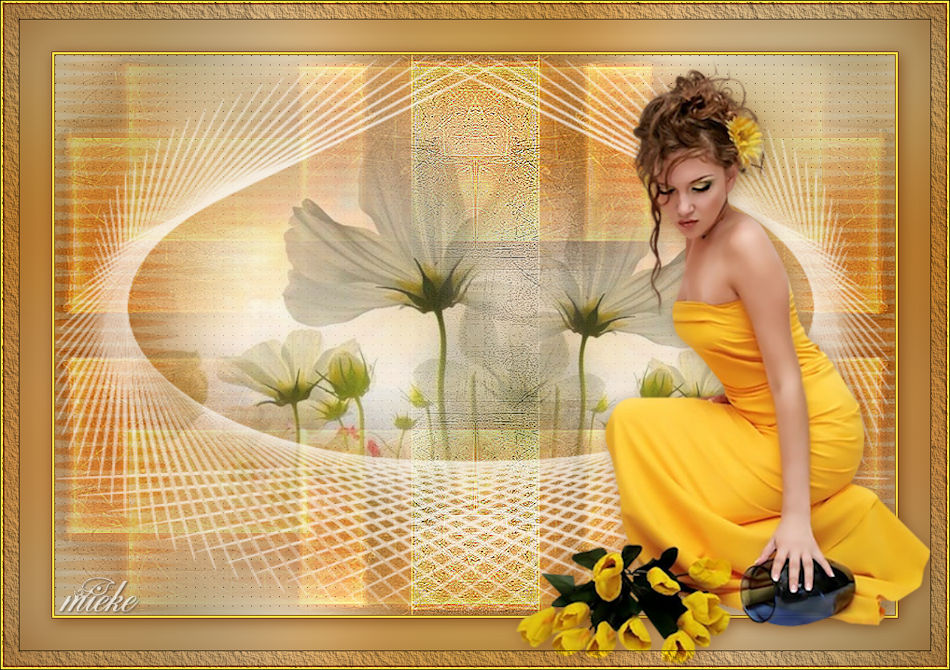
Tube is from SVB--Thank you for allowing us to use itOpen the BG-Image-249.jpg
Window - Duplicate (or shift+D) - Close the original 249 and proceed on the copy
2.
Effecten---Insteekfilters---<I C Net Software> Filters Unlimited 2.0>---Simple---4 Way Average---Apply
3.
Effects---Edge Effects---Enhance.
4.
Activate Selection Tool-Custom Selection (S) -Rectangle with these settings
Top 0---Left 382---Right 519---Bottom 600


5.
Selections---Promote selection to layer
Selections –Deselect All
6.
Layers- Duplicate
Effects---Plugins---<I C Net Software> Filters Unlimited 2.0---Sapphire Filters---06---518
If your effect is different from this example
there is an
Image in the folder “sapphire filter.png”.. Paste this image into a new layer and move it into place - Delete the promoted selection layer
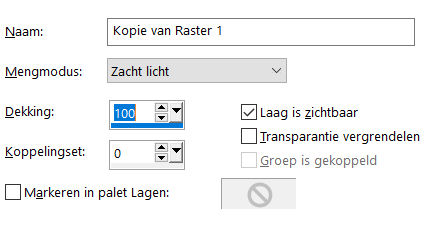
7.
Layers-Properties-Set the Blend Mode to " Soft Light"
8.
Activate the layer underneath (promoted selection layer)
9.
Layers- Arrange- Bring to Top
10.
Effects---Edge Effects---Enhance.
11.
Open- the tube--- witte-bloemen.png
Edith-Copy
Activate your work -Edit - Paste as a new layer
12.
Layers-Duplicate
Activate the layer underneath, this is the copy layer with the flower tube
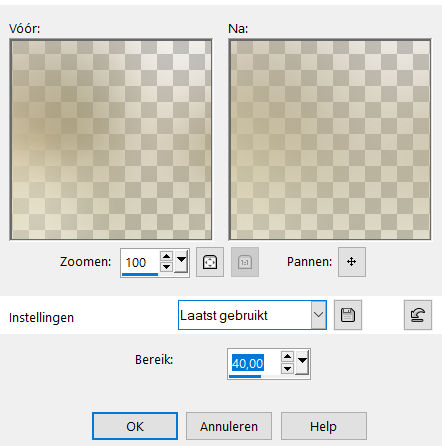
Adjust---Blur---Gaussian Blur---Radius 40.
13.
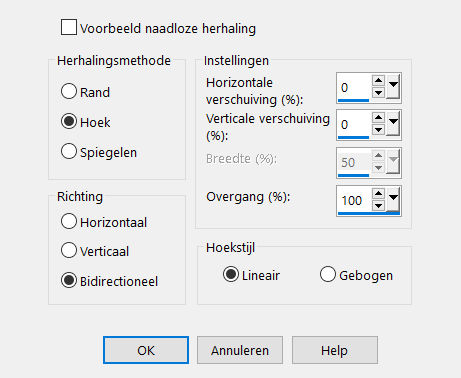
Effects- Image Effects- Seamless Tiling use the default settings but ---Bidirectional 100
14.
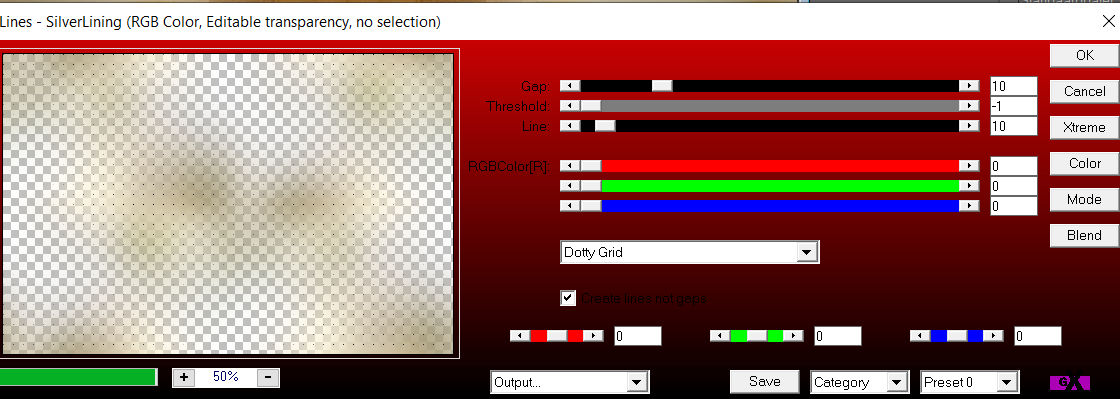
Effects---Plugins--- AP 01 (Innovations)-lines-Silverlining
---Dotty Grid---with the default settings.
15.
Activate the top of the layer palette (this is the copy layer with the flower tube)
Layers-Properties –Lower the opacity to 80%.
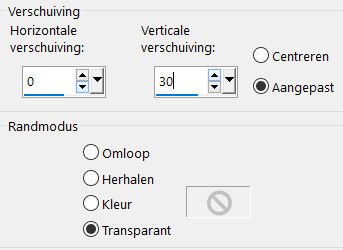
Effects---Image Effects---0---30---Offset with these settings Transparent.
16.
Color Palette:Change the background color to color White Layers- New Raster Layer
Flood Fill Tool-Fill the layer with the background color white.
17.
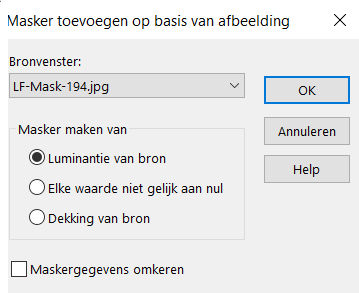
Layers---New Mask Layer---From Image---Select Mask---LF-Mask-194—Source luminance check
18.
Layers-Duplicate
Layers-Merge---Merge Group
Layers-Properties –Lower the opacity to 80.
19.
Color Palette:Change the background color to color #77410f
Your Layer Palette look like this now-You should have this result.
20.
Image - Add borders-Symmetric checked ---1 Pixel---Dark color
Image - Add borders-Symmetric checked ---2 Pixels---Light color
Image - Add borders-Symmetric checked ---1 Pixel---Dark color
Selections-Select All
Edit---Copy!!
Image - Add borders-Symmetric checked ---50 Pixels---Light color
Selections-Invert
Edit- Paste -Into Selection (Image is still in your PSP memory). Adjust---Blur---Gaussian Blur –Radius 40.
Selections-Invert
Effects-3D Effects-Drop Shadow—with these settings:3---3---50---24. Color #77410f
Selections- Deselect All
Image - Add borders-Symmetric checked ---1 Pixel---Dark Color
Image - Add borders-Symmetric checked ---2 Pixels---Light color
Image - Add borders-Symmetric checked ---1 Pixel---Dark color
21.
Open the tube---- SvB (837) Beauty.png
Edit - Copy-
Activate your work -Edit - Paste as a new layer
(remove the watermark)
Move Tool/Move to the right—(see finished image).
22.
Effects-3D Effects-Drop Shadow—with these settings:3---3---50---24. Color #77410f
23.
Place your watermark on a new layer
24.
Image - Add borders-Symmetric checked ---1 pixel---Dark color
25.
Effects---Plugins -AAA Frames---Texture Frame---Width at 20.
Adjust the size of your image as desired.
Save as JPG
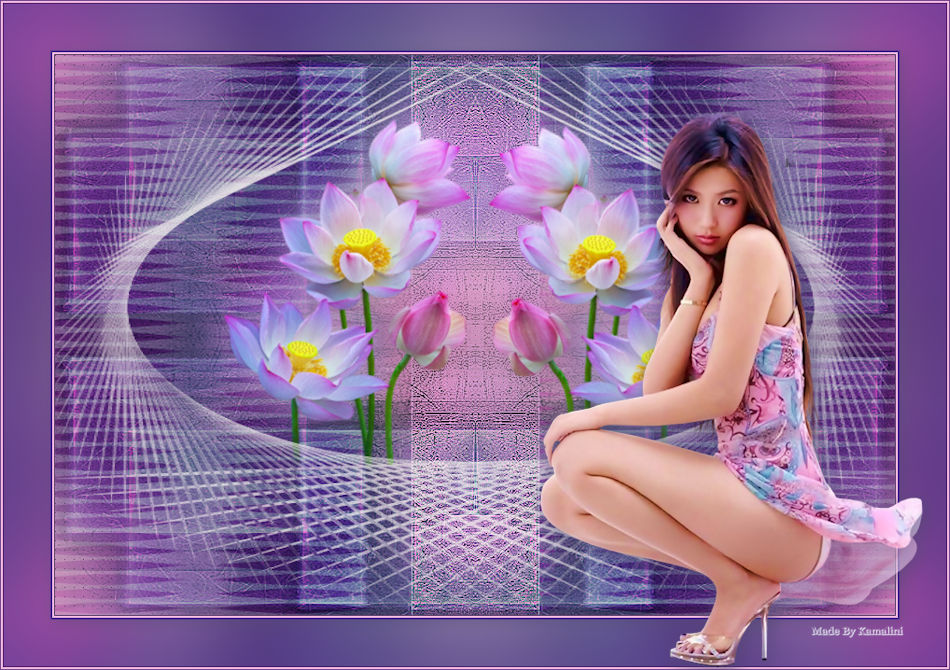
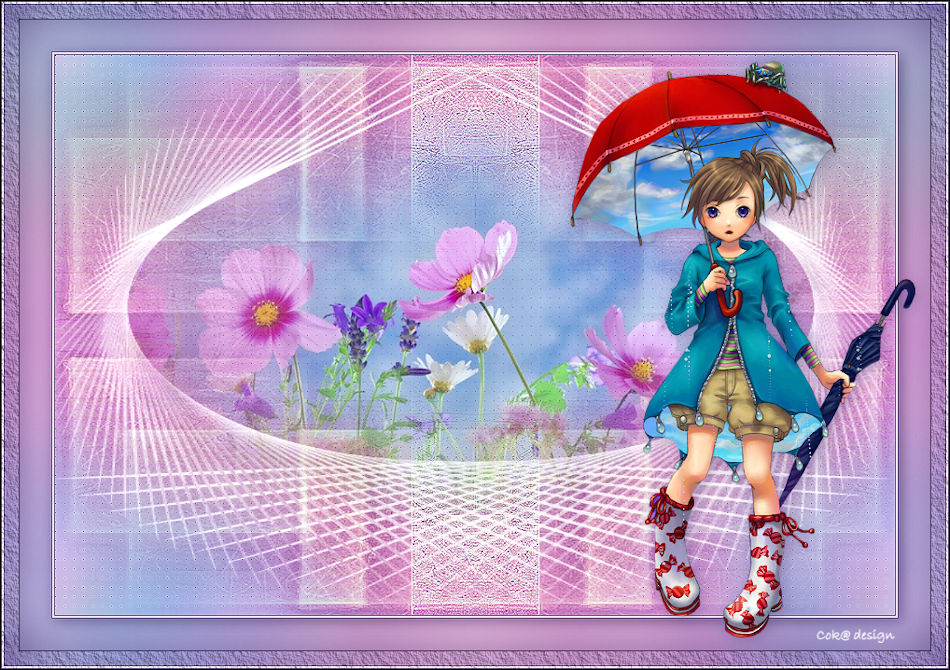
Voorbeelden gemaakt door Kamalini Hennie en Corrie

|