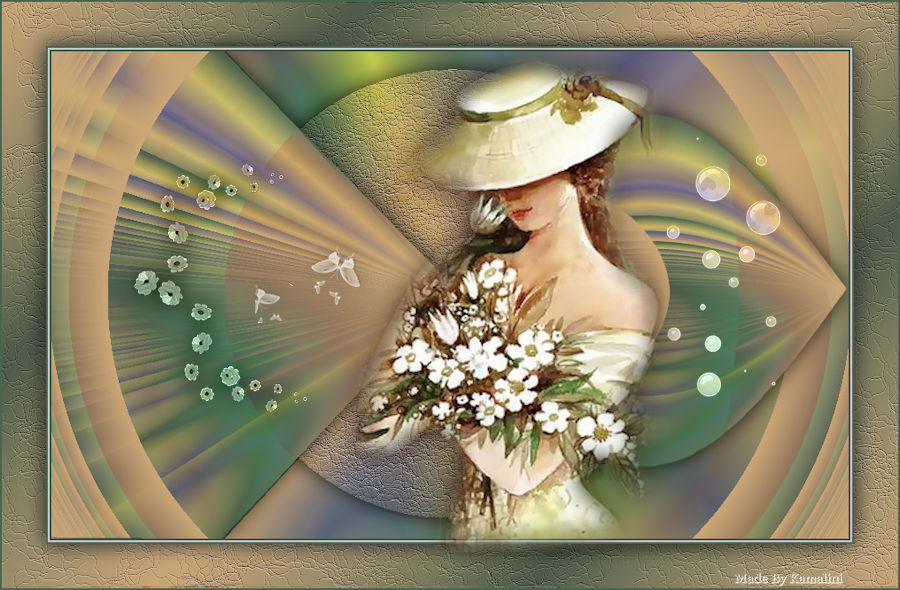
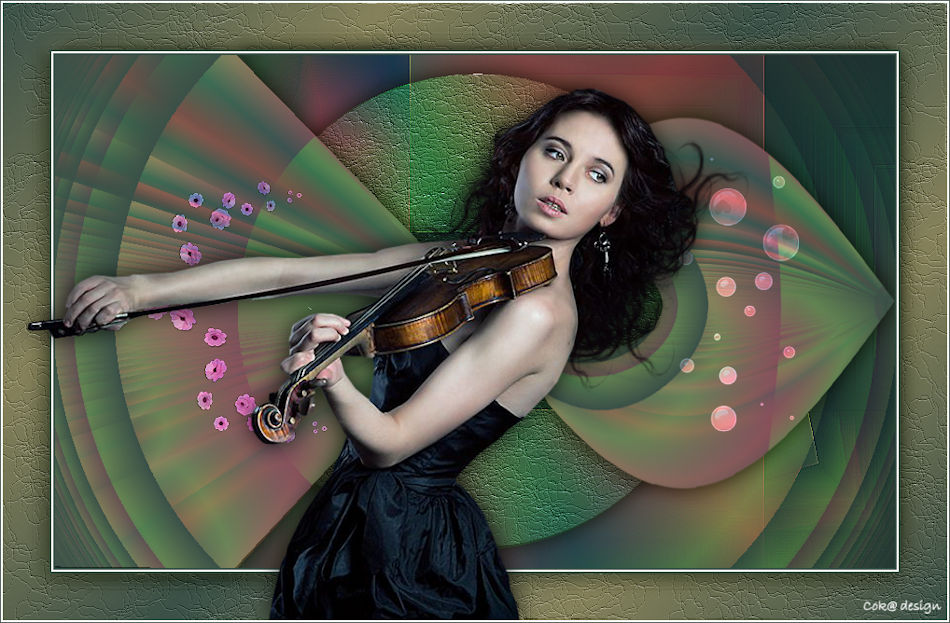
Lesson-245

Translation made by MARION
Supplies
Material

Filters
Flaming Pear---Flexify 2
Filter---<I C Net Software> Filters Unlimited 2.0---Sapphire Filters
Filter---Mehdi---Sorting Tiles
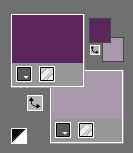
Material Properties: Set your foreground color to color ##5d265d---
Set your background color to color # #a998ac
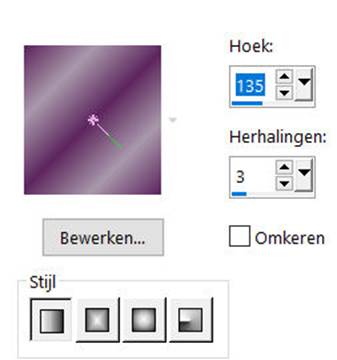
Set your Foregroundcolor to foreground-background lineair gradient with these settings---
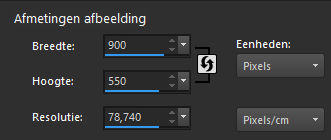
File-Open a new transparent Image with these settings:
Width---900---Height---550.
 Gebruik de aanwijzer om aan te geven waar je bent gebleven.
1.
Flood Fill Tool – fill the layer with the gradient
2.
Layers- Duplicate
3.
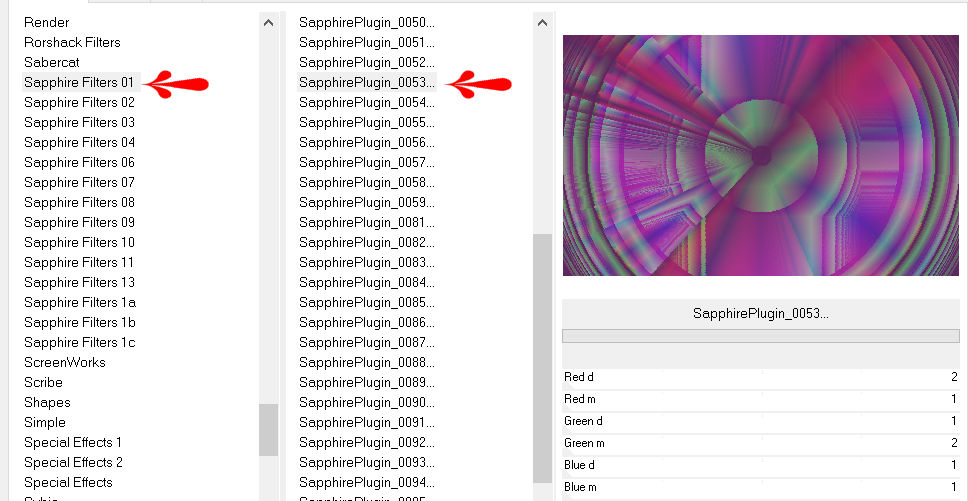
Effects---Plugins---<I C Net Software> Filters Unlimited 2.0---
Sapphire Filters 01---0053---2-1-1-2-1-1.
4.
Layers- Duplicate
5.
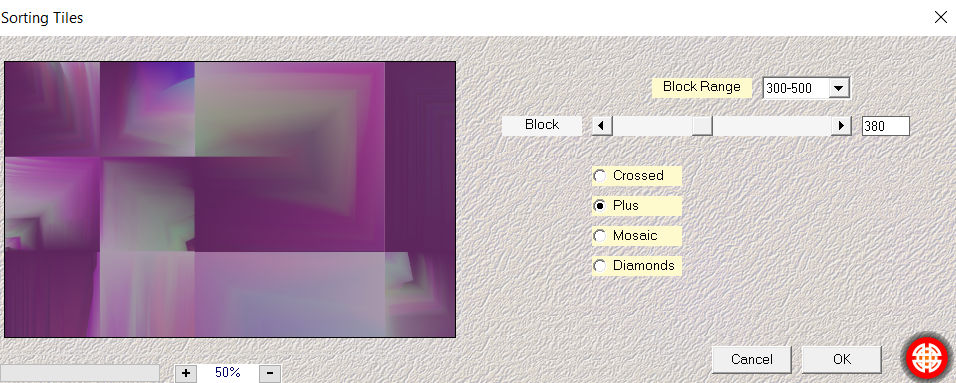
Effects---Plugins---Mehdi---Sorting Tiles---300-500-380-plus
6.
Effects---Edge Effects---Enhance More.
7.
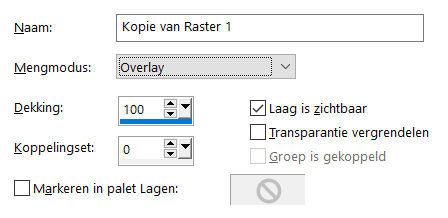
Layers-Properties-Change the Blend Mode to " Overlay "
8.
Layer Palette-activate Copy of Raster 1
( middle layer)
Selections –load/save selection –load selection from disc and select my selection: --- mb-1-245
Selections- Promote selection to layer
Selections- Deselect All
9.
Layers- Duplicate
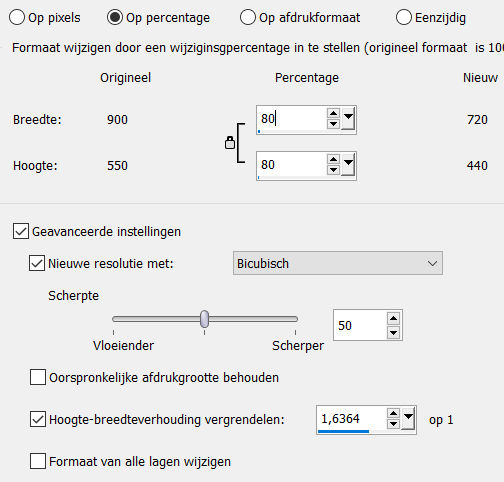
Image ---Resize 80 %.
Resize all layers not checked
10.
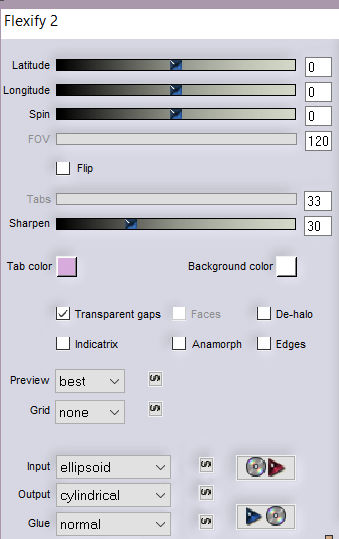
Effects---Plugins---Flaming Pear---Flexify 2---
Input---- ellipsoid---Output ---cylindrical--- use the settings below.
11.
Pick Tool: (K) on your keyboard -Enter these parameters------Position X 445---Positition Y 70 on the toolbar

Press ( M ) to close the Pick Tool
12.
Layers---Merge---Merge- Down.
13.
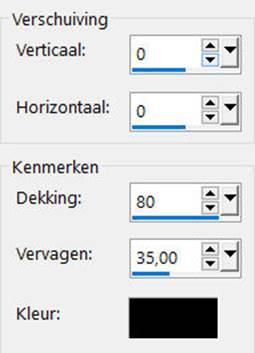
Effects---3D-Effects--- Drop Shadow with these settings: 0---0---80---35. Color Black.
14.
Layers---Arrange---Bring to Top
15.
Layer Palette-activate Copy of Raster 1
16.
Selections –load/save selection –load selection from disc and select my selection:mb-2-245
Selections- Promote selection to Layer
17.
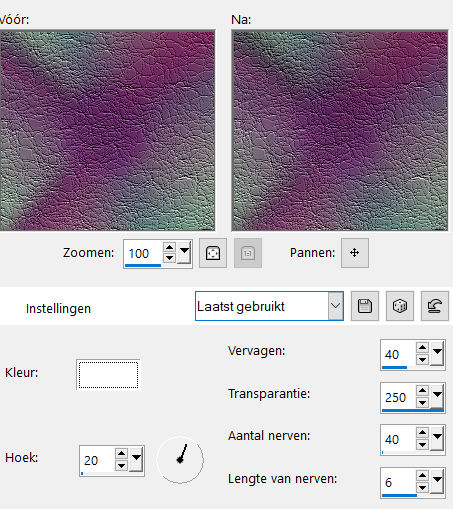
Effects---Textureffects---Fine Leather –Color white---Angle 20---40---250---40---6.
18.
Effects---3D-Effects--- Drop Shadow with these settings: 0---0---80---35. Color Black
19.
Selections- Deselect All
20.
Image - Add borders-Symmetric checked ---2 pixels---
dark color
Image - Add borders-Symmetric checked ---2 pixels--- white color
Image - Add borders-Symmetric checked ---2 pixels--- dark color
Selections- Select All
Image - Add borders-Symmetric checked ---50 pixels---Color white
Selections-Invert
Flood fill tool-fill the selection with the gradient
Effects---Textureffects---Fine Leather –Color white ---Angle 20---40---250---40---6.
Selections-Invert
Effects-3 D Effects- Drop Shadow with these settings:
0---0---80---35. Color Black
Selections- Deselect All
Image - Add borders-Symmetric checked ---2 pixels--- white color
21.
Open-the--Tube---deco-1
Edit---Copy
Activate your work -Edit - Paste as a new layer
Pick Tool: (K) on your keyboard -Enter these parameters------Position --- x 726 -Position y 168 on the toolbar

22.
Layers-Properties-Change the Blend Mode to " Overlay " 23.
Open-the--Tube---deco-2
Edith---Copy
Activate your work -Edit - Paste as a new layer
Pick Tool: (K) on your keyboard -Enter these parameters------Position--- x 153 -Position y 193 on the toolbar

Press ( M ) to close the Pick Tool
24.
Layers-Properties-Change the Blend Mode to " Overlay " 25.
Open--the-Tube---de92304e.png
Edit- Copy
Activate your work -Edit - Paste as a new layer
Move tool: move the tube in the right place
26.
Effects-3 D Effects- Drop Shadow with these settings 0---0---80---35. Color Black.

27.
Image - Add borders-Symmetric checked ---1 pixel---Dark color
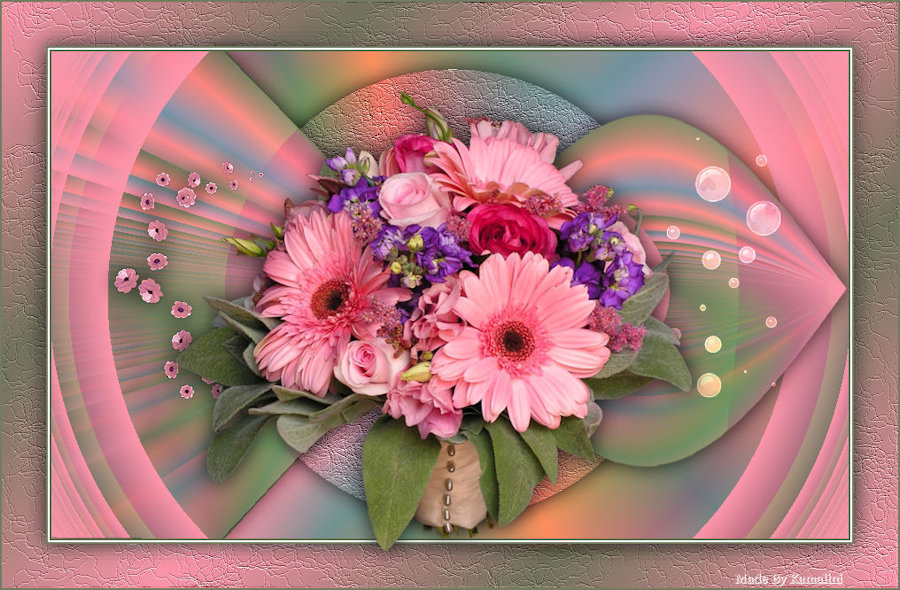
Add you watermark on new layer
Save as JPG

|