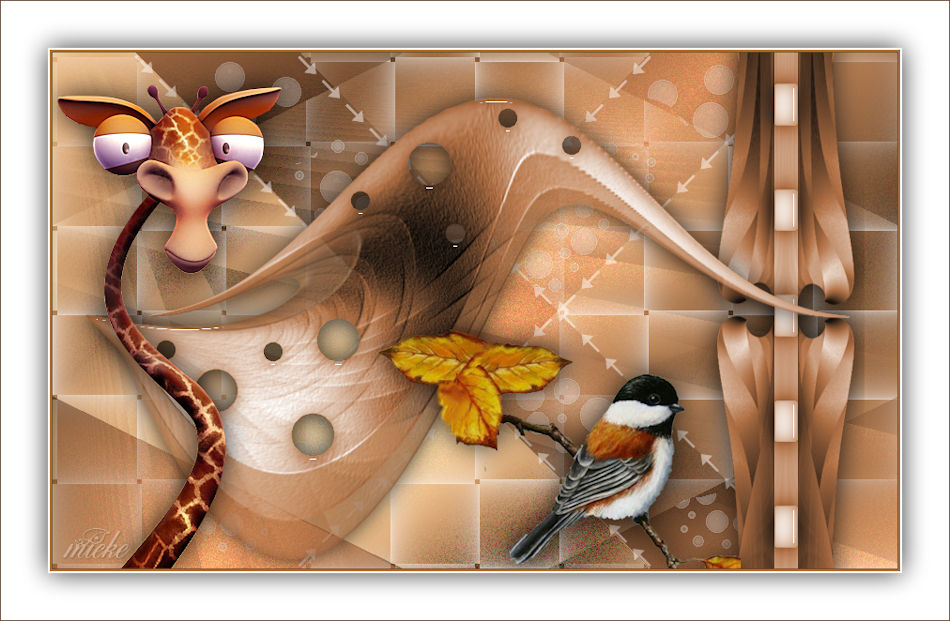
Lesson-244
Translation made by MARION
Supplies

Materials
Filters
Filter----Sapphire Filters 06---0358
Filter---Simple---4 Way Average
The filters can be imported into Unlimited.
Material
The Giraffe is -Tube Lana
The bird tube --- of which the tubster is unknown to me
If it is yours please let me know --- so I can adjust it in lesson
The decoration is made by me.
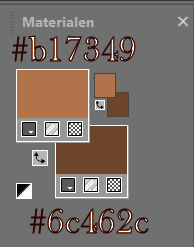
Color-Palette: FG-Color #b17349—BG-Color--#6c462c
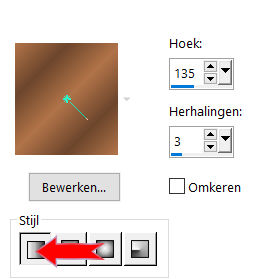
Set your Foregroundcolor to foreground-background "Linear " gradient configured like this
---135---3.
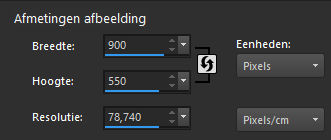
File-Open a new transparent Image of 900/550 PX
 Gebruik de aanwijzer om aan te geven waar je bent gebleven.
1.
Flood Fill Tool – fill the layer with the gradient
2.
Effects-Plugins-I C Net Software> Filters Unlimited 2.0---Sapphire Filters 06---0538 using the default settings

3.
Selections –load/save selection –load selection from disc and select my selection mb-1-244.
Selections- Promote selection to layer
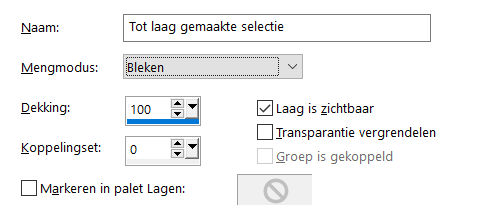
4.
Layers-Properties-Change the Blend Mode to " Screen "
5.
Selections- Deselect All
6.
Layers-Duplicate
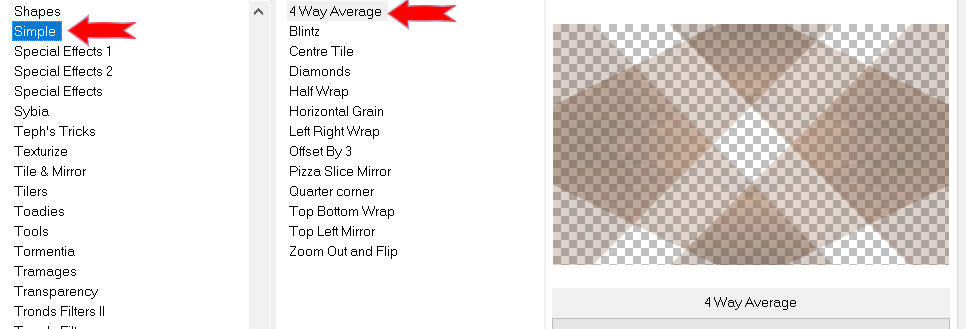
7.
Effects---Plugins---<I C Net Software> Filters Unlimited 2.0>---Simple---4 Way Average---Apply
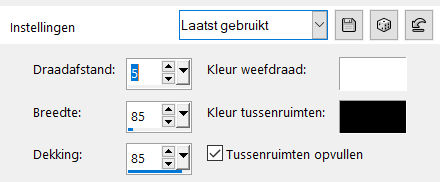
8.
Effects---Textureffects---Weave---5---85---85---Weave Color #ffffff—Gap Color #000000 ---
Fill gaps checked
9.
Open-the tube -- deco-1-244
10.
Edit- Copy
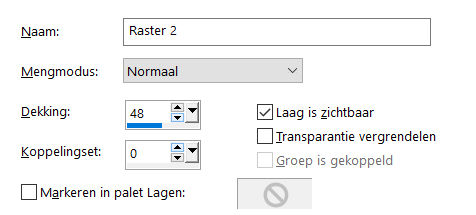
Activate your work -Edit - Paste as a new layer
Layers-Properties- Lower the Opacity to 48%
11.
Open---the tube deco-2-244
Edit- Copy
Activate your work -Edit - Paste as a new layer
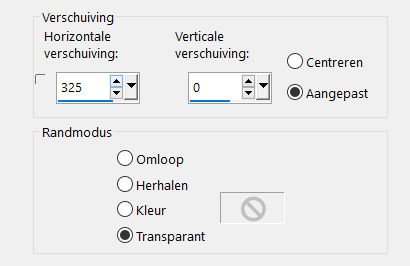
12.
Effects---Image Effects----Offset---325---0---Custom checked--Transparent
13.
Open—the tube- deco-3-244
Edit- Copy
Activate your work -Edit - Paste as a new layer
14.
Effects---Image Effects----Offset with these settings---min 10---min 10---Custom checked---transparent
15.
Open the Tube—Giraffe 6
Edit- Copy
Activate your work -Edit - Paste as a new layer
16.
Image ---Resize ---55--%---Resize all layers not checked

17.
Effects---Image Effects -Offset---min 325---min 17---Custom.---Transparent
18.
Adjust-Sharpness-Sharpen
19.
Effects---3D-Effects---Drop Shadow with these settings:----0---0---80---40---Color Black

20.
Open-the tube -- vogel-op-tak
Edit- Copy
Activate your work -Edit - Paste as a new layer
Pick Tool: (K) on your keyboard -Enter these parameters-Position X 345---Position Y 239 on the toolbar

Press ( M ) to close the Pick Tool
21.
Effects---3D-Effects---Drop Shadow with these settings:--------0---0---80---40--- Color Black
22.
Image - Add borders-Symmetric checked ---1 pixel—Dark Color
Image - Add borders-Symmetric checked ---2 pixels---Light Color
Image - Add borders-Symmetric checked ---2 pixels---Color White
Selections---Select All
Image - Add borders-Symmetric checked ---50 pixels---Color White
Effects---3D-Effects---Drop Shadow with these settings:--------0---0---80---40---Color Black
Selections- Deselect All
Image - Add borders-Symmetric checked ---1 pixel— Dark Color
Add you watermark on new layer
Save as JPG
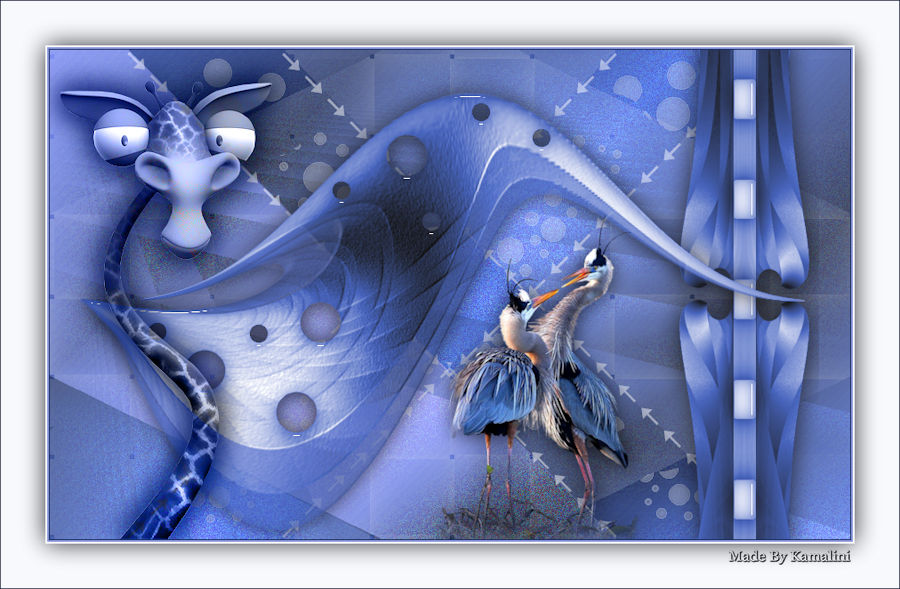
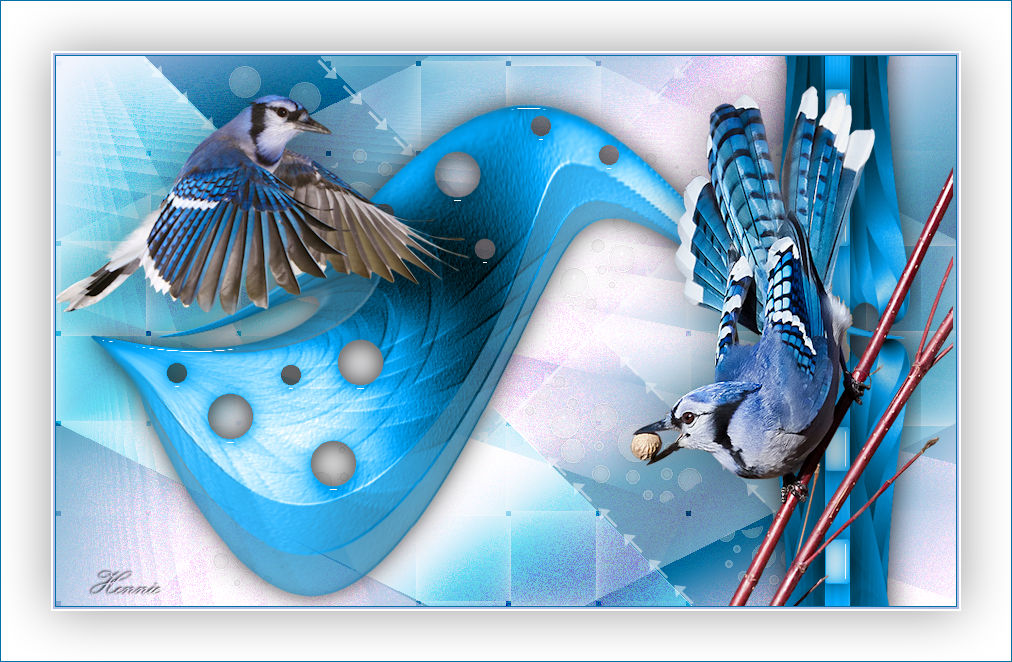
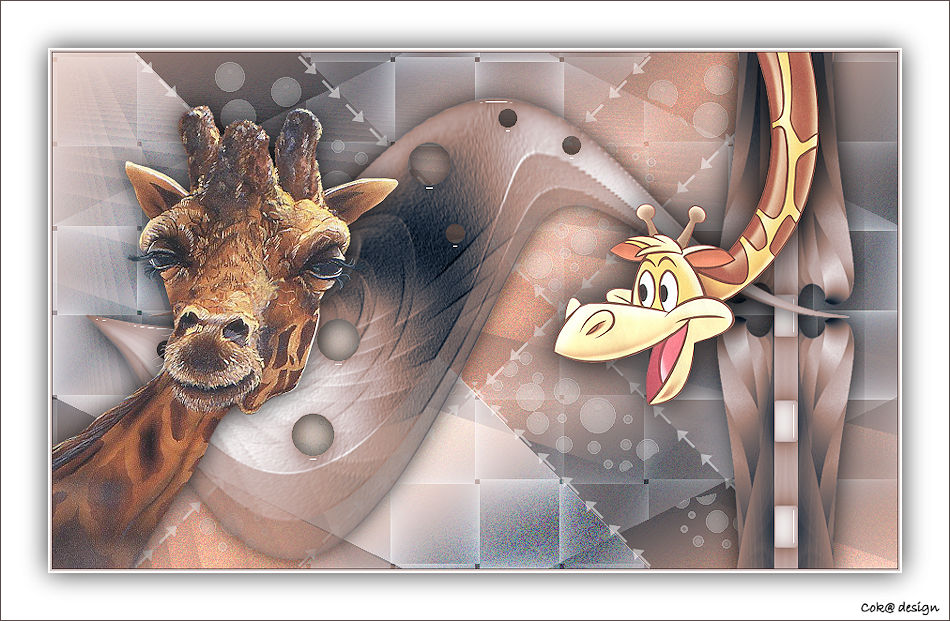
Voorbeelden gemaakt door Kamalini---Hennie---en Corrie
Dank voor het controleren van de les.

|