Lesson-240
Translation made by MARION


Supplies
Material.

Plugins
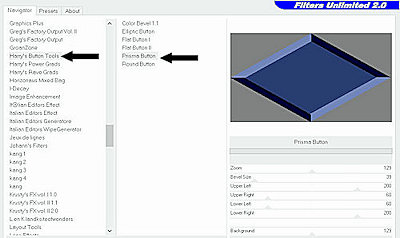
Plugins---<I C Net Software> Filters Unlimited 2.0>---cotton Paper Coarse
Plugins---I C Net Software> Filters Unlimited 2.0>--- Harry`s button tools---prisma button
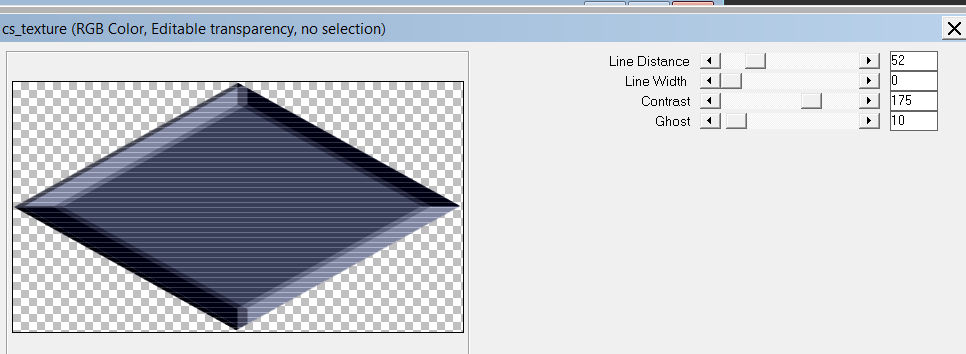
Plugins—Carolaine and Sensibility---cs texture
Colors
Preparation
Material Properties
Set your Foreground color to color #b6bcd6
Set your Background color to color #383e57
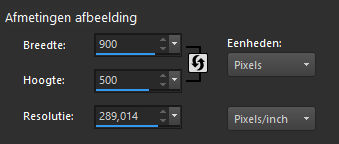
1.File--- New---Open a new transparent Image
Width 900 ---Height 500
Flood Fill Tool –Fill the layer with the Foreground color ----( Light color #b6bcd6)
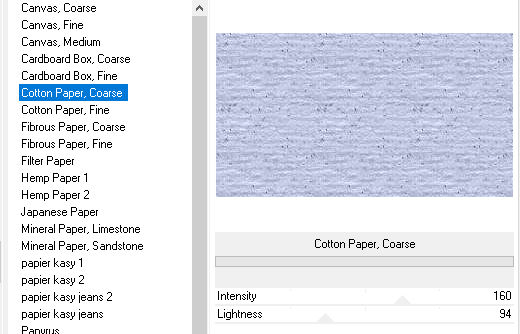
2.Effects---Plugins---<I C Net Software> Filters Unlimited 2.0>---
Paper textures---cotton Paper Coarse---160---94.
3.Layers---New Raster Layer --- Fill the layer with the Background color
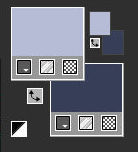
4.Effects---Plugins---<I C Net Software> Filters Unlimited 2.0>--- Harry`s button tools---prisma button--- using the default settings
5.Activate your Magic Wand---Add (Shift)---RGB value---Tolerance---Feather both at 0---Contiguous checked, anti-alias checked Outside

Click in one of the gray areas
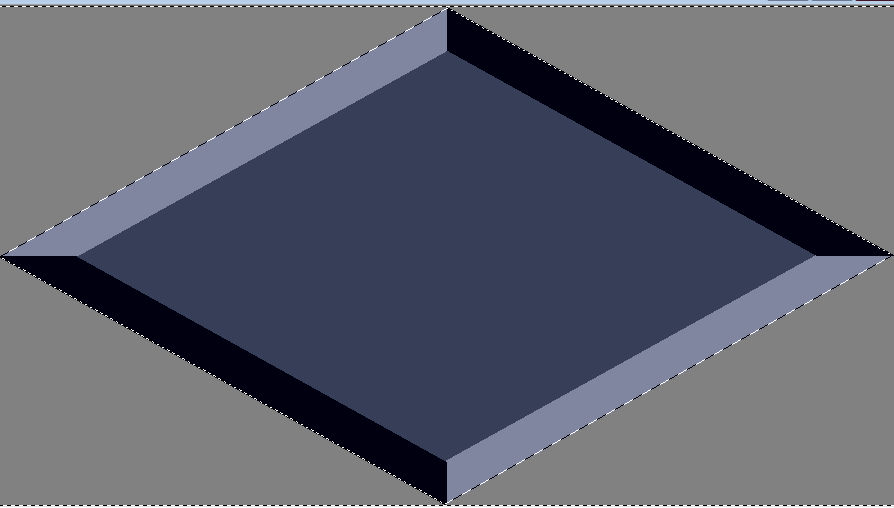
DELETE on your keyboard. .(or Edit Cut )
6.Selections- Deselect All
7.Effects---Plugins—Carolaine and Sensibility---cs texture----52---0---175---10
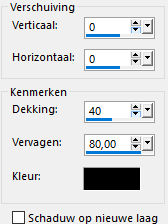
8.Effects---3D-effects---Drop Shadow with these settings:----0---0---80---40---Color Black
9.Adjust---Scharpness---Sharpen
10.Layers- Duplicate
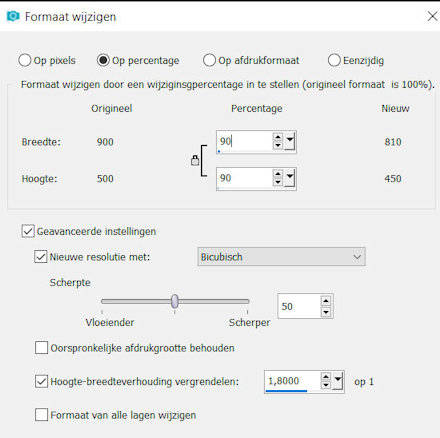
11.Image---Resize ---90 %.
Resize All Layers Not Checked.
12.Layers- Duplicate
Image---Resize ---30 %.
Resize All Layers Not Checked.
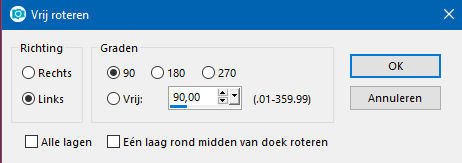
13.Image---Free Rotate ---90% Left
14.Effects---3D-Effects---Drop Shadow with these settings: ----5--5---80---40---Color Black
15.Layers---Duplicate.
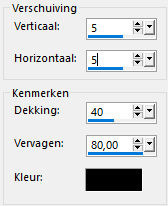
Repeat: Effects- 3 D Effects Drop Shadow with these settings: Vertical Minus 5----Horizontal Minus 5----40---80---Color Black
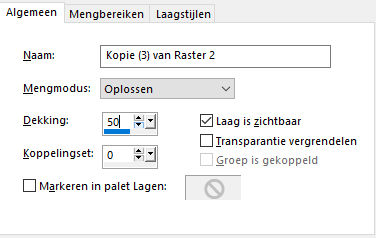
16. Layers-Properties-Change the Blend Mode to “Dissolve”---Opacity 50%
17.Layers---Arrange- Move Down
18. Activate the Top of the Layer-Palette.
Layers—Merge---Merge Down
19.Open tube deco 2--- Edit ---Copy
Activate your work, Edit - Paste as new layer
20. Layers-Properties-Change the Blend Mode to “Luminance- Legacy “
21. Layers---Arrange- Move Down
22. Activate the Top of the Layer-Palette.
23. Activate your Magic Wand---Add (Shift)---RGB value---Tolerance--20- ---Feather---- 0.
Click in the middle of the upper triangle –(Copy 3 of Raster 2)

24.Effects--Plugins—Carolaine and Sensibility---cs texture----52---0---175---10
25.Selections---Deselect all
26.Effects---3D-Effects---Drop Shadow with these settings: ----0---0---80---40---Color Black
27.Open---Tube-1—36-11 (spheres)
Edit---Copy
Activate your work -Edit - Paste as a new layer
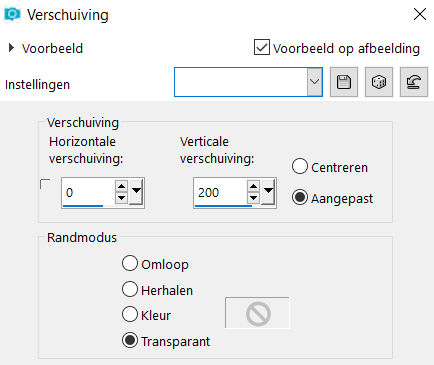
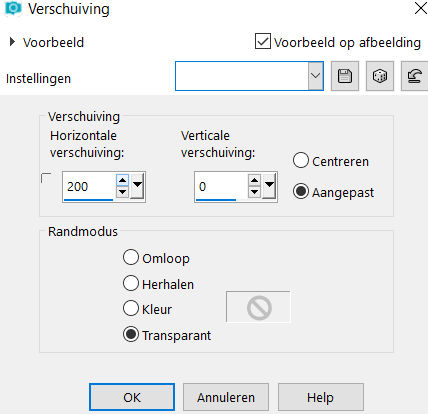
Effects---Image Effects---Offset ----0---200-Custom---Transparent.
28.Layers- New Raster Layer
–Flood Fill Tool- Fill the Layer with the Foreground color
Layers---New Mask Layer---From Image and select Mask---cas---Mask-1015001-jpg
Layers- Merge- Merge Group
29.Open-Tube--- sCLpTYSvdpEfncjDnn2NSS6CVuA@500x740.png
Remove the watermark
Edit---Copy
Activate your work -Edit - Paste as a new layer
30.Image---Resize---70 %.
Resize all the layers NOT checked !
31.Effects---3D-Effects---Drop Shadow with these settings: ----0---0---80---40---Color Black
32.Effects---Image Effects---Offset----200---0-Custom---Transparent
 . .
33.Adust---Sharpness---Sharpen
34.Open Tube---pioenroos.png
Edit---Copy
Activate your work -Edit - Paste as a new layer
Image---Resize---80 %.
Resize all the layers NOT checked
35.Effects---Image Effects---Offset----minus 275---minus 70-Custom---Transparent
36. Image - Add borders-Symmetric checked ---3 pixels Background color
Selections---Select All
Image--- Image - Add borders-Symmetric checked ---50 pixels #ffffff (White)
Effects---3D-Effects---Drop Shadow with these settings ----0---0---80---40---Color Black
Selections---Deselect All
Image - Add borders-Symmetric checked ---3 pixels Background color
37. Place your watermark on a new Layer.
Save as JPG
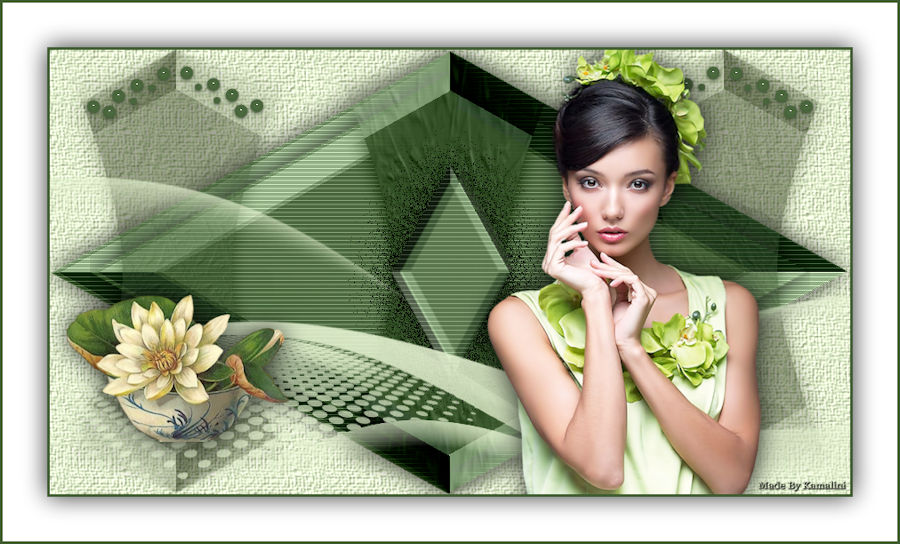
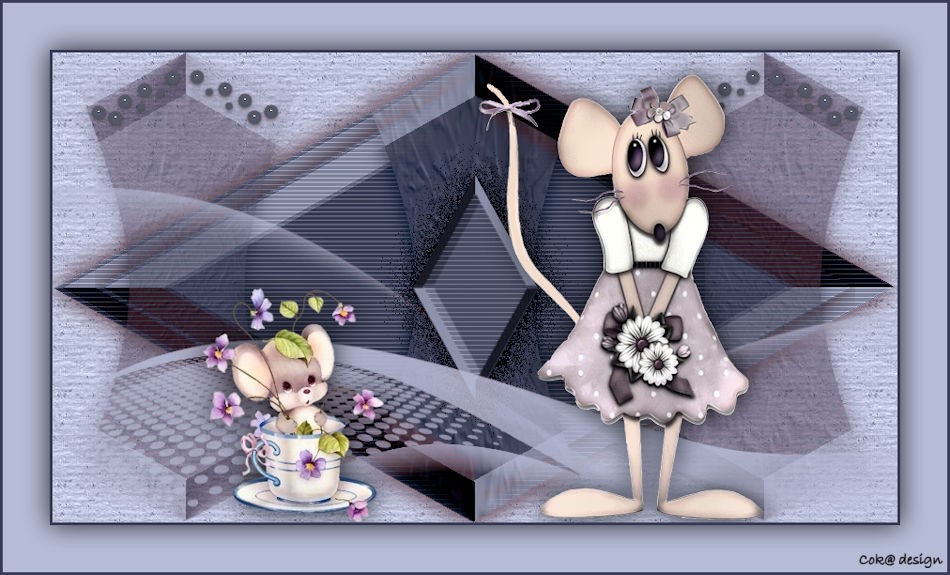
Voorbeelden gemaakt door Kamalini en Corrie

|