Lesson 225
Translation made by MARION

Supplies
Material

Printlesson
Plugins
Filter---<I C Net Software> Filters Unlimited 2.0---Toadies---What Are You
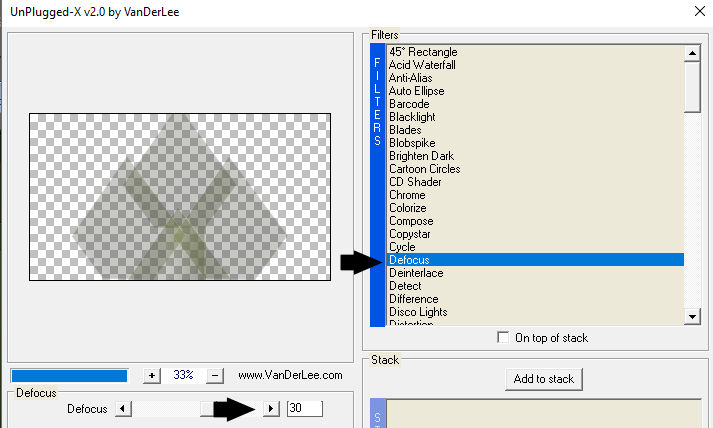
Filter---VanDerLee---Un Plugged-X---Defocus
Filter-- Alien Skin Eye Candy 5---Impact---Glass
Filter-----<I C Net Software> Filters Unlimited 2.0---Graphics Plus
Filter---AAA Frames---Foto Frames
Material
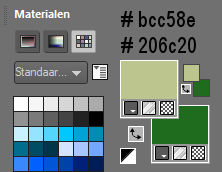
Colors--- Foreground color #bcc582 --- Background color #206c20
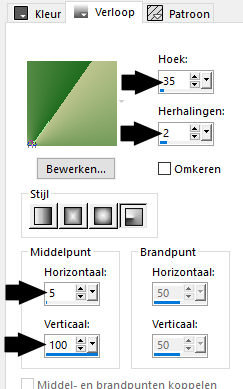
Gradient---Radial---Angle 35---Repeats 2---Middle point---Horizontal ---5---Vertical 100
 You can use my arrow to follow your work
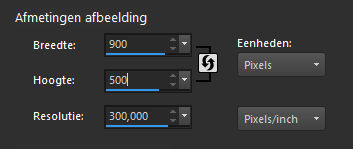
1.File-Open a new transparent image in this size :
Width---900---Heigth 500 Pixels .
2. Flood fill the layer with the gradient
3. Effects---Plugins---<I C Net Software> Filters in Unlimited 2.0---
Toadies---What Are You---65---45.

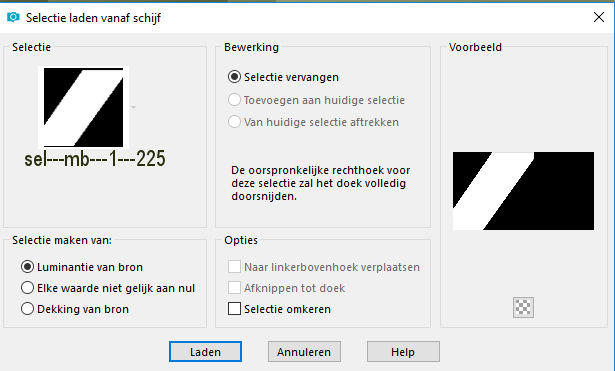
4. Selections --–load/save selection –--load selection from disc and select my selection---mb---1---225
5. Selections---Promote selection to layer
6. Selections---Select none
7. Layers---Duplicate
8. Image - Mirror - Mirror Horizontal (Image - Mirror in older versions of PSP)
9. Layers--Merge--Merge down
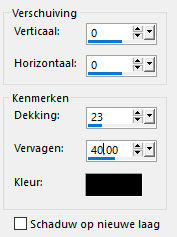
10. Effects---3D effects--- Drop shadow 0---0---23---40. Color black.
11. Effects---Edge Effects---Enhance
12. Effects--Image effects--Seamless tiling--default

13.Active in your layer palette ---Raster 1 (bottom layer)
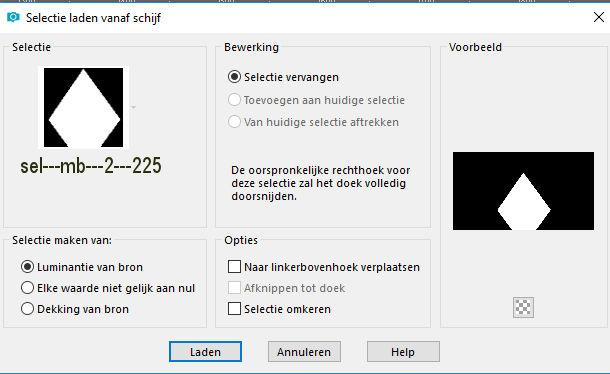
14. Selections --–load/save selection –--load selection from disc and select my selection---mb---2---225
15.Selections---Promote selection to layer
16. Layers---Arrange---Bring to top
17. Selections---Select none
18. Effects---Plugins---VanDerLee---Un Plugged-X---Defocus 30
19. Effects---Plugins----User Defined Filter---Emboss 3

20. Effects---3D- effects--- Drop shadow 0---0---23---40. Color black.
21. Layers---Duplicate
22. Effects--Image effects--Seamless Tiling--Default
23 In your layer palette, click on this layer--Set Blend Mode to---Overlay
24.Open---Deco--- deco-mb-225-groen
25. Edit---Copy
26.Activate your work -Edit - Paste as a new layer
27. In your layer palette, click on this layer--Set Blend Mode to----Difference---Opacity 40.
28.In your material set your background color to white
29. Layers--New raster layer
30.Flood fill the layer with #ffffff
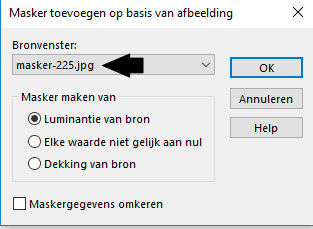
31. Layers--New mask layer--From image--Choose mask 225
Source of Luminance checked.
32.Layers---Duplicate
33. Layers---Merge---Merge Group
34.Layers--New raster layer
35.Flood fill the layer with #ffffff
36. Layers--New mask layer--From image--Choose mask ---Narah-mask-Abstract129.jpg
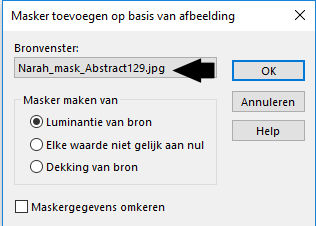
Source of Luminance checked.
37. Layers---Merge---Merge Group
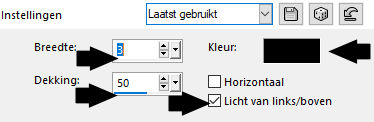
38. Effects--Texture effects---Blinds---
3---50---Color black--Light from left/top checked.
39.Layers---Duplicate
40.Layers--Merge ---Merge down
41.Open tube--- 0_c40f5_f656422f_L
42. Edit---Copy
43.Activate your work -Edit - Paste as a new layer
44. Effects---3D- effects--- Drop shadow 0---0---23---40. Color black.
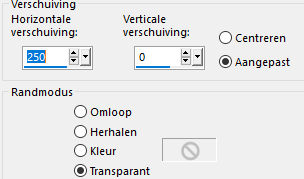
45. Effects--Image effects---Offset---250---0.
46. Layers--New raster layer
47. Selections --–load/save selection –--load selection from disc and select my selection---mb---3---225
48.Set your background color back to # 206c20
49.Flood fill the selection with the gradient
50.Activate Raster 3---(tube of flower)---Layers--Duplicate
51.Layers---Arrange---Bring to top
52.Use your Move Tool to move and place a nice part of this tube into the selection..
53.Selections---Invert
54.Click delete on your keyboard.
55.Selections---Select none
56.Layers--Merge--Merge down
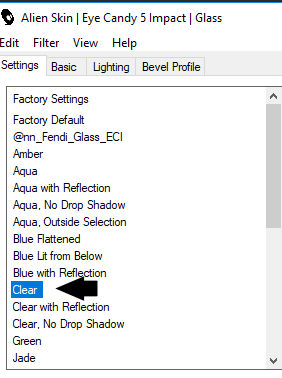
57. Effects---Plugins--- Alien Skin Eye Candy 5---Impact---Glass---Preset Clear
58. Image---Resize ---75 %.
Resize all layers not checked
59.Edit--Repeat---Resize
60.Layers---Duplicate.
61. Image---Resize---75 %.
Resize all layers not checked
62. Layers---Duplicate.
63. Image---Resize---75 %.
64.Move the tube in the right place --- see finished image
65.Activate the top layer in the layer palette
66.Layers--Merge--Merge--Down
Repeat ---Layers---Merge ---Merge--Down
67.Adjust----Sharpness---Sharpen
68.Effects---3D- effects--- Drop shadow 0---0---23---40. Color black.
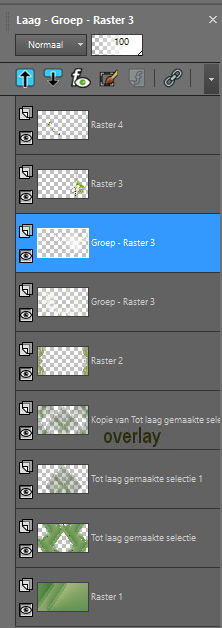
This is your layer palette
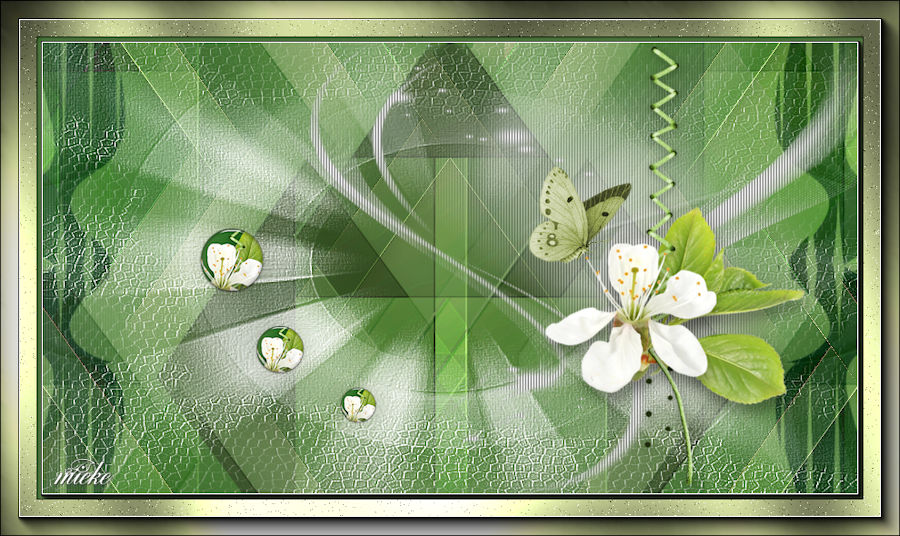
The result

71.Image--Add borders---1 pixel with your dark color
Image--Add borders---3 pixels with your light color
Image--Add borders---1 pixel with your dark color
72.Selections---Select All.
73. Effects---Plugins---AAA Frames---Foto Frame
74. Image--Add borders---40 pixels with your light color
75.Selections ---Invert
76. Effects---Plugins-----<I C Net Software> Filters in Unlimited 2.0---Graphics Plus---Cross Shadow---Default
77. Adjust---Add/remove noise --- Add noise---Random----Noise 5---Monochrome.
78.Selections---select none.
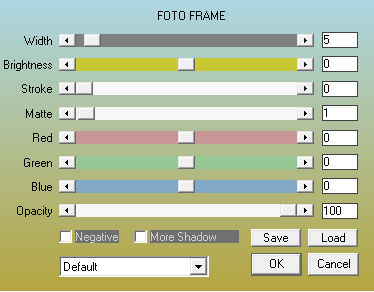
79. Effects---Plugins---AAA Frames---Foto Frame---Set Width to 20.
80.Open tube--- y_butter15
81.Edit---Copy
82.Activate your work -Edit - Paste as a new layer
83. Move the tube --at your own discretion.
84.Layers--New raster layer----Place your watermark
85. Image-- Resize---900 pixels
Resize all layers checked.
86.Save as JPG
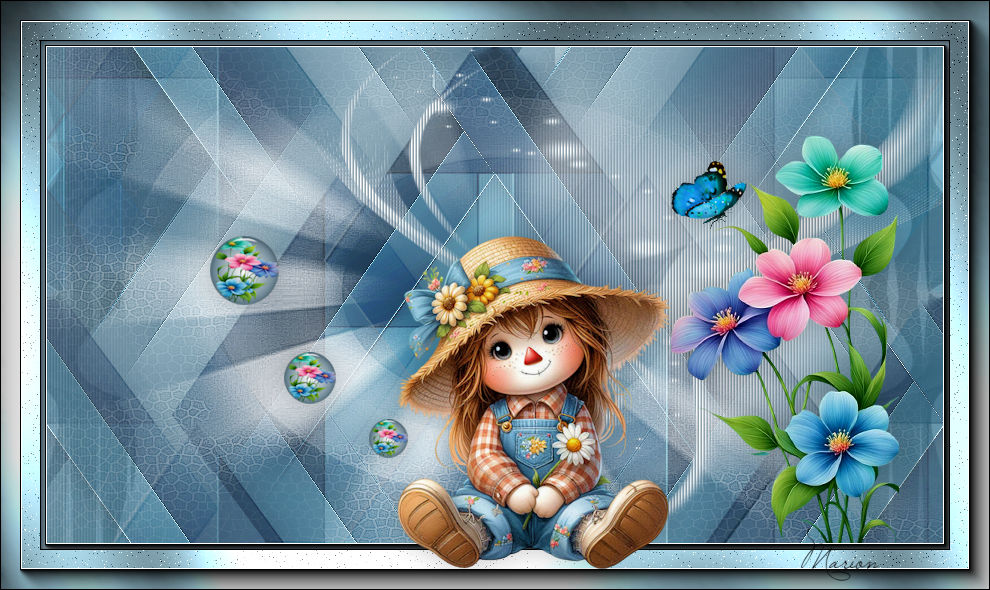
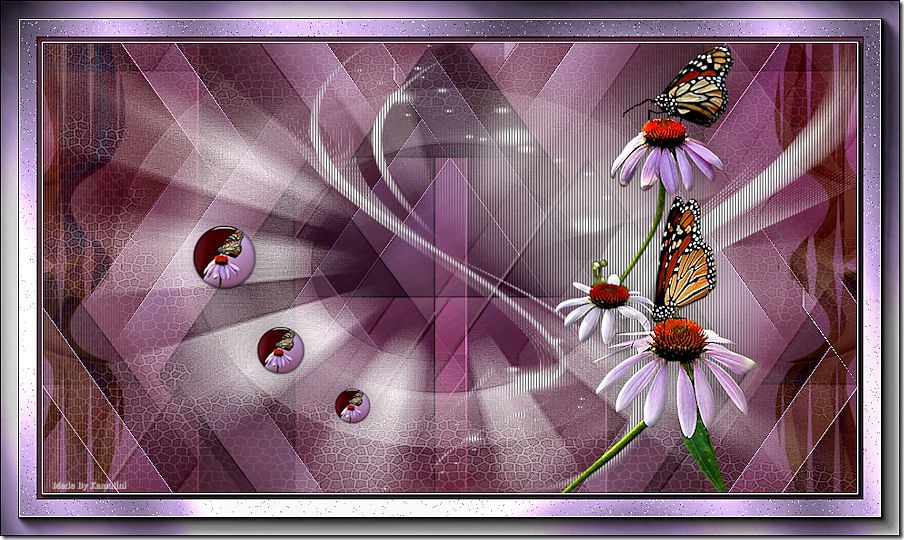
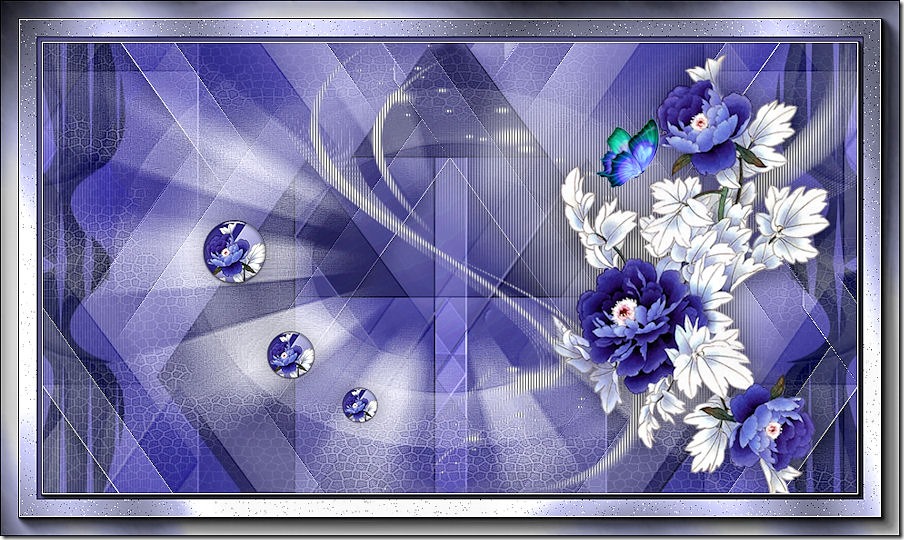
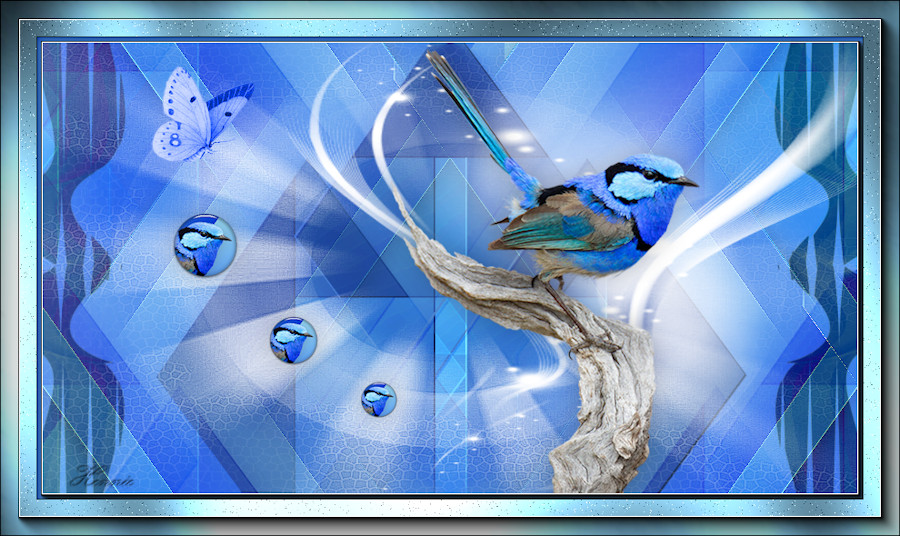
Examples of the lesson created by Kamalini and Hennie

|