Lesson 177
Translation made by MARION

Supplies
Material

Printlesson
Mieke has used the following filters
Filter---<I C Net Software> Filters in Unlimited 2.0---Simple
Filter—Flaming Pear---Flexify 2
Filter---Caroline and Sensibility---CS-Lineair-H hier
AAA Frames---Foto Frame
 You can use my arrow to follow your work
Colors
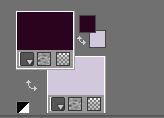
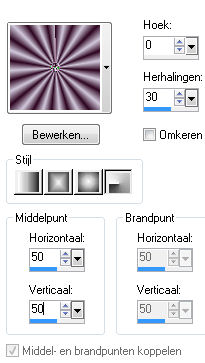
Foreground color #2d0520---Background color #d1c8db
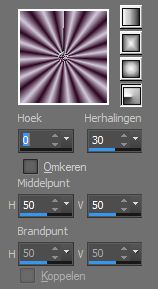
Gradient Radial-Angle 0---Repeats 30
Center Point 50---50
Use your own colors, play with blend mode
and the layer opacity
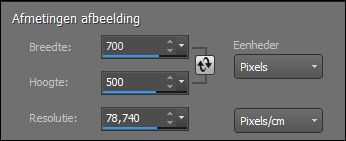
File-Open a new transparent image in this size :
Width--700---Heigth 500
1.
Flood fill the layer with the gradient
2.
Effects---Plugins---<I C Net Software> Filters in Unlimited 2.0
Simple---Top Bottom Wrap
3.
Effects---Plugins---<I C Net Software> Filters in Unlimited 2.0
Simple---Top Left Mirror.
4.
Effects---Edge Effects---Enhance More
5.
Layers---Duplicate
Image---Free Rotate --Right 90 ( All layers not checked.)
6.
Image---Resize ---90%
Resize all layers not checked
7.
Layers---Properties
Set the Blend Mode to Luminance( Legacy) ---Reduce the opacity of this layer to 50%
8.
Effects---3D effects--- Drop shadow 0---0---50---40. Color black.
9.
Layers---Duplicate
10.
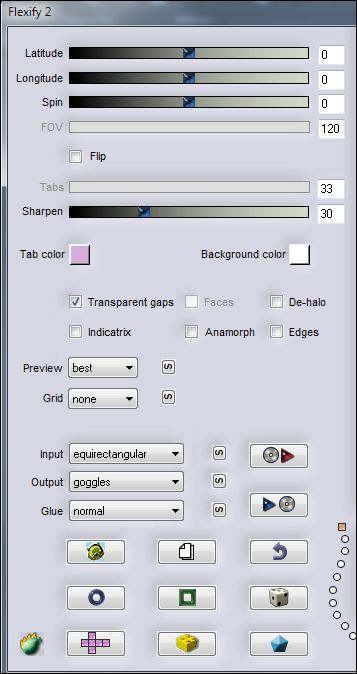
Effects---Plugins—Flaming Pear---Flexify 2---0---0---0---120
Equirectangular---Goggles---Normal
11.
Effects---3D effects--- Drop shadow 0---0---50---40. Color black.
12.
Activate Raster 1 in the layer palette---(bottom layer)
13.
Selections –load/save selection –load selection from disc and select my selection:--- mb-177-1
14.
Selections---Promote Selection to Layer
15.
Selections---Select none
16.
Repeat: Effects---Plugins—Flaming Pear---Flexify 2---0---0---0---120---Equirectangular---Goggles---Normal
17.
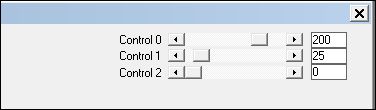
Effects ---Plugins---Caroline and Sensibility---CS-Lineair-H---200---25---0.
18.
Effects---3D effects--- Drop shadow 0---0---50---40. Color black.
19.
Layers---Duplicate
20.
Image --- Mirror --- Mirror Horizontal (Image - Mirror in older versions of PSP)
21.
Image--Add borders---1 pixel with your dark color
22.
Image--Add borders---75 pixels with your light color
23.
Activate your Magic Wand / Tolerance at 0 and Feather at 0---
Click with the magic wand in the 75 pixel border.
24.
Effects---Plugins---<I C Net Software> Filters in Unlimited 2.0---Simple---Centre Tile
25.
Adjust--Blur--Gaussian Blur---Radius 15
26.
Selections---Invert
27.
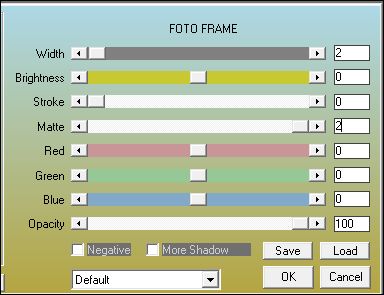
Effects---Plugins--. AAA Frames---Foto Frame
2---0---0---0---2---0---0—0---100
28.
Effects---3D Effects---Drop shadow ---0---0---50---40. Color black.
29.
Selections---Select none
30.
Effects---Plugins--. AAA Frames---Foto Frame
Width at ---40---0---0---2---0---0—0---100.
31.
Open tube--- OBG_GIRL_838
Edit---Copy
Activate your work -Edit - Paste as a new layer
Remove the watermark
32.
Image---Resize ---60%
Resize all layers not checked
33.
Adjust---Sharpness---Sharpen More
Move the tube to the right side--- See finished image
34.
Effects---3D Effects---Drop Shadow ---0---0------50---40. Color black.
35.
Open tube--- 0_7efcf_5b4f41a5_L
Edit---Copy
Activate your work -Edit - Paste as a new layer
36.
Image---Resize ---60%
Resize all layers not checked
Move the tube tot the left ---See finished image
37.
Layers---Duplicate
38.
Image---Resize --80%
Resize all layers not checked
Move the tube in the right place ---See finished image
39.
Layers---Merge---Merge Down
40.
Effects---3D Effects---Drop shadow ---0---0---50---40. Color black.
41.
Image--Add borders---1 pixel with your dark color
Layers--New raster layer
Place your watermark
Save asJPG
Have fun with this lesson
Greetings Mieke
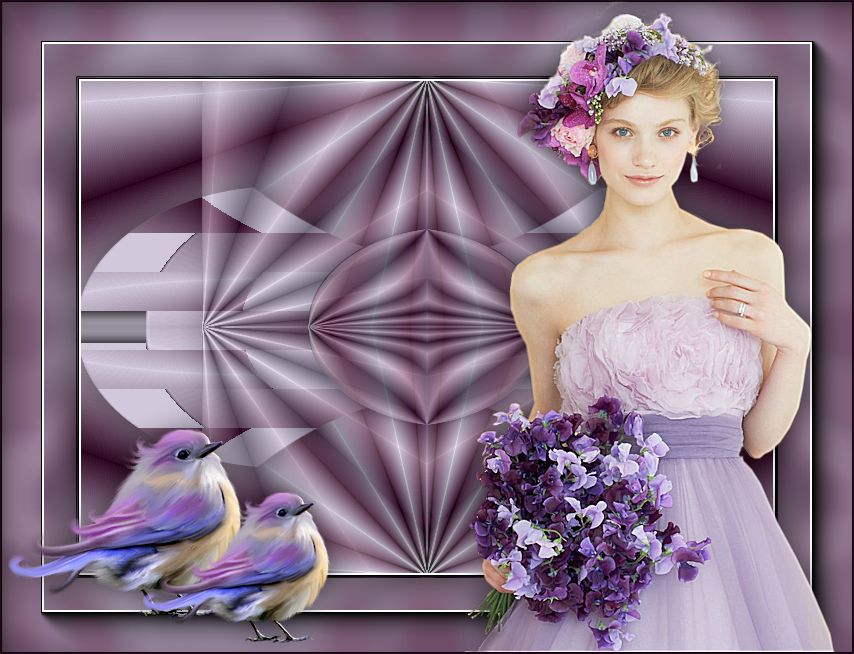
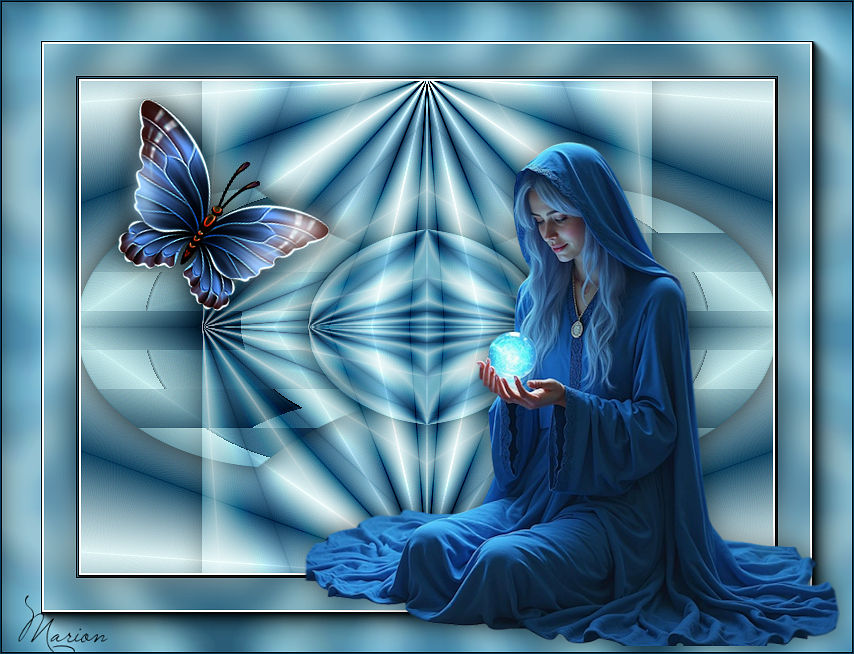
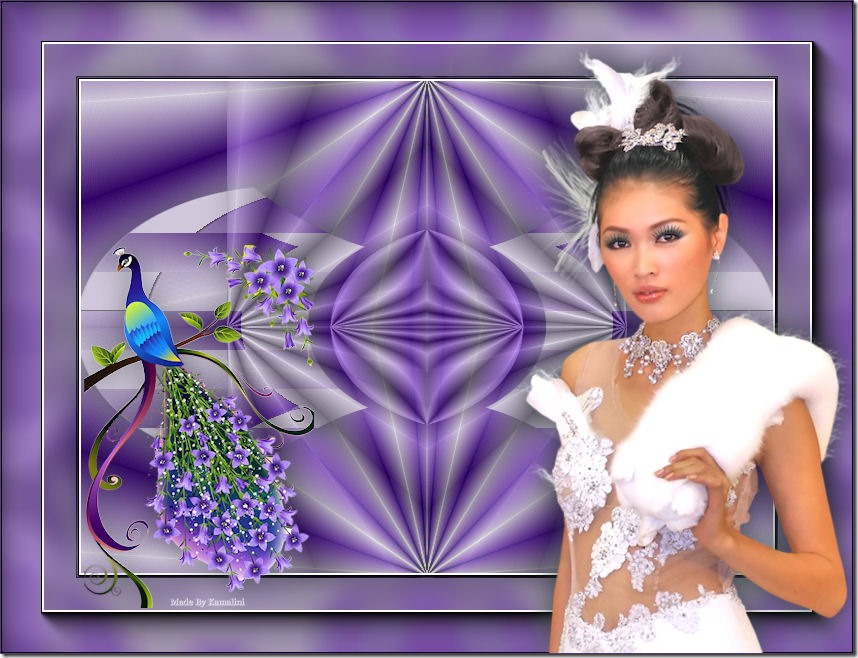
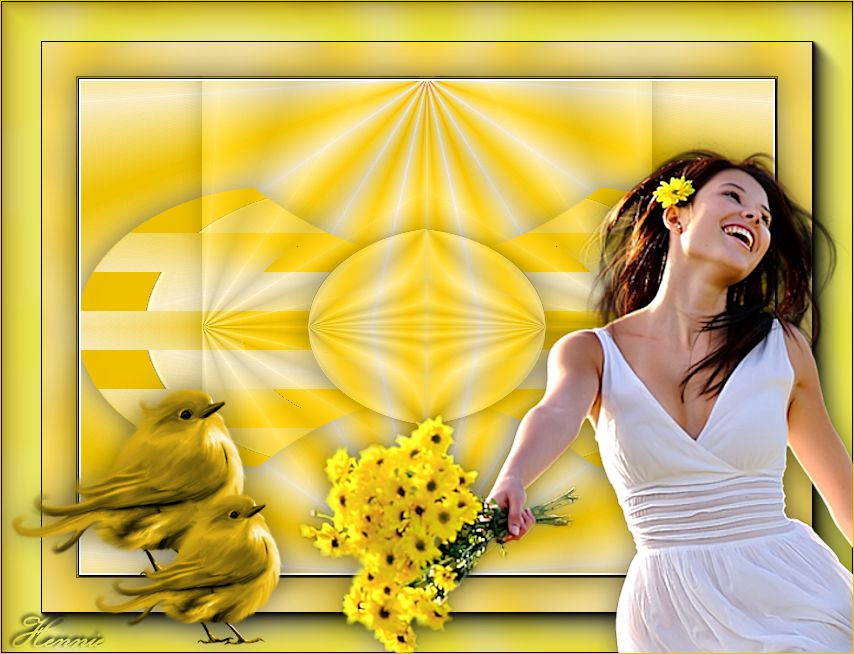
Examples created by Kamalini and Hennie

|