Lesson 169
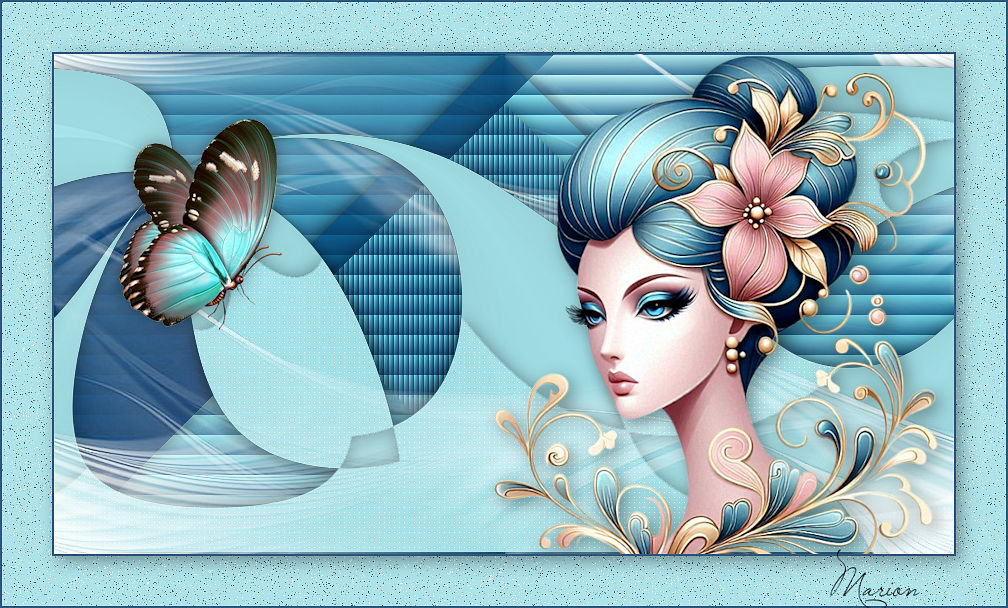
Translation made by MARION

Supplies
Material

Printlesson
Mieke used this filter
AP 01 (innovations)---Lines silverlining
 You can use my arrow to follow your work
Colors
Forderground color #e5d1c9---Background color #dea096
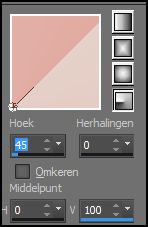
Gradient
Radial---Angle 45---Repeats 0--Center Points Horizontal---0---Vertical 100
1.
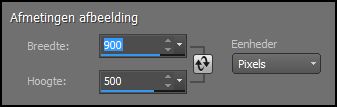
File-Open a new transparent image in this size :
Width---900---Heigth 500 Pixels
2.
Flood fill the layer with the gradient
3.
Layers---Duplicate
4.
Image --- Mirror --- Mirror vertical ( Image - Flip in older versions of PSP)
Layers---Properties
Change the blend mode of this layer to Soft Light
5.
Layers--Merge--Merge Down
7.
Layers---Duplicate
8.
Image --- Mirror --- Mirror vertical ( Image - Flip in older versions of PSP)
9.
Layers---Properties
Change the blend mode of this layer to Multiply
10.
Layers--Merge--Merge Down
11.
Layers---Duplicate
12.
SSelections –load/save selection –load selection from disc and select my selection:--- selectie-MB-169.
Delete on your keyboard.
13.
Selections---Select none
14.
Effects ---3D-Effects--- Drop Shadow---0---0---40---25---Color black.
15
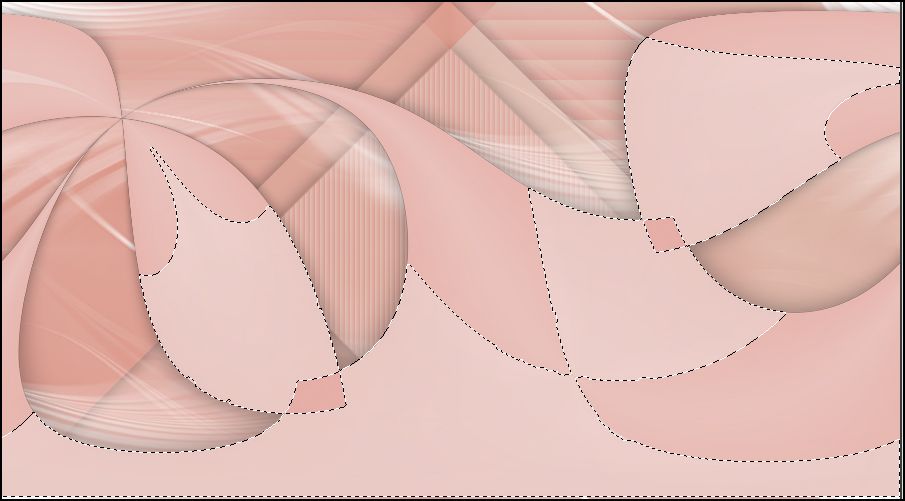
SSelections –load/save selection –load selection from disc and select my selection:--- selectie-2-MB-169.
16.
Effects---Texture effects--Blinds---5---100--Light from left/upper
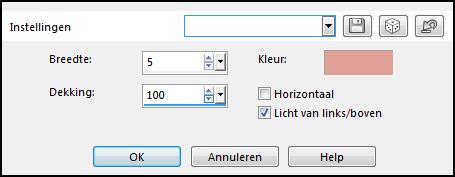
17.
Effects --- 3D-Effects---Drop Shadow---0---0---40---25---Color black.
18.
Selections---Select none
19.
Activate Raster 1 in the layer palette (bottom layer)
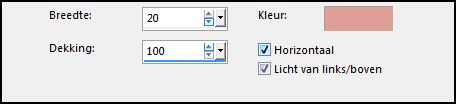
Effects--Texture effects---Blinds---20---100
Horizontal--Light from left/upper
20.
Activate the top of the layer palette
Layers--New raster layer
Flood fill the layer with color white
21
Layers--New mask layer--From image and select Mask--
masker-1.jpg---Source Luminance
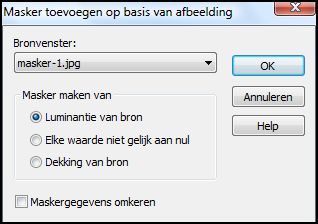
Layers--Merge---Merge Group
22.
Open--- deco-169-1
Edit---Copy
Activate your work -Edit - Paste as a new layer
23.
Activate your Magic Wand--- Tolerance at 5 and Feather at 0

Select the bright areas in your deco
24.
Selections---Promote selection to layer
25.
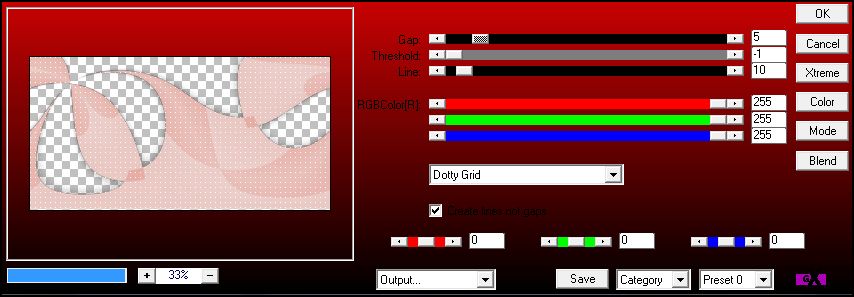
Effects---Pluigns—AP 01 (innovations)---Lines-Silverlining
Dotty Grid-5---min 1---10---3x255.
26.
Effects --- 3D-Effects--- Drop Shadow---0---0---40---25---Color black.
27.
Selections---Select none
28.
Layers--New raster layer
Flood fill the layer with color white
29.
Layers--New mask layer--From image and select Mask
masker-2.jpg---Source Luminance
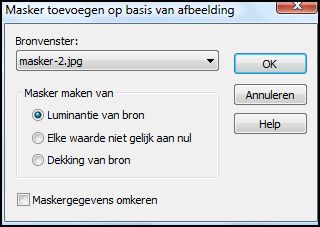
Layers--Merge---Merge Group
30.
Adjust---Sharpness---Sharpen
31.
Open--- OBG-Girl-654.
Remove the watermark
Edit---Copy
Activate your work -Edit - Paste as a new layer
32.
Image---Resize---80%
Resize all layers not checked
33.
Move to the right 9see finished image)
(Something of the bottom of the tube falls outside your work)
34.
Effects --- 3D-Effects--- Drop Shadow---5---5---60---40---Color black.
35.
Open--- bloem-takje
Edit---Copy
Activate your work -Edit - Paste as a new layer
Move to the left (see finished inage)
36.
Image--Add borders 2 pixels----Dark color.
Image--Add borders 50 pixels----Light color.
37.
Activate your Magic Wand--- Tolerance at 0 and Feather at 0
Select the light border.
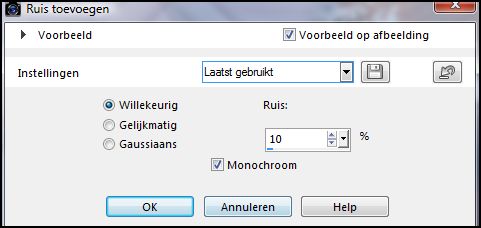
38.
Customize--Add/remove noise--Add noise Noise 10
39.
Selections--- Invert
Effects --- 3D-Effects---Drop Shadow---5---5---60---40---Color black.
40.
Selections---Select none
41.
Image ---Resize --900 pixels
Resize all layers checked
42.
Image--Add borders 2 pixels----Dark color.
43.
Layers--New raster layer
Place your watermark
Save as JPG
Have fun with this lesson
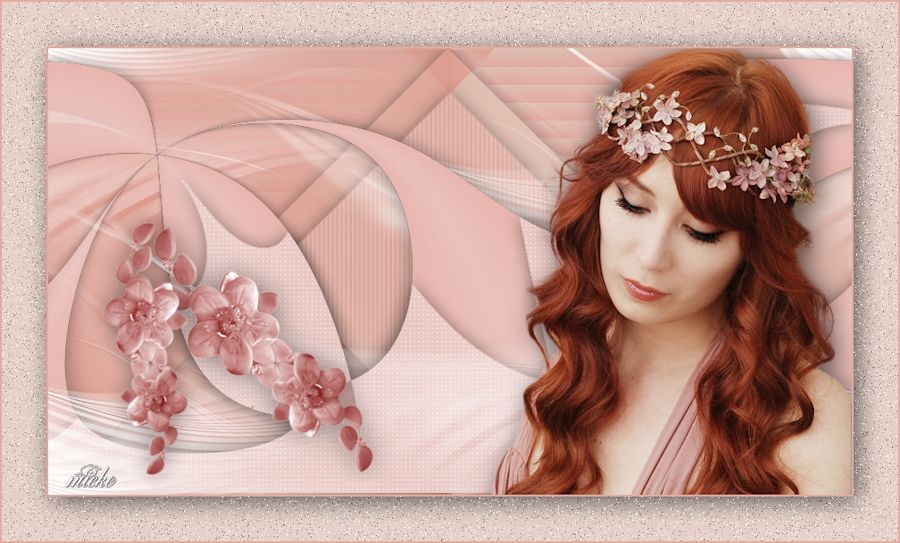
Greetings Mieke
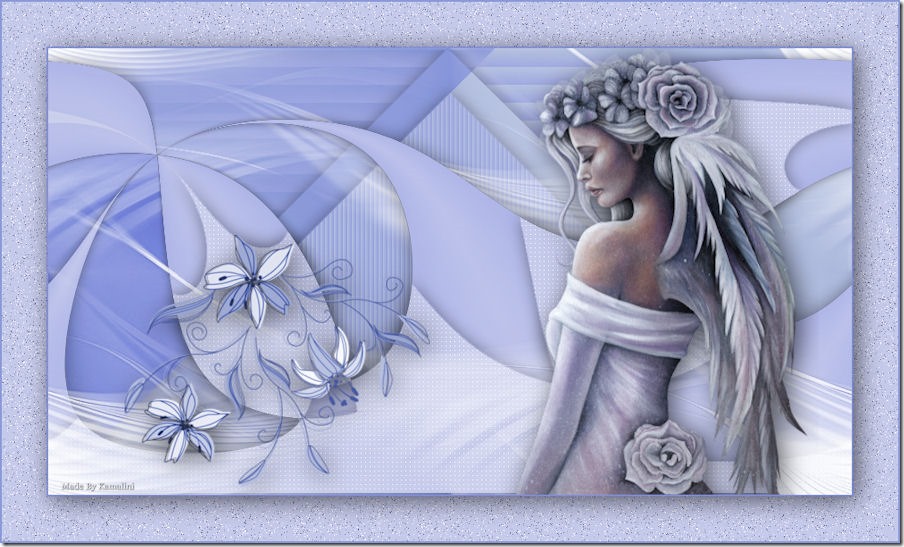
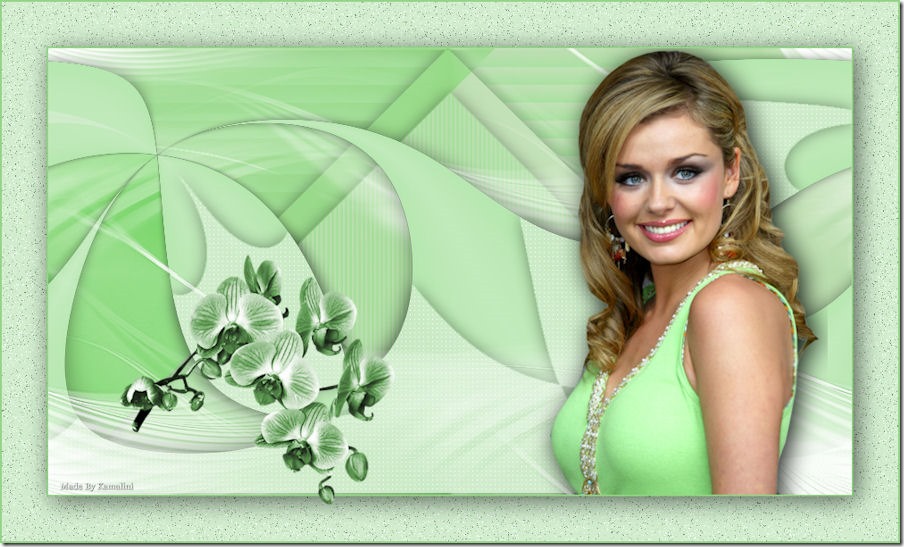
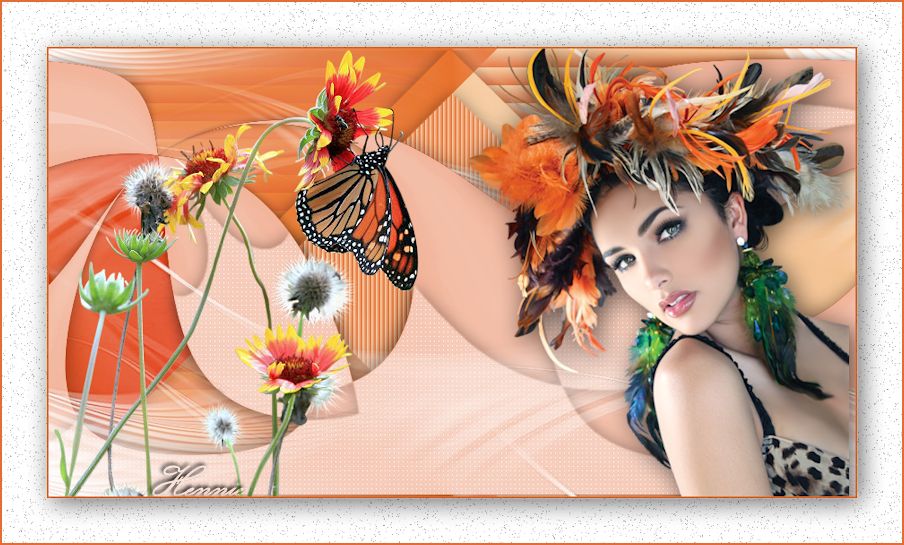
Examples created by Kamalini and Hennie

|


