Lesson 114
Translation made by MARION

Supplies
Mieke has used the following filters
Filter V.M.Extravaganza.
Filter V.M.Toolbox. ( of V.M.Stylize)
Filter---Mura Meister---Copies.
Plugins Here
Material. Here
Picture Tube brush standard in psp ( download Here)
If you don't have the bee, put it in the picture brush folder of PSP.
Thanks Sara for the tube
Gradient Rainblow 2 FK.
Put the gradient it in the gradient folder of PSP.
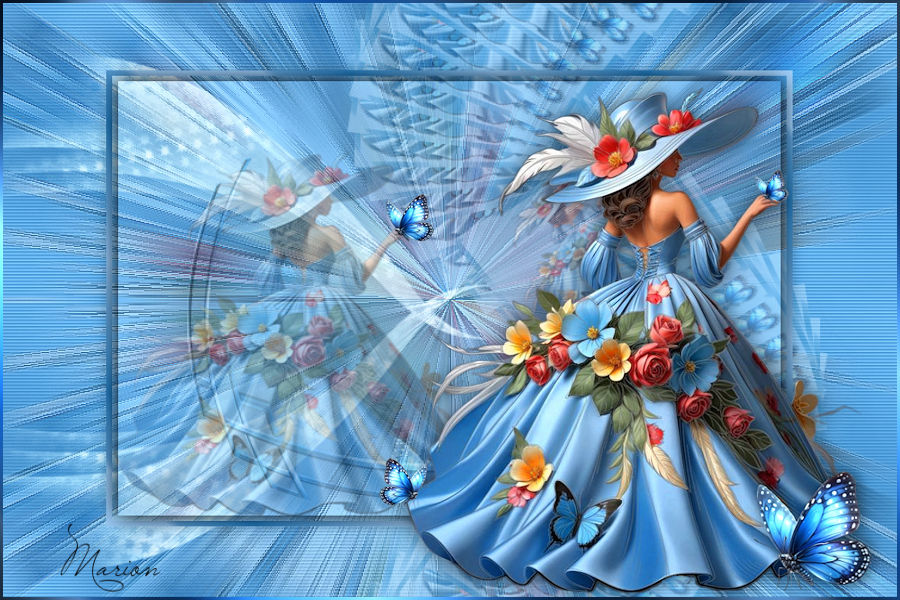
Color Palette: Set your foreground color to gradient and select : Rainblow 2 FK
Style Linear---Angle 45---Repeats 3
Set the background color to color #320d4e.
 You can use my arrow to follow your work
1.
File-Open a new transparent image in this size :
Width---750---Height 550 Pixels
2.
Flood fill the layer with the gradient ---Rainblow 2FK
Linear
Angle 45
Repeats 3.
3.
Adjust---Blur---Gaussian Blur ---Radius 40.
4.
Effects---Plugins
<I.C.Net Software> Filter in Unlimited 2.0
V.M.Extravaganza---Picture in a Picture---225---40---90.
5.
Effects---Plugins
<I.C.Net Software> Filter in Unlimited 2.0
V.M.Toolbox---MirrororriM---134---0 (default.)
6.
Layers---Duplicate
Image -Mirror -Mirror Horizontal (Image - Mirror in older versions of PSP)
Image - Mirror - Mirror vertical ( Image - Flip in older versions of PSP)
7.
Layers---Properties---Reduce the Opacity of this layer to 50 %
Layers---Merge---Merge Down
8.
Layers--New raster layer
Selections---Select All
9.
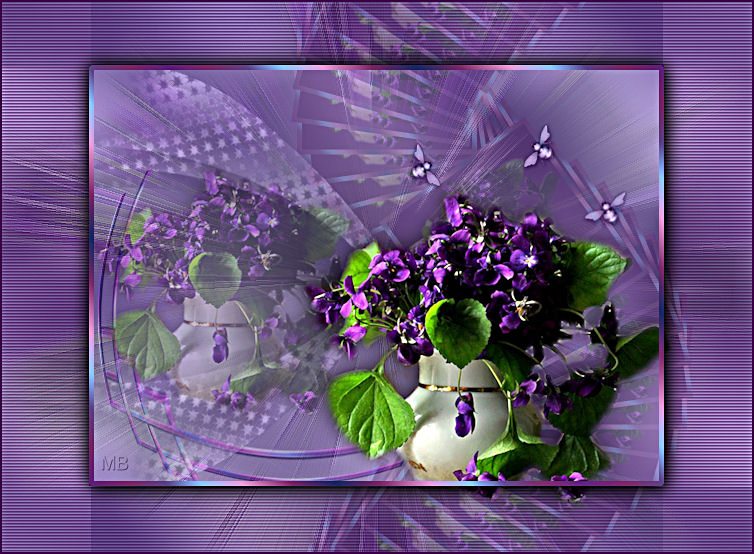
Open the tube ---Flower-88613
Edit---Copy
Activate your work --- Edit ---Paste into Selection
(Do not close the tube, still need it)
10.
Effects---Plugins
<I.C.Net Software> Filter in Unlimited 2.0
V.M.Toolbox---Zoom Blur.
Default settings
11.
Selections---Select none
12.
Layers---Properties---Reduce the Opacity of this layer to 18%.
13.
Effects---Edge Effects---Enhance More
14.
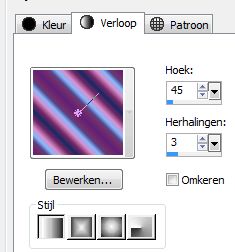
Activate Selection Tool-Custom Selection(S)-Rectangle with these settings:

Top 154
Left 400
Right 580
Bottom 290
15.
Layers---New raster layer
Flood fill the selection with the gradient
16.
Selections---Modify---Contract 5.
Layers---New raster layer
Flood fill the selection with the background color---# 320d4e
17.
Layers---New raster layer
Activate your work --- Edit ---Paste into Selection
( the flowers are still in your memory)
18.
Adjust---Sharpness---Sharpen.
Selections---Select none
19.
Layers--Merge--Merge Down
Repeat 1 more time.
20.
Effects---Plugins
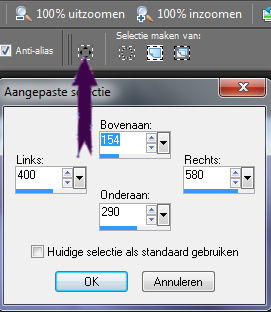
Mura Meister---Copies
Wave(vertical) V-Wave ---Wraparound---Behind.
28---28---rest standard.
21.
Layers---Properties-Reduce the Opacity of this layer to 24 %.
22.
Open the tube---Deco 3
Edit---Copy
Activate your work --- Edit ---Paste as new layer
23.
Image---Resize 80%.
Resize all layers not checked
24.
Layers---Properties---Change the blend mode of this layer to Luminance Legacy
Reduce the Opacity of this layer to 60%.
25.
Image ---Free Rotate ---Direction Right---Degrees 30.
Move this to the upper left corner - slightly away from the block at the top left.
26.
Layers---Duplicate
Image - Mirror - Mirror vertical ( Image - Flip in older versions of PSP)
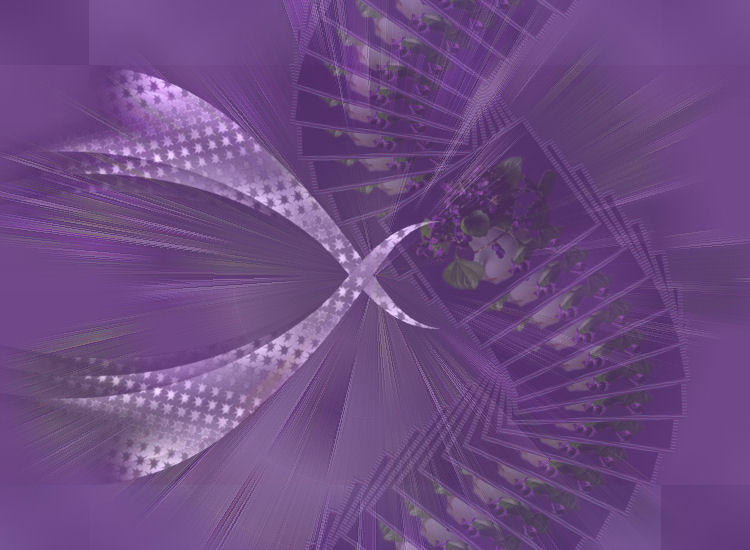
As shown in the example below
27.
Open the tube---Hoek 2
Edit---Copy
Activate your work --- Edit ---Paste as new layer
28.
Move to the left in the bottom corner -something from the bottom left block
Layers---Properties---Change the blend mode of this layer to Soft Light
29.
Effects---3D-effects
Drop Shadow 3---3---70---25---Color black.
30.
Activate Selection Tool-Custom Selection(S)-Rectangle with these settings:
Top 63
Left 87
Right 662
Bottom 484.
Flood fill the selection with the gradient
31.
Selections---Modify---Contract 5
Delete from your keyboard.
32.
Selections---Invert.
33.
Activate the bottom of the layers palette
Effects--Texture Effects.
Blinds ---3---59---Background color.
Horizontal checked.
34.
Selections---Invert
Activate the top of the layers palette
35.
Selections---Modify---Expand 5.
36.
Effects---3D- Effects
Drop Shadow 3---3---70---25---Color black.
Repeat with minus 3 ---minus 3--rest is ok
Selections---Select none
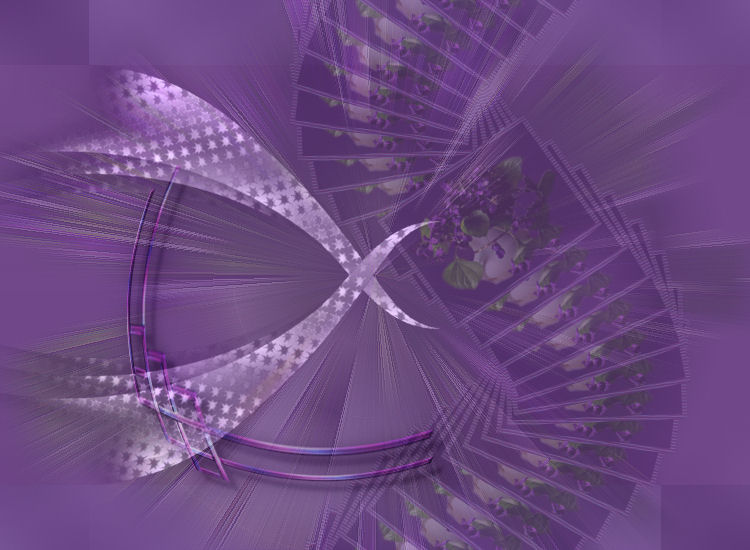
Result
37.
Open again the tube---Flower-886139
Edit---Copy
Activate your work --- Edit ---Paste as new layer
38.
Image---Resize 80%.
Resize all layers not checked
39.
Repeat 1 more time
(Edit---Repeat ---Resize )
Image---Resize 90%.
Move to the bottom right (See finished image )
40.
Effects---3D-Effects
Drop Shadow 3---3---70---25---Color black
41.
Layers---Duplicate
Image---Resize 80 %.
Resize all layers not checked
Move to the left and slightly upward.
See finished image
Layers---Properties---Reduce the Opacity of this layer to 40%.
42.
Layers ---Arrange---Move Down
Activate the top of the layers palette
43.
Image--Add borders--- 2 pixels ---Background color.
44.
Picture Tube Tool ---activate the bee.
Layers---New raster layer.
Scale to 100.
Click once in your work
Layers---Properties---Change the blend mode of this layer to Luminance Legacy
Effects---3D-Effects---
Drop Shadow1---1---50---5---Color black
You can this layer---Duplicate---Free Rotate ---just what you want.
45.
Satisfied? Layers---Merge---Merge All ( flatten)
Layers--New raster layer
Add your watermark
Enjoy this lesson. .
Greetings Mieke
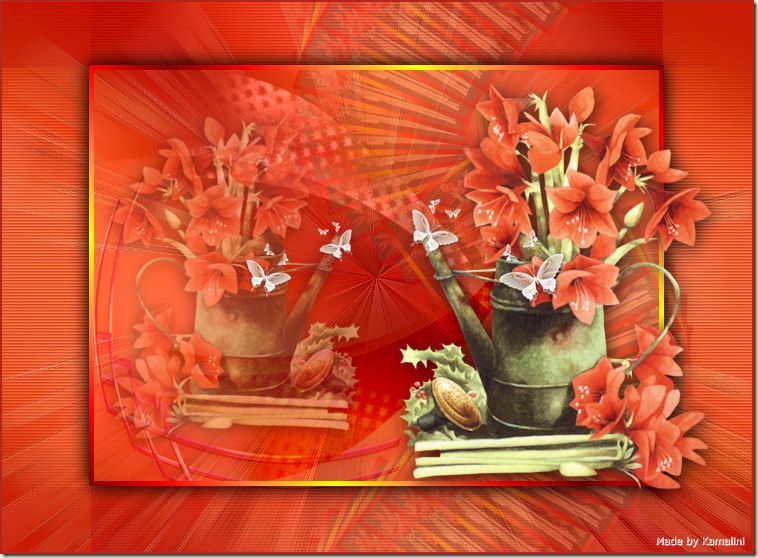
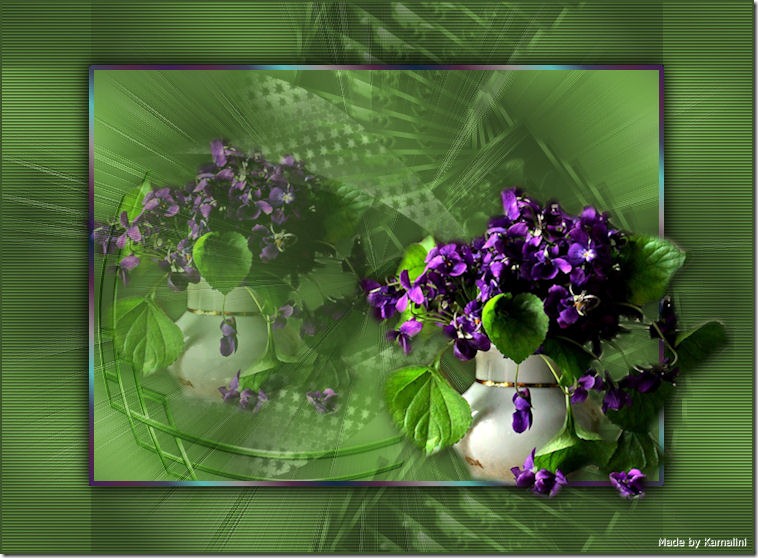
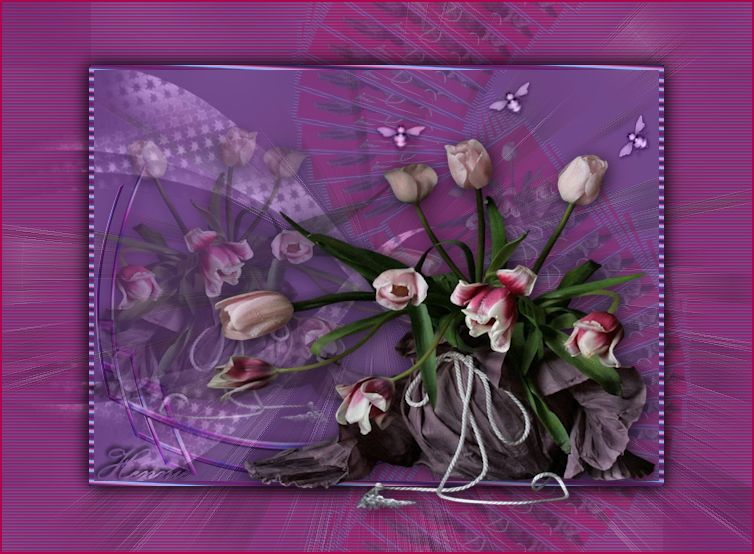
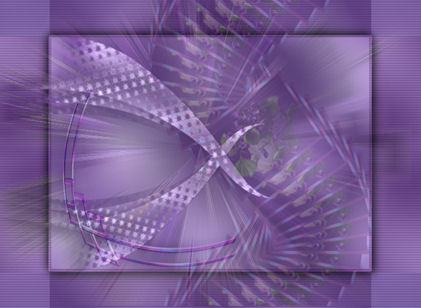
Examples from Kamalini.