Lesson 105
Translation made by MARION

Some knowledge of PSP is recommended..
Supplies.
Filters Here
Filter with a star * Import this filter in Unlimited 2.0
Filter Simple *
Filter Adjust---Variation
Filter L en K`s Landsiteofwonders. (material)
Filter Alien skin Eye candy 5 Impact
Material Hier
Set your Foreground color to color #ffffff---Set you background color to color #596a15
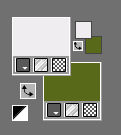
Gradient --- Style---Linear 37---0.
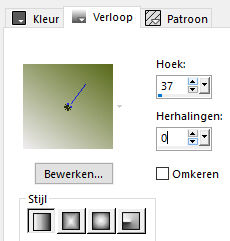
Note: When working with your own colors-
play with the blend mode and/or opacity at your own discretion
1.
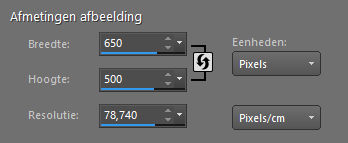
File ---New
Open a new transparent image in this size : 650 width ---500 height pixels .
Activate Flood Fill Tool (F) --- Flood fill the layer with the gradient
2.
Layers---Duplicate
3.
Effects---Plugins
<I.C. Net Software> Filter in Unilimited 2.0
Filter Simple---Pizza Slice Mirror.
4.
Effects---Plugins
Filter Adjust---Variation.
Click once on Orginal---and 4 x on Darker.
5.
Effects---Plugins
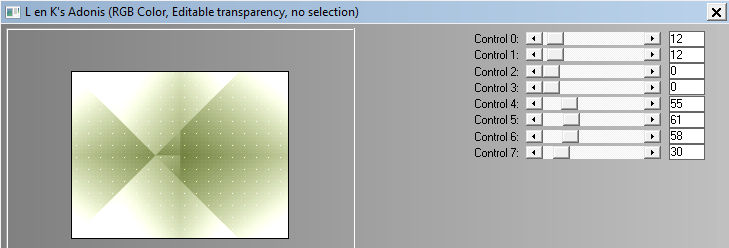
l en K`s Filter Landsiteofwonders.
Adonis set the top 2 sliders to 12.
6.
Open theTube---Rand-rechts
Edit---Copy
Activate your work --- Edit ---Paste as new layer
Put right against the edge. (Objects--- Align---Right)
7.
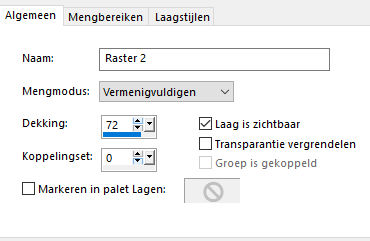
Layers---Properties---Change the blend mode of this layer to Multiply---
Reduce the opacity of this layer to 72%
8.
Open the tube---punt-1
Edit---Copy.
Activate your work --- Edit ---Paste as new layer
Slide against the right side.Objects--- Align---Right)
9.
Layers---Properties
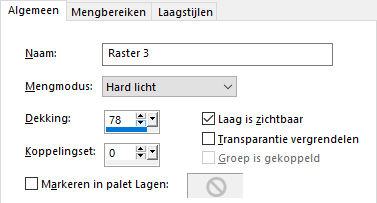
Change the blend mode of this layer to Hard Light---
Reduce the opacity of this layer to 78%.
10.
Open the tube---Punt 2
Edit ---Copy .
Activate your work --- Edit ---Paste as new layer
11.
Layers-Properties-Change the blend mode of this layer to Multiply---
Reduce the opacity of this layer to 20%.
Slide the tip to the right side/back.(Objects--- Align---Right)
12.
Open the tube---Punt3
Edit---Copy
Activate your work --- Edit ---Paste as new layer
13.
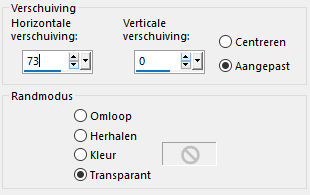
Effects--- Image Effects---Offset---73---0---Custom---Transparent
14.
Layers---Properties---Reduce the opacity of this layer to 50%
15.
Open the tube---Punt 6
Edit---Copy
Activate your work --- Edit ---Paste as new layer
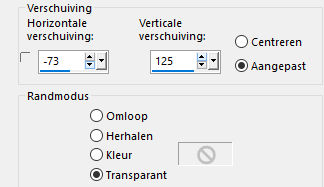
Effects---Image Effects---Offset---min 73---125--- Custom---Transparent
16.
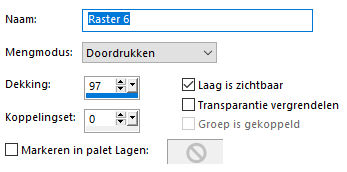
Layers---Properties---Change the blend mode of this layer to Burn
Reduce the opacity of this layer to 97%
17.
Layers---Duplicate
Image - Mirror - Mirror vertical ( Image - Flip in older versions of PSP)
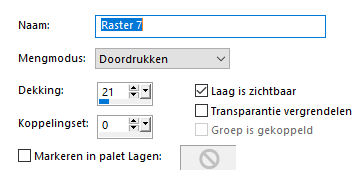
Layers---Properties---Change the blend mode of this layer to Burn
Reduce the opacity of this layer to 21%.
18.
Open the tube---punt 8
Edit---Copy.
Activate your work --- Edit ---Paste as new layer
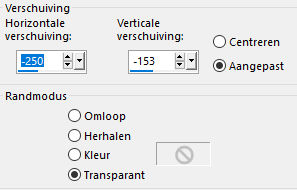
Effects---Image Effects ---Offset --- min 250---min 153
19.
Layers---Duplicate
Image - Mirror - Mirror vertical ( Image - Flip in older versions of PSP)
Layers---Merge --- Merge Down
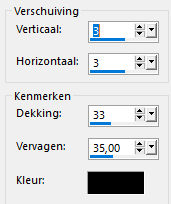
Effects---3D-Effects---Drop Shadow --- 3---3---33---35---Color black
20.
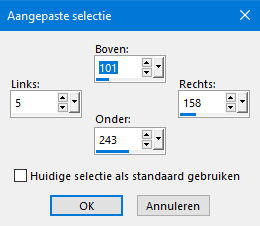
Activate Selection Tool---Custom Selection(S)
--- Rectangle with these settings:

Top 101---Left 5---Right 158---Bottom 243.
21.
Layers--New raster layer
Flood fill the selection with the dark color
22.
Selections---Modify---Contract 10 pixels
23.
Flood fill the selection with the gradient
Effects---3D-Effects---
Drop Shadow--- 3---3---33---35---Color black.
24.
Open the Tube
bloemen-5
Edit---Copy
Activate your work --- Edit ---Paste into Selection
25.
Adjust---Sharpness---Sharpen.
26.
Selections---Select none.
Effects---3D-Effects
Drop Shadow --- 3---3---33---35---Color black
27.
Layers---Duplicate
Image -Mirror -Mirror Horizontal (Image - Mirror in older versions of PSP)
28.
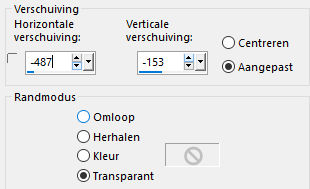
Effects---Image Effects----Offset---min 487---min 153
Layers---Merge--- Merge---Down
Effects---3D-Effects
Drop Shadow--- 3---3---33---35---Color black.
29.
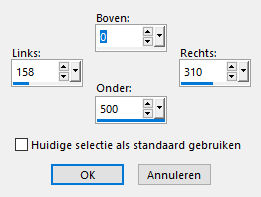
Activate Selection Tool-Custom Selection(S)-Rectangle with these settings:
Top 0---Left 158---Right 310---Bottom 500.
30.
Layers--New raster layer
Flood fill the selection with the dark color
Selections---Modify---Contract 10 pixels.
31.
Activate Flood Fill Tool (F) --- Flood fill the selection with the gradient
Selection remains activated
32.
Effects---Plugins
<I.C. Net Software> Filter in Unilimited 2.0
Filter Simple---Pizza Slice Mirror.
Edit---Repeat---Pizza Slice Mirror
33.
Effects---Plugins
<I.C. Net Software> Filter in Unilimited 2.0
Simple---Zoom Out and Flip.
34.
Effects---Plugins
L en K`s Landsiteofwonders.
Adonis--- The top two sliders to 12.

35.
Layers---Properties---Reduce the opacity of this layer to 75.
Selections---Select none
36.
Open the Tube---bloemen-5---(again)
Edit---Copy.
Activate your work --- Edit ---Paste as new layer
Put the tube in a nice place
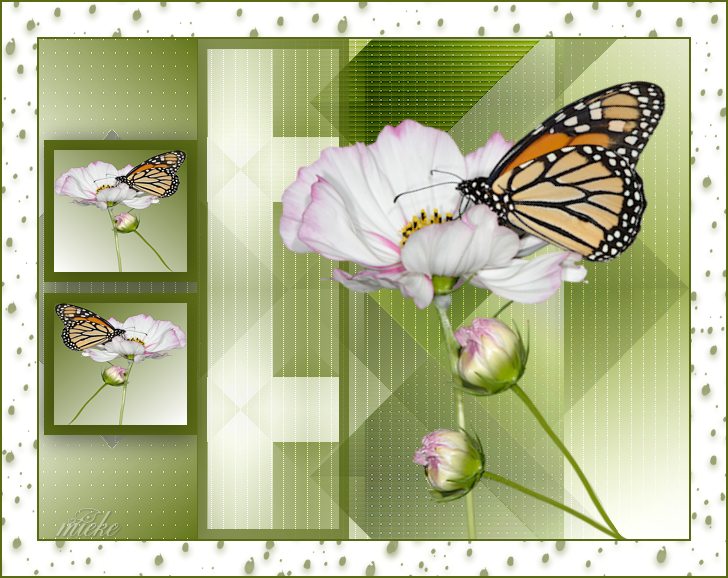
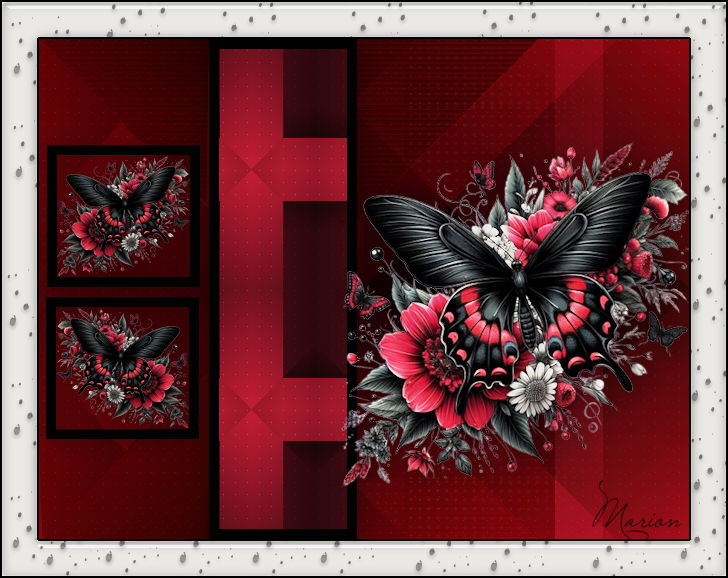
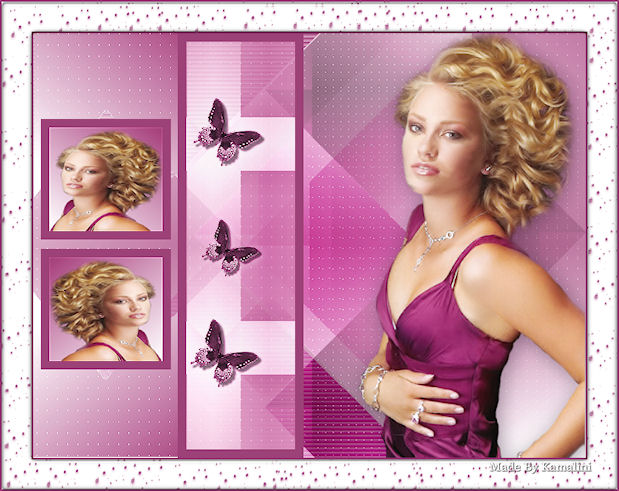
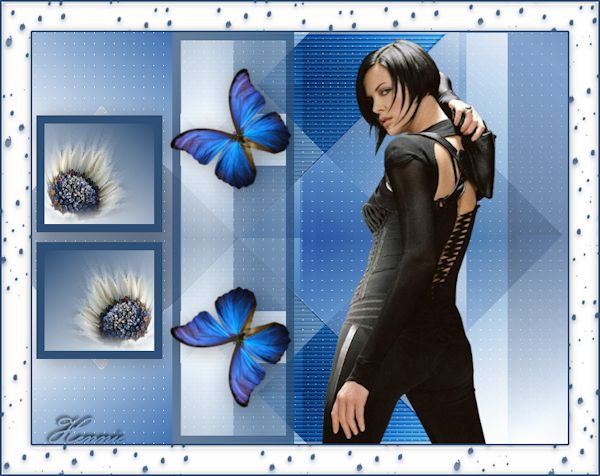
See finished image
37.
Open the tube---bloemknop
Edit---Copy
Activate your work --- Edit ---Paste as new layer
Put in place.
See finished image
38.
Layers--- Merge---Merge Down
39.
Effects---3D-Effects
Drop Shadow ---3---3---33---35---Color black.
40.
Image--Add borders --- 2 pixels --- Dark color
Image--Add borders --- 35 pixels --- Color white
Image--Add borders --- 2 pixels --- Dark color
41.
Click with the Magic Wand ( tolerance and feather at 0 ) in the white border
42.
Layers---New raster layer.
Open---the tube ----Rand
Edit ---Copy
Activate your work---Edit---Paste into Selection
Effects---Plugins Alien skin Eye candy 5 Impact
Glass---Preset---Settings---Clear No drop shadow. Ok.
Selections---Select none
43.
Layers---Merge---Merge All (flatten)
Layers--New raster layer
Add your watermark
Save as JPG
Enjoy the lesson.
Greetings Mieke
Exsamples created by Kamalini and Henny

|