Lesson-287

Engels ---Marion

Supplies
Filters
Filter---<I C Net Software> Filters Unlimited 2.0----
AFS Import---sq border 2
Filter---<I C Net Software> Filters Unlimited 2.0>---Simple
Filter---<Carolaine and Sensibility CS-LDots
Filter---<Flaming Pear---Flexify
Filter---< I C Net Software> Filters Unlimited 2.0---Toadies
Mieke used these colors
#bb6d83--- # ffffff
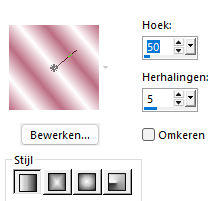
Gradient
Linear--- Angle 50---Repeats 5.
1.
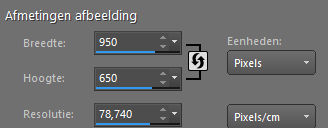
File---Open a new transparent image in this size:
Width---950---Height---650.
Activate Flood Fill Tool---Flood fill the layer with the gradient
2.
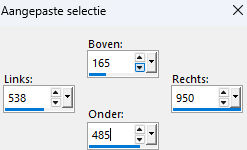
Activate Selection Tool---Custom Selection(S)-Rectangle with these settings--- Top 165---Left 538---Right 950---Bottom 485.

3.
Selections---Promote Selection to Layer
4.
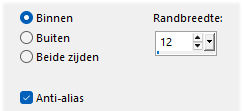
Selections ---Modify---Select Selection Borders 12--- Inside---Anti-alias checked.
5.
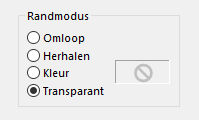
Match mode---none

Flood fill the selection with the light color
6.
Selections---Select none
7.
Layers---Duplicate.
Image - Mirror - Mirror Horizontal (Image - Mirror in older versions of PSP)
Layers---Merge---Merge Down.
8.
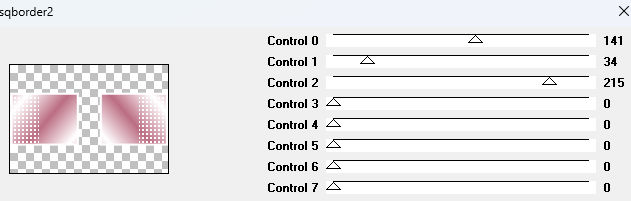
Effects---Plugins---<I C Net Software> Filters in Unlimited 2.0---AfS Import---sq border 2---using the default settings
9.
Layers---Duplicate.
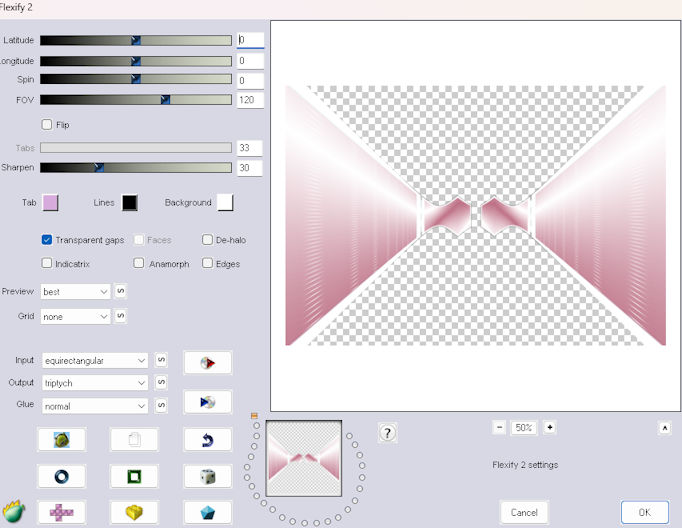
Effects---Plugins---Flaming Pear---Flexify2 ---Input---equirectangular---
Output---triptych --- the rest remains standard.
10
Layers---Duplicate.
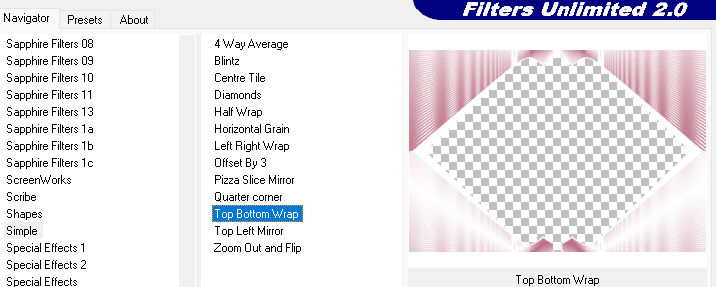
Effects---Plugins---<I C Net Software> Filters in Unlimited 2.0>---Simple---Top Bottom Wrap
11.
In the layer palette --- activate the promoted selection.
12.
Effects---Plugins---<I C Net Software> Filters in Unlimited 2.0>---Simple--- Left Right Wrap
13.
Layers---Duplicate.
14.
Effects---Plugins---<I C Net Software> Filters in Unlimited 2.0>---Simple---Half Wrap
15.
Effects--- Geometric effects---Circle.
16.
Activate Raster 1 in the layer palette
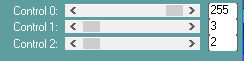
Effects---Plugins---Carolaine and Sensibility CS-LDots with these settings---255---3---2
17.
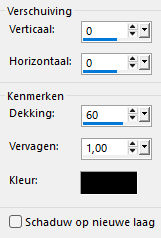
Mieke applied the following drop shadow to the top four layers of the layer palette.
18.
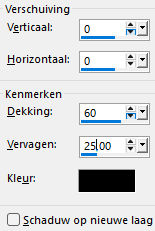
Effects---3D-Effects---Drop Shadow with these settings---0---0--60---25. Color: black.
19.
Activate Raster 1 in the layer palette
Activate Selection Tool-Custom Selection(S)-Rectangle with these settings ---
Top 0---Left 425---Right 524---Bottom 650.

Selections---Promote Selection to Layer.
Selections---Select none
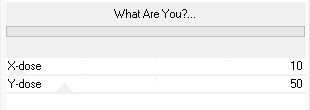
Effects---Plugins---<I C Net Software> Filters in Unlimited 2.0---Toadies---
What Are You---10---50
20.
Layers---Arrange---Bring to Top.
Layers---Arrange---Move Down
Adjust---Sharpness---Sharpen More
21.
Activate the Tube--- AI---1723-removebg-.pspimage
Edit---Copy
Activate your work ----Edit --- Paste as a new layer
Layers---Arrange---Bring to Top.
Effects---3D-Effects---Drop Shadow with these settings ---0---0--60---1. Color: black.
22.
Activate the Tube--- A1-1723-b.pspimage
Edit --- Copy
Edit--- Paste as a new layer
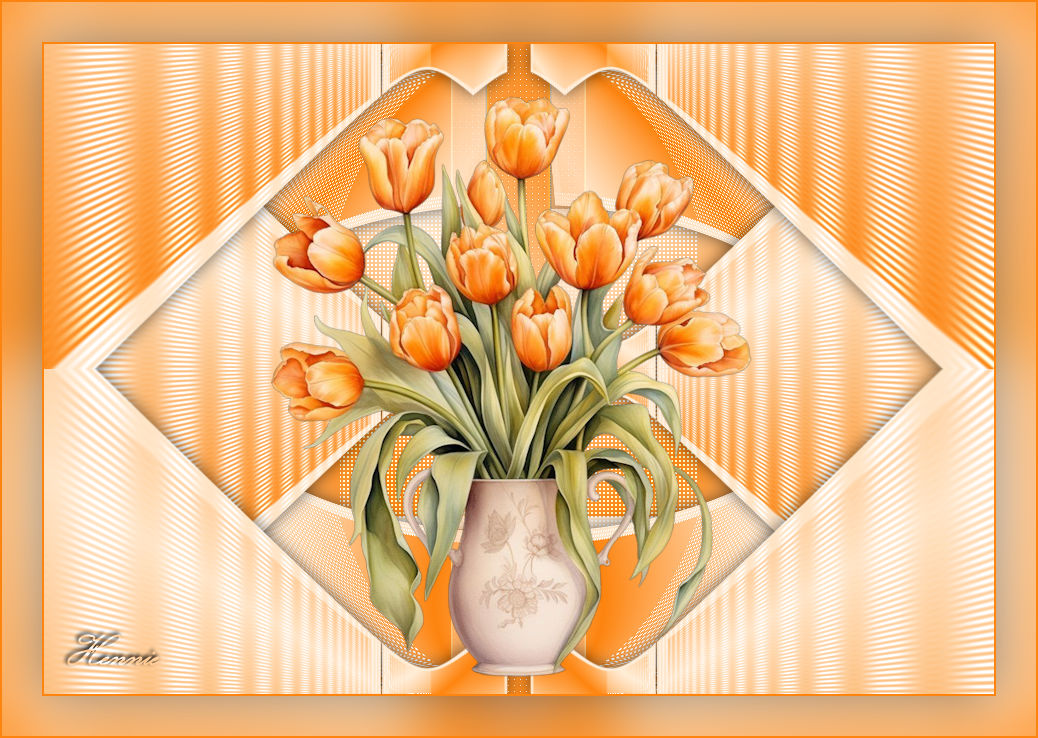
Move to the left ---See finished image
Effects---3D-Effects---Drop Shadow with these settings---1---1--60---1--- Color: black.
Layers---Duplicate.
Image - Mirror - Mirror Horizontal (Image - Mirror in older versions of PSP)
Layers---Merge---Merge Down
23.
Image---Add borders —2 Pixels--- Dark color.
Selections---Select all --- Edit ---Copy
Image---Add borders —40 Pixels--- Light color.
Selections---Invert.
Edit--Paste into the selection.
Adjust---Blur---Gaussian Blur ---Radius 30
Selections---Invert.
Effects---3D-Effects---Drop Shadow with these settings---0---0--40---80--- Color: black.
Selections---Select none
Image---Add borders —2 Pixels--- Dark color.
Place your watermark on a new layer.
Save as JPG.
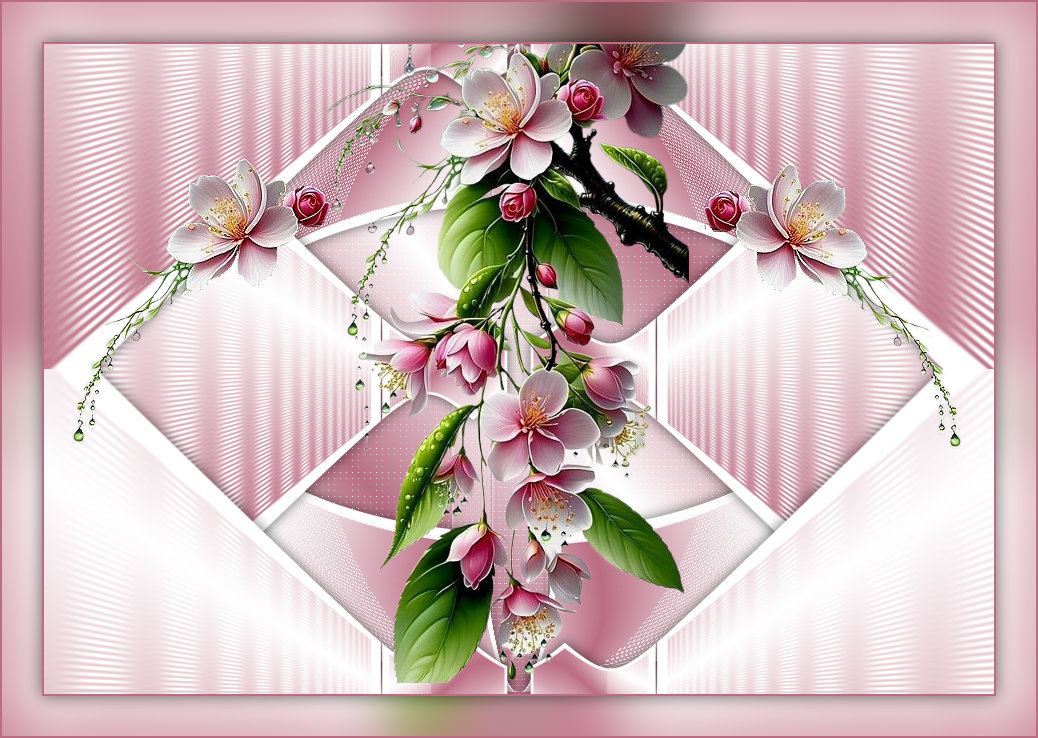
Enjoy this lesson.
Mieke
Example created by Kamalini Hennie Corrie

|