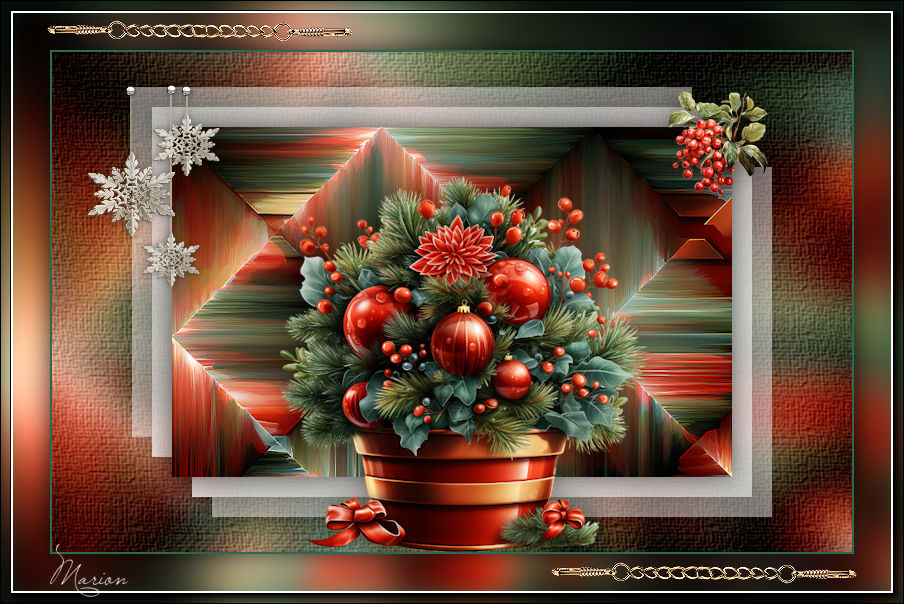
Christmas lesson 3---2024
Translation made by MARION

Material

Plugins
Filter---Mehdi---Sorting Tiles
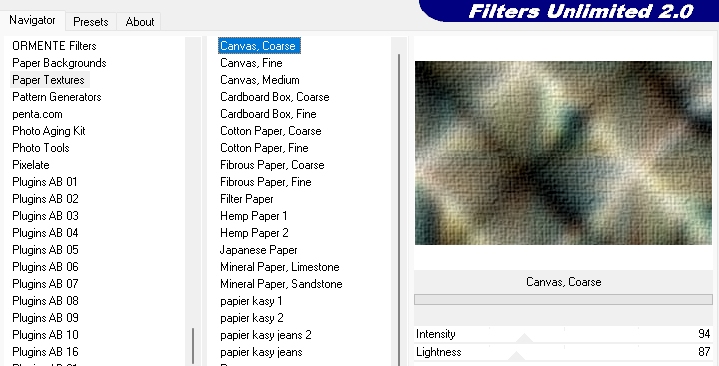
Filter---<I C Net Software> Filters Unlimited 2.0---Papier Textures
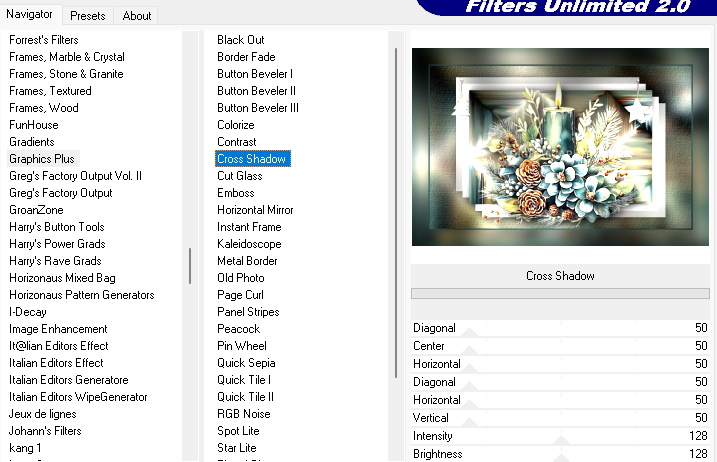
Filter---<I C Net Software> Filters Unlimited 2.0---Graphics Plus---Cross Shadow
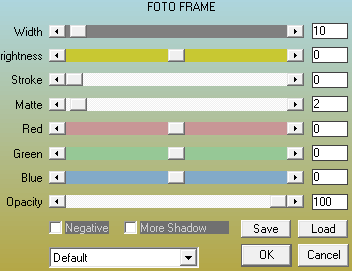
Filter---AAA Frames---Foto Frame
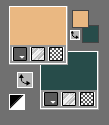
Colors eab882 and #284c4b
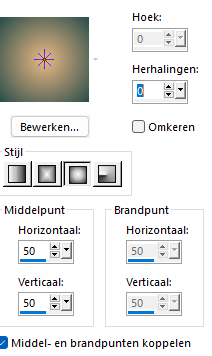
Foreground/Background Gradient---Style ---Sunburst---0---0—50---50---
- Centerpoints checked.
1.
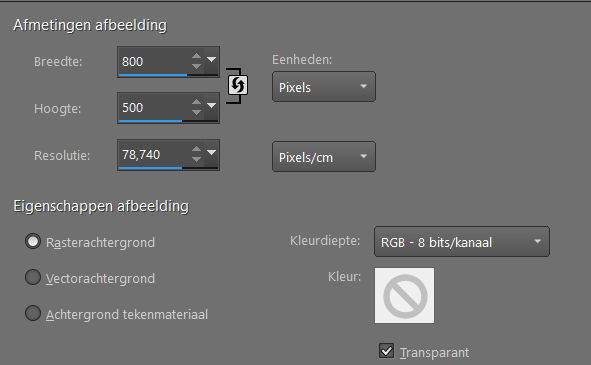
File—New transparent image
Width---800---Heigth---500.
2.
Flood fill the Layer with the gradient
3.
Selections---Select All
Activate ---Kerst-deco-4-2024.png
Edit---Copy
Activate your work -Edit - Paste into Selection.
Selections---Select none
4.
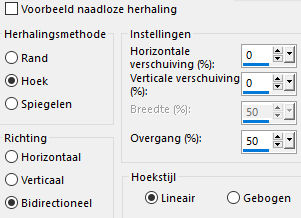
Effects--- Image Effects--- Seamless Tiling, Default
5.
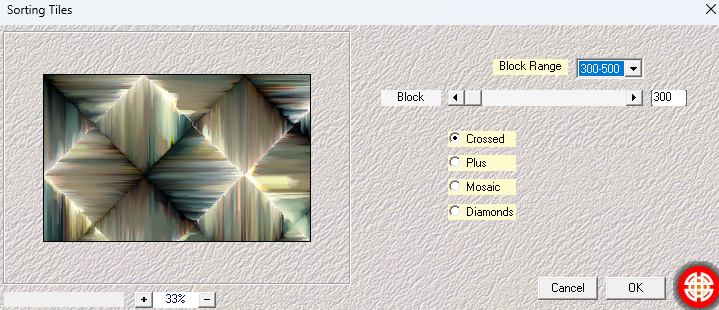
Effects---Plugins---Mehdi---Sorting Tiles---300---500---300---Crossed
5.
Effects---Edge Effects---Enhance.
6.
Layers---Duplicate
Image Resize ---70 %.
Resize all layers not checked
7.
Layers---Duplicate
8.
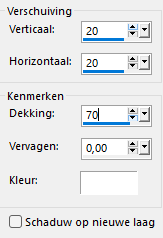
Effects---3D-Effects---Drop Shadow ---20---20---70---0---Color White
Edit---Repeat--- Drop Shadow
9.
Effects---3D-Effects---Drop Shadow ---min 20---min 20---70---0---Color White
Edit---Repeat--- Drop Shadow
10.
Layers---Arrange--- Move Down
11.
Activate the bottom Layer in the Layer palette( Raster 1)
Adjust---Blur---Gaussian Blur---Radius---15.
12.
Effects---Plugins---Filters---<I C Net Software> Filters Unlimited 2.0---Papier Textures---Canvas Coarse---94---87.
13.
Activate the top of the Layer palette
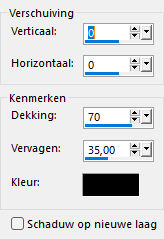
Effects---3D-Effects---Drop Shadow ---0---0---70---35---Color Black
Layers---Merge---Merge Down
Effects---3D-Effects---Drop Shadow ---0---0---70---35---Color Black
14.
Activate - Kerst-deco-4-2024.png
Edit---Copy
Activate your work---Edit---Paste as new layer.
Move the tube in the right place (see finished image)
15.
Activate--- Kerst-deco-2-2024.png
Edit---Copy
Activate your work---Edit---Paste as new Layer.
Move to the top left of the frame. (see finished image)
16.
Activate --- deco-3.png
Edit---Copy
Activate your work---Edit---Paste as new layer.
Move to the top right of the frame. (see finished image)
17.
Image---Add Borders ---2 pixels--- Dark color.
Selections---Select All.
Edit---Copy
Image---Add Borders ---50 pixels--- Light color.
Selections---Invert
Edit---Paste into selection.
Adjust---Blur---Gaussian Blur---Radius---15.
18.
Effects---Plugins---Filters---<I C Net Software> Filters Unlimited 2.0---Graphics Plus---CrossShadow---6x50—2x-128.
Selections---Invert
Effects---3D-Effects---Drop Shadow ---0---0---70---35---Color Black
Selections---Select none.
19.
Effects---Plugins---AAA Frames---Foto Frame---10---0---0---2---0---0---0---100.
20.
Activate --- rand-3-2024.png
Edit---Copy
Activate your work---Edit---Paste as new layer
Do not move.
Adjust--Sharpness--Sharpen.
Place your watermark on a new layer.
Save as JPG
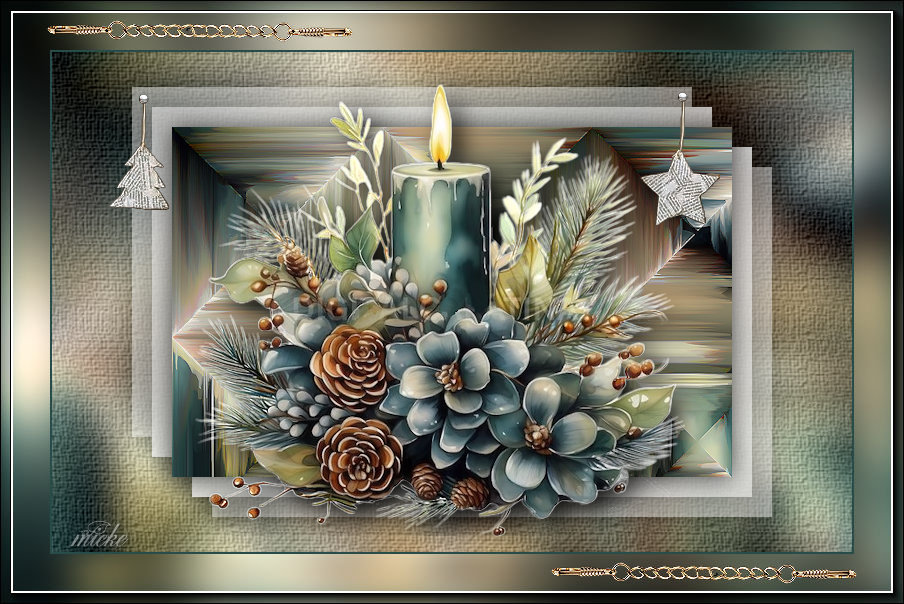
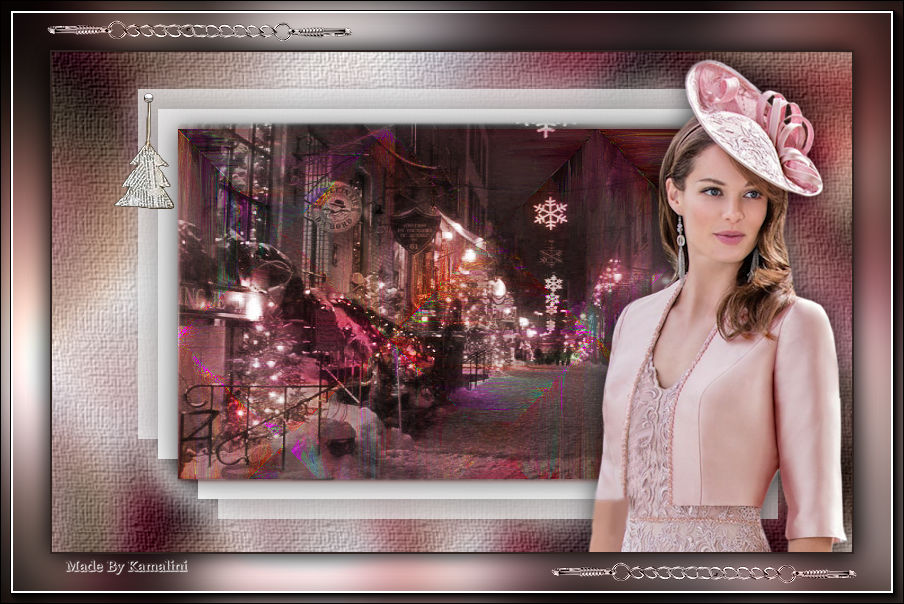
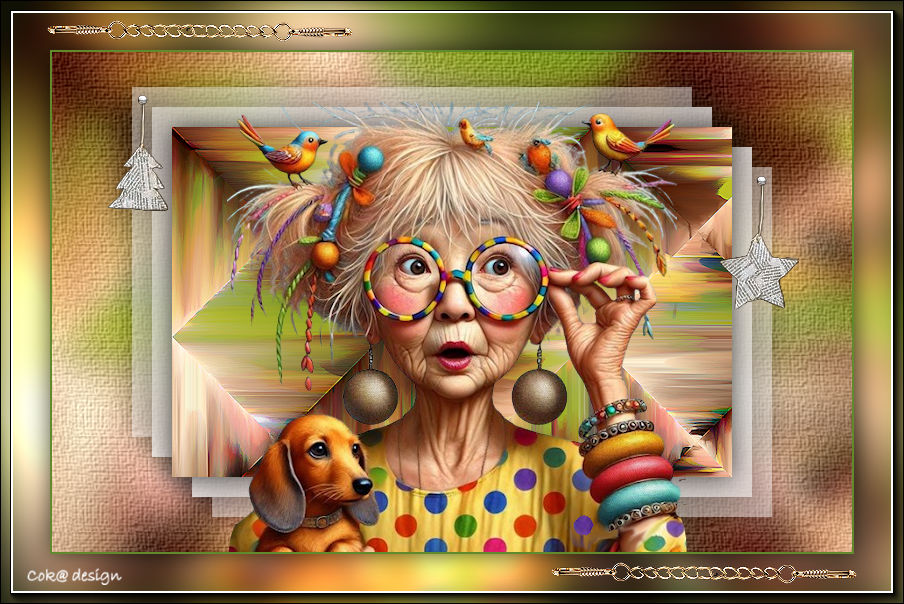
Voorbeelden gemaakt door Kamalini---Hennie---Marion---

|