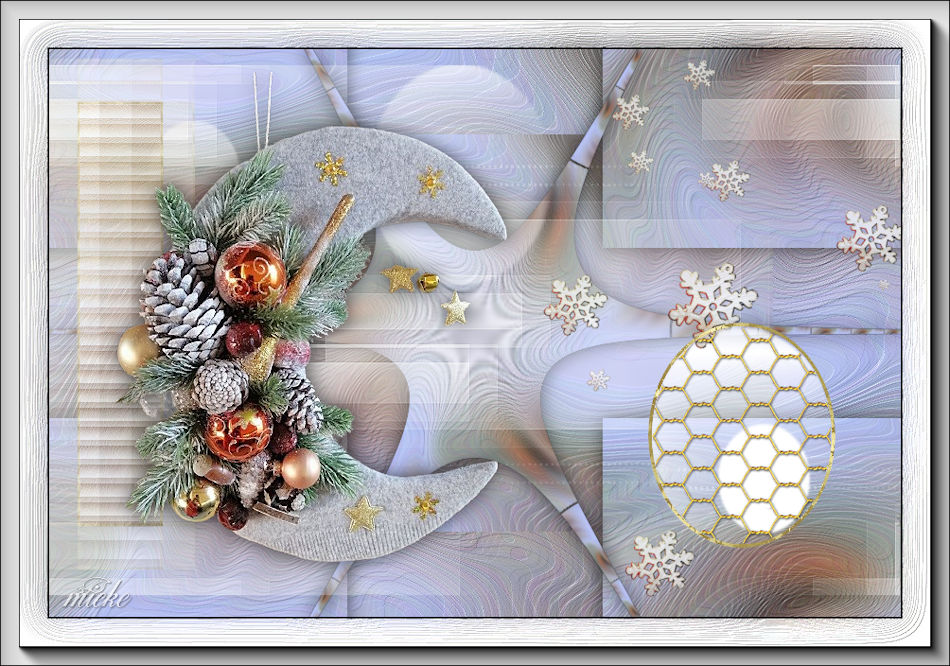
Christmas Lesson 3---2023
Translation made by MARION

Supplies/Material

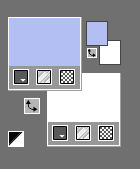
Material Properties: Set your Foreground color to
#b3bef3---and your Background color to #ffffff
Plugins
1.
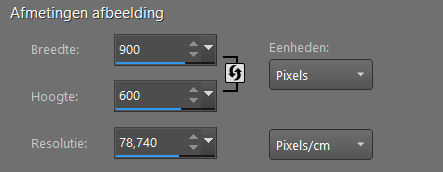
File: Open a Transparent Image in this size
Width ---900---Height--- 600--- Pixels.
2.
Flood Fill Tool --- Fill the layer with the Foreground color #b3bef3
3.
Selections---Select All
4.
Open---the Tube… kerst-8.png
Edit---Copy
Activate your work
Edit --- Paste into Selection.
Selections---Select None
5.
Effects---Image Effects---Seamless Tiling using the default settings
6.
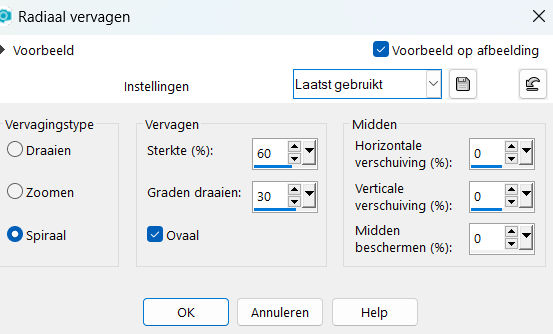
Adjust---Blur---Radial Blur use the settings below
Twirl---60---30---Elliptical checked---0---0---0.
7.
Effects---Edge Effects---Enhance.
8.
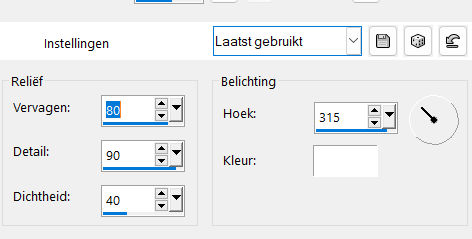
Effects---Artistic Effects---Enamel---80---90---40---315---Color #ffffff
99.
Layers---Duplicate
10.
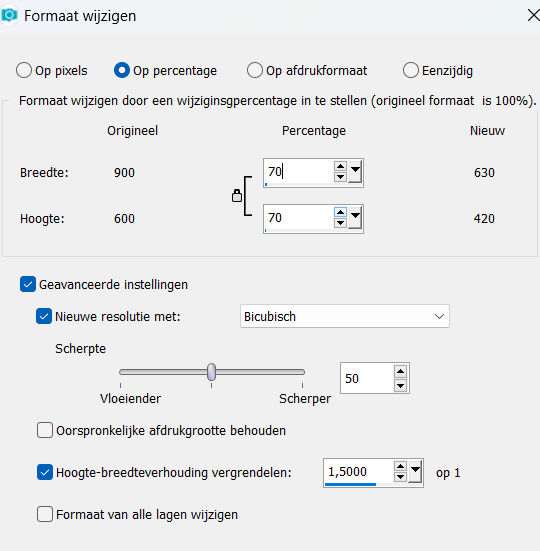
Image Resize 70%---Image - Resize all layers-Not Checked
11.
Layers---Duplicate
12.
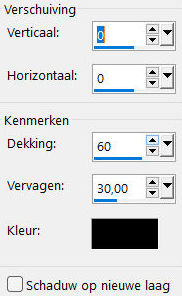
Effects---3D-Effects---Drop Shadow with these settings:
—0—0---60---30---Color Black.
13.
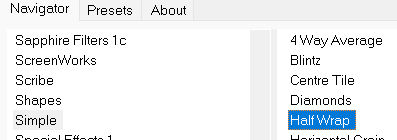
Effects---Plugins---<I C Net Software> Filters in Unlimited 2.0>---Simple---Half Wrap
14.
Activate the bottom of the layer palette (Raster 1)
15.
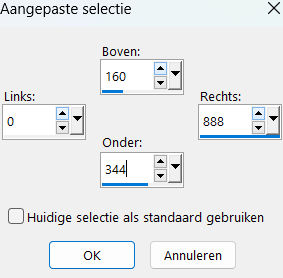
Activate Selection Tool -Custom Selection (S) -Rectangle with these settings
---Top 160---Left 0---Right--- 888---Bottom--- 344
16.
Selections---Promote Selection to Layer
17.
Layers---Arrange---Bring to Top
Selections---Select None
18.
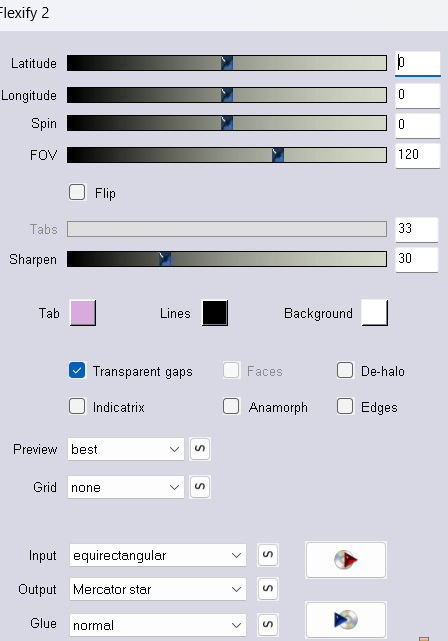
Effects---Plugins---Flaming Pear---Flexify 2---
Input---equirectangule---Output---Mercator star---rest default
19.
Effects---3D-Effects---Drop Shadow with these settings:—0—0---60---30---Color Black
20.
Layer---New Raster Layer
Flood Fill Tool---Fill the Layer with #ffffff
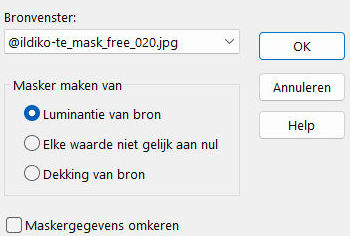
Layers- New Mask Layer -From Image and select Mask :
Open---the Mask_ildiko_mask_ free_ 020,jpg
Layers---Duplicate
Layers- Merge---Merge Group
21.
Open ----the Tube --- deco-.1.png
Edit---Copy
Activate your work
Edit --- Paste as a new layer
Effects---Image Effects---Offset---min 375--- 20---Custom---Transparent ---Checked
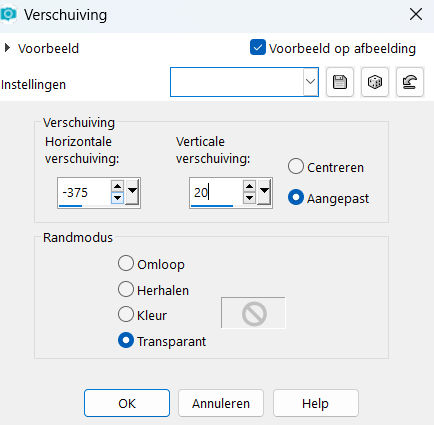
Layers-Properties--- Reduce the Opacity of this layer to 75%.
22.
Open---the Tube--- deco-2.png
Edit---Copy
Activate your work
Edit --- Paste as a new layer
Pick Tool: (K) on your keyboard -Enter these parameters on the toolbar
Position X--- 522---Position Y--- min 208

23.
Open---the Tube ---deco-3.png
Edit---Copy
Activate your work
Edit --- Paste as a new layer
Reduce the Opacity of this layer to---Position X--- 632---Position Y--- 288

Press ( M ) to close the Pick Tool
24.
Open---the Tube --- kerst-8.png
Edit---Copy
Activate your work
Edit --- Paste as a new layer
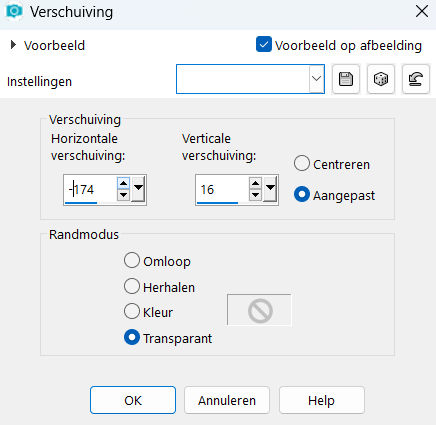
Effects---Image Effects---Offset---min 174--- 16---Custom---Transparent --Checked
25.
Effects---3D-Effects---Drop Shadow with these settings: —0—0---60---30---Color Black
26.
Adjust---Scharpness---Sharpen,
27.
Image - Add Borders-Symmetric checked:---1 Pixel ---Color Black
Selecties---Alles selecteren
Image - Add Borders-Symmetric checked:---50 Pixels---Color white
Selections---Invert
Effects---Artistic Effects---Enamel ---Email---80---90---40---315---Color white.
Selections---Select None
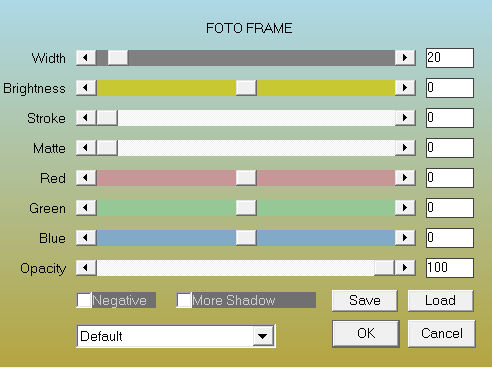
Effects---Plugins--- AAA Frames---Foto Frame---width at 20.
Add you watermark on new layer.
Save as JPG
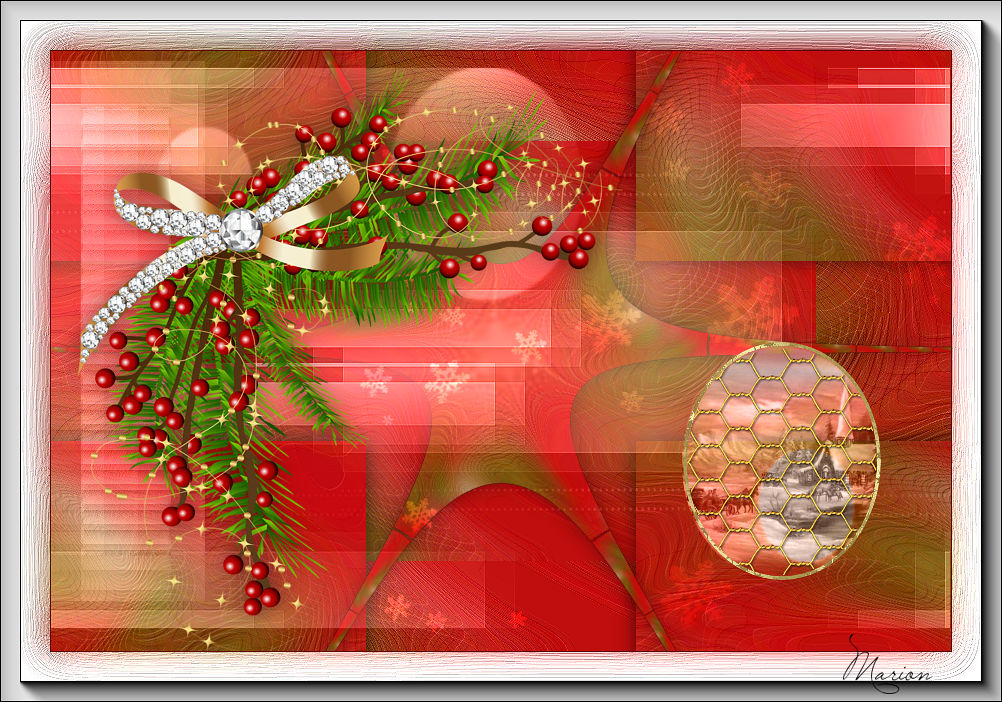
Voorbeelden gemaakt door Kamalini---Hennie---Corrie---Marion
.

|