Christmas Lesson -1-2023
Translation made by MARION

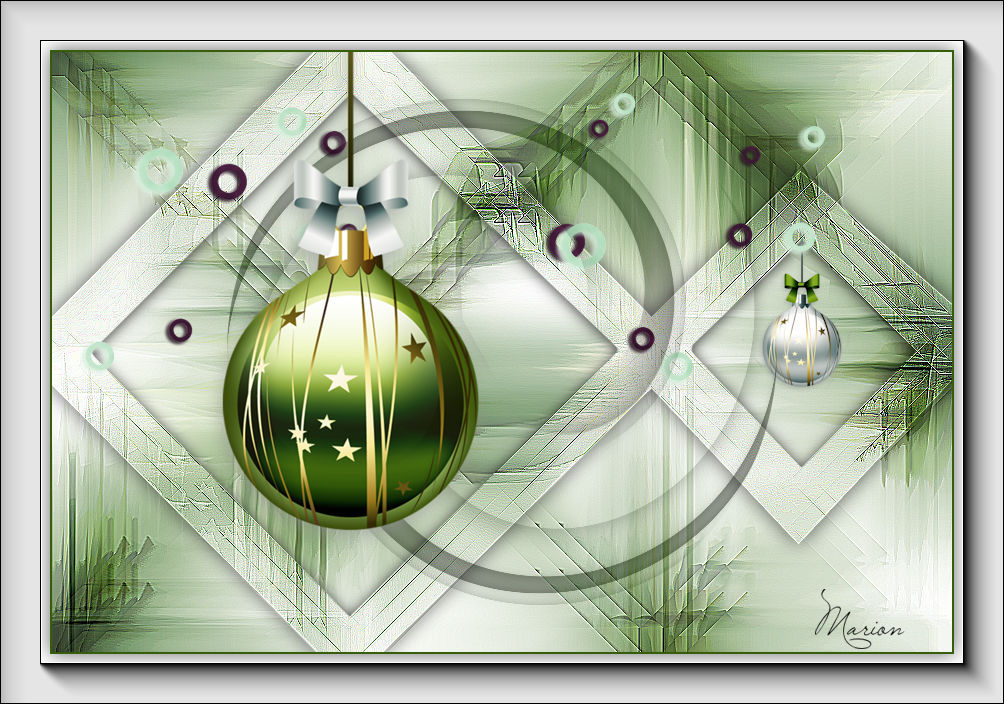

Supplies
Material
PLUGINS
Filter---Mehdi---Sorting Tiles
Filter---<I C Net Software> Filters Unlimited 2.0---Toadies---What Are You
Filter---Alien Skin Eye Candy 5: Impact---Glass
Filter---AAA Frames---Texture Frame-
Material Properties: Set your Foreground color to #fffffa---and your Background color to #a6af9a

Set your Foregroundcolor to Foreground-Background Sunburst Gradient with these settings
---0---2----Center Point 16---67---Focal Point 56---55.

1.
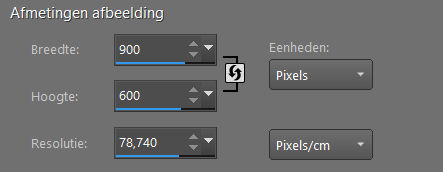
.File: Open a Transparent Image in this size :
Width---900---Height 600 Pixels
2.
Flood Fill Tool – Fill the layer with the Gradient
3.
Selections---Select All
4.
Open the Tube --- kerst67.png
Edit - Copy- Activate your work –
Edit - Paste into Selection
5.
Selections---Select None
6.
Effects---Image Effects---Seamless Tiling using the default settings---
7.
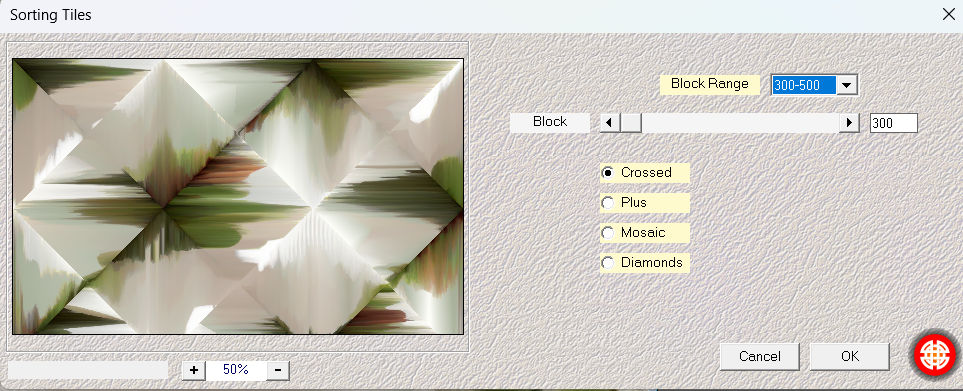
Effects---Plugins---Mehdi---Sorting Tiles---with these settings
8.
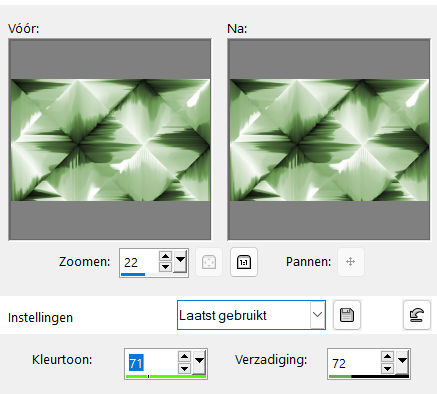
Adjust---Hue and Saturation---Colorize---71---72
9.
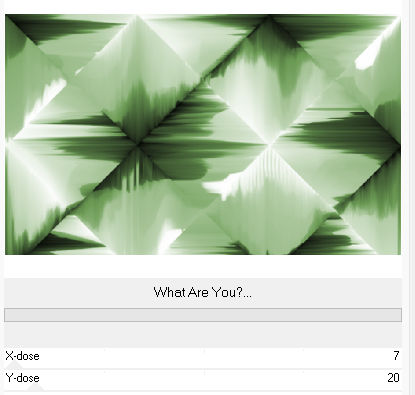
Effects---Plugins---<I C Net Software>Filters in Unlimited 2.0---Toadies---
What Are You with these settings ---7---20
10
Effects---Image Effects---Enhance More
11.
Selections –load/save selection –load selection from disc and select my selection:---
kerst-1-2023.PspSelection
Selections---Promote Selection to Layer
Effects---Image Effects---Enhance More
.
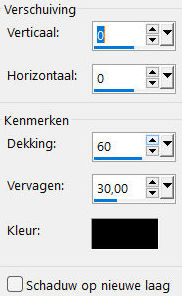
Effects – 3D-Effects – Drop Settings with these settings:---0---0---60---30---zwart
12.
Selections –load/save selection –load selection from disc and select my selection:---
kerst-2-2023.PspSelection
Delete on your keyboard
13.
Activate Raster 1 in the Layer Palette
Selections---Promote Selection to Layer
14.
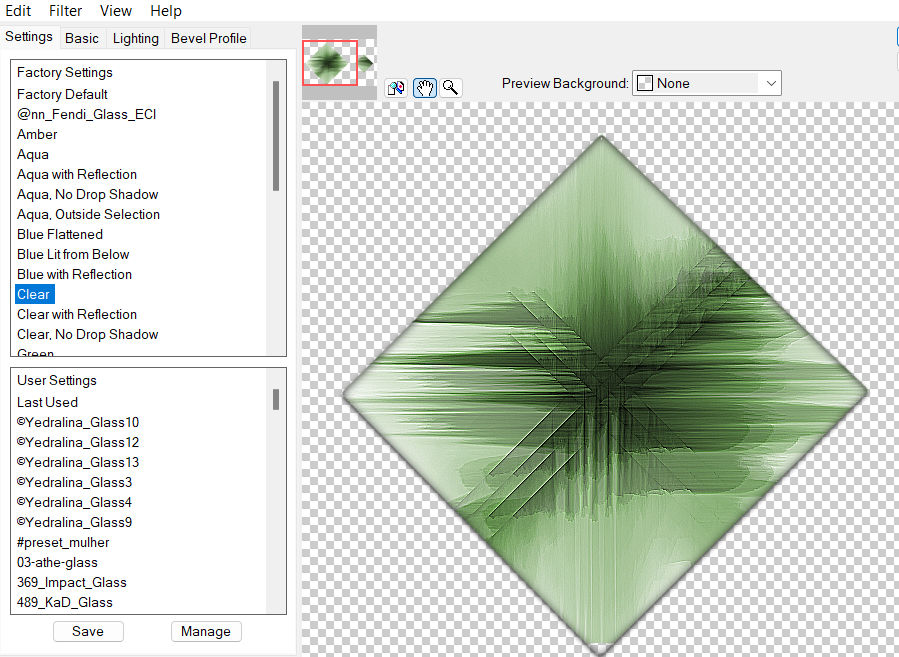
Effects---Plugins--- Alien Skin Eye Candy 5: Impact---Glass---Factory Settings- select---Clear.
14.
Selections---Select None
15.
Open the Tube ---Deco-1
Edit - Copy-
Activate your work
Edit - Paste as a new layer
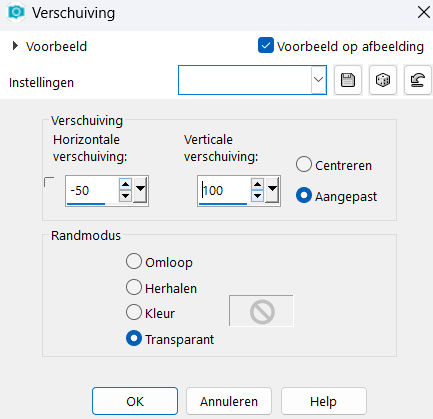
Effects---Image Effects---Offset with these settings:
min 50---100---Custom---Transparent checked
16.
Layers---Arrange—Bring to Top
17.
Open—the Tube - Astrid deco 118a.png
Edit - Copy-
Activate your work
Edit - Paste as a new layer
(do not move)
18.
Open---the Tube deco-2.png
Edit - Copy-
Activate your work
Edit - Paste as a new layer
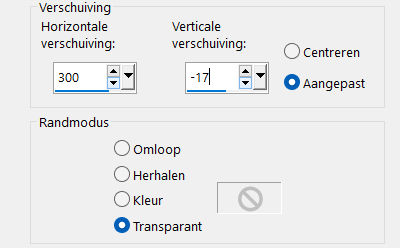
Effects---Image Effects---Offset with these settings:
---300---min 17---Custom- Transparent checked
19.
Open--- the Tube kerst 67.png
Edit - Copy-
Activate your work
Edit - Paste as a new layer
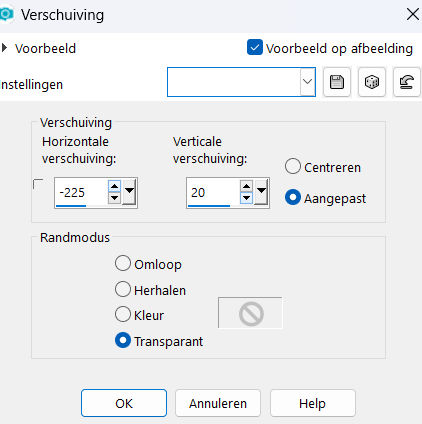
Effects---Image Effects---Offset with these settings:
---min 225---20--- Custom- Transparent checked
Effects---3D-Effects-Drop Shadow with these settings: ---0---0---60---30---zwart
Adjust---Scharpness---Sharpen
20.
Image - Add Borders-Symmetric checked:--- 2 ---Color Black
Selecties---Alles selecteren
Image - Add Borders-Symmetric checked:---50—Color White
Effects---3D-Effects-Drop Shadow with these settings: ---0---0---60---30---zwart.
Selections---Select None
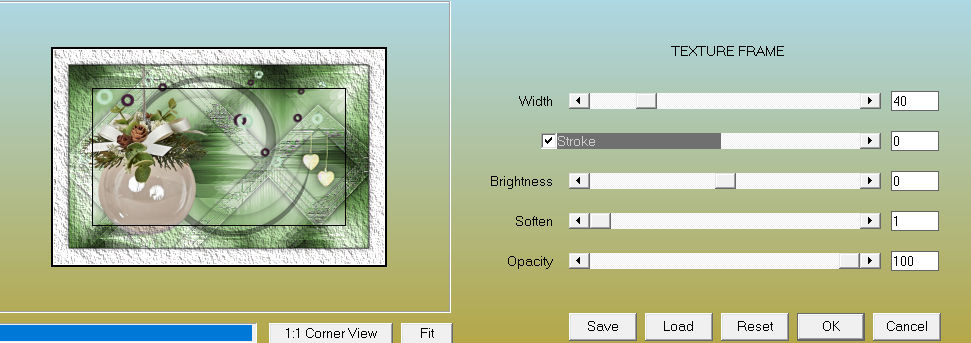
Effects---Plugins---AAAFrame---Texture Frame with these settings:--40---0---0---1---100
Add you watermark on new layer..
Save as JPG.
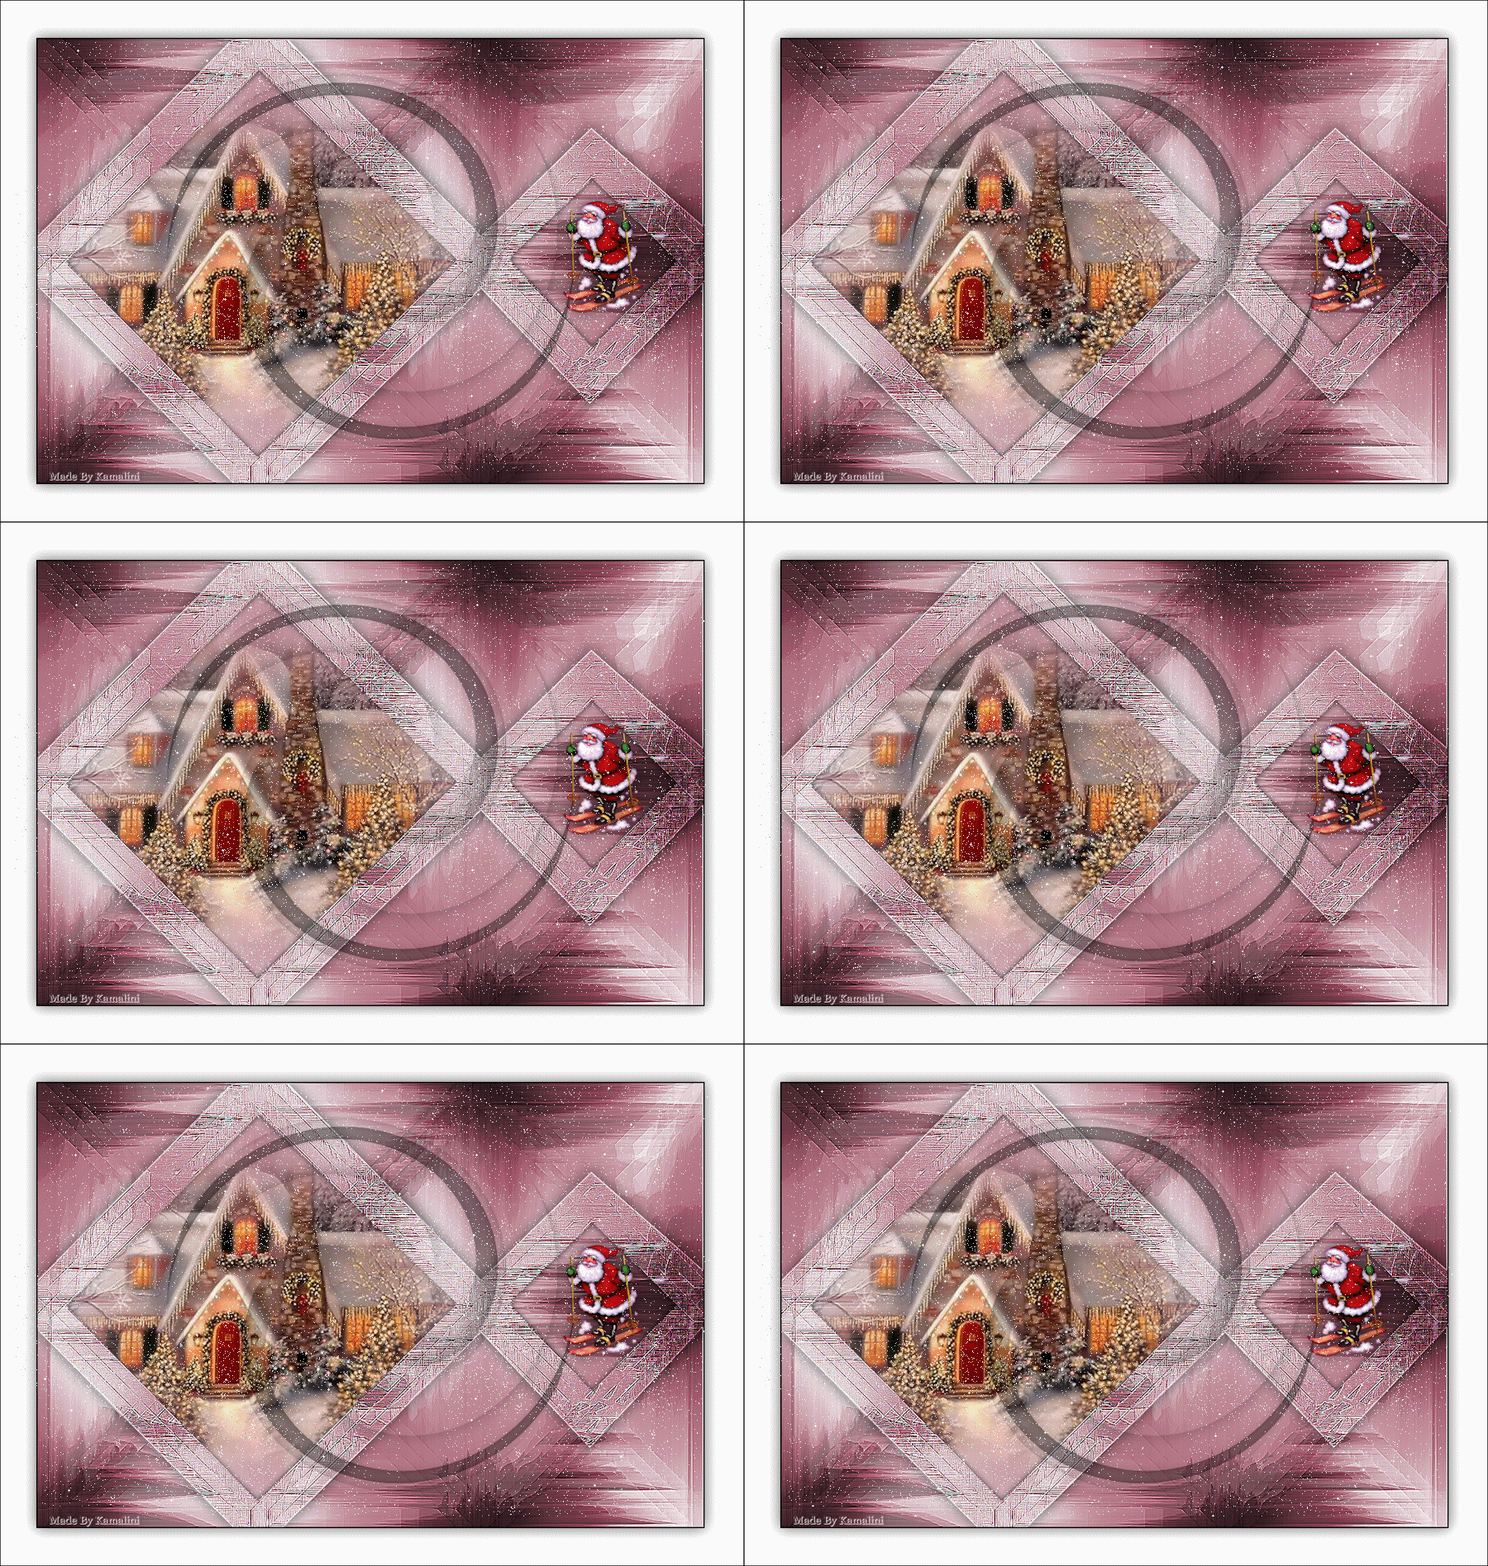
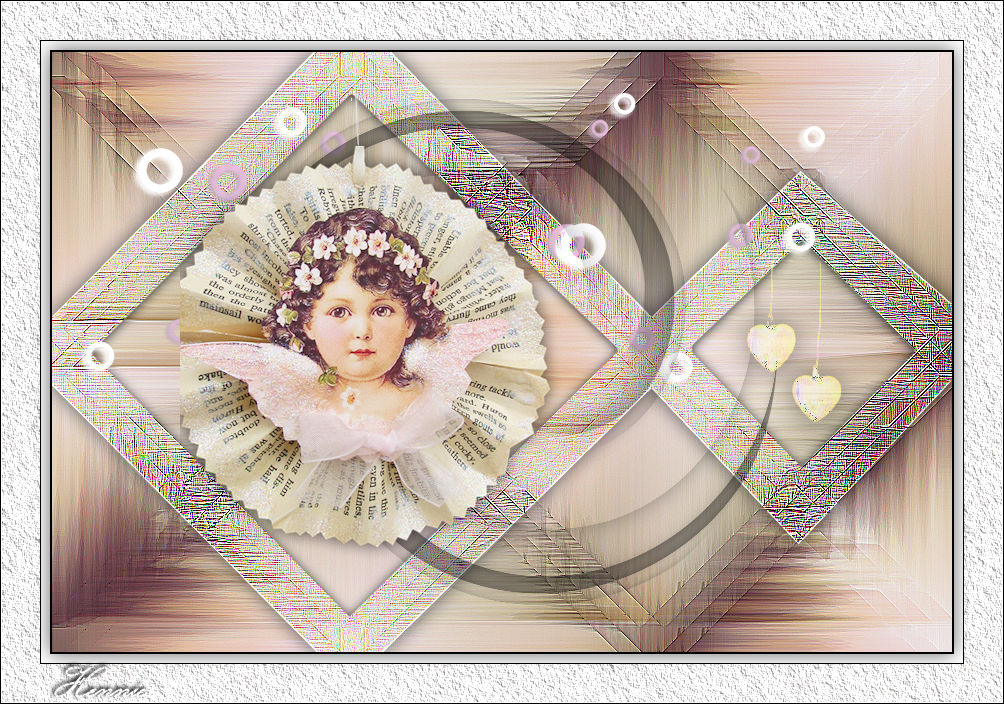
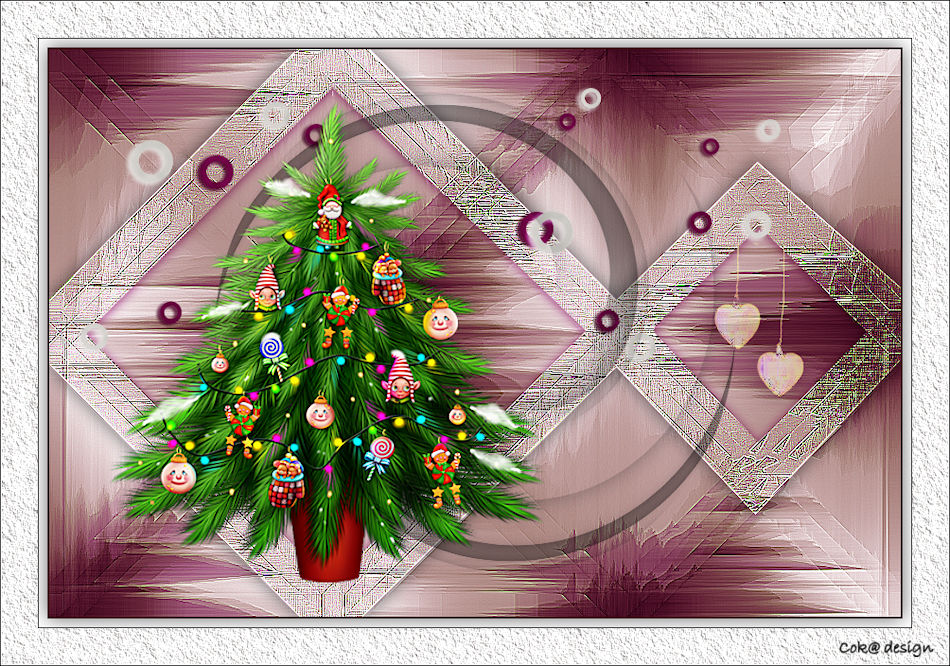
Voorbeelden gemaakt door Kamalini---Hennie---Corrie---Marion

|