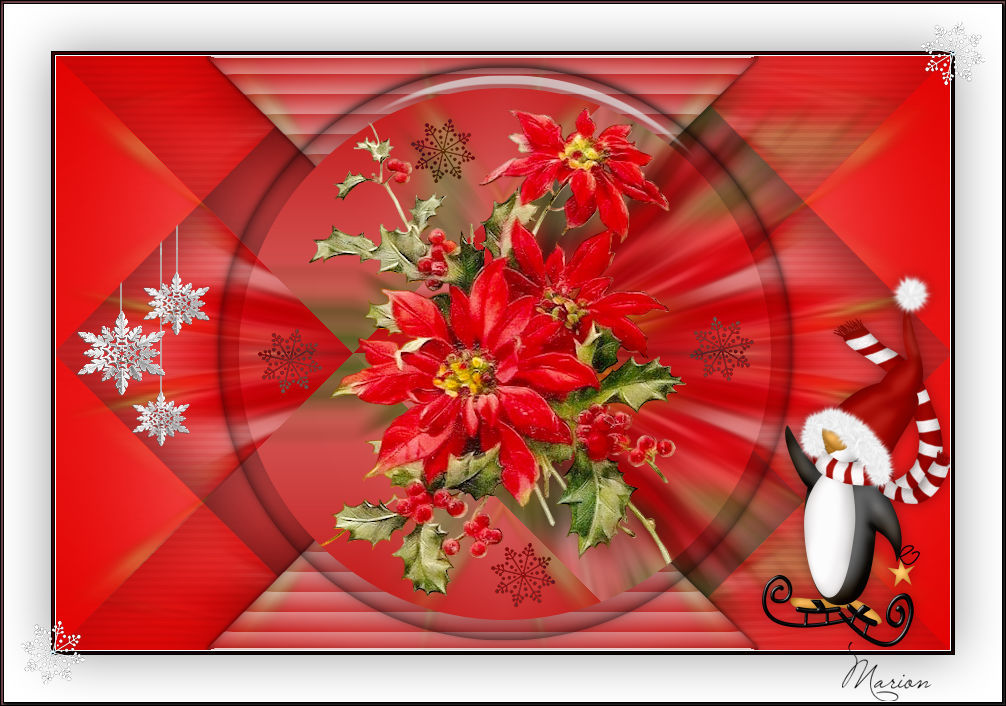
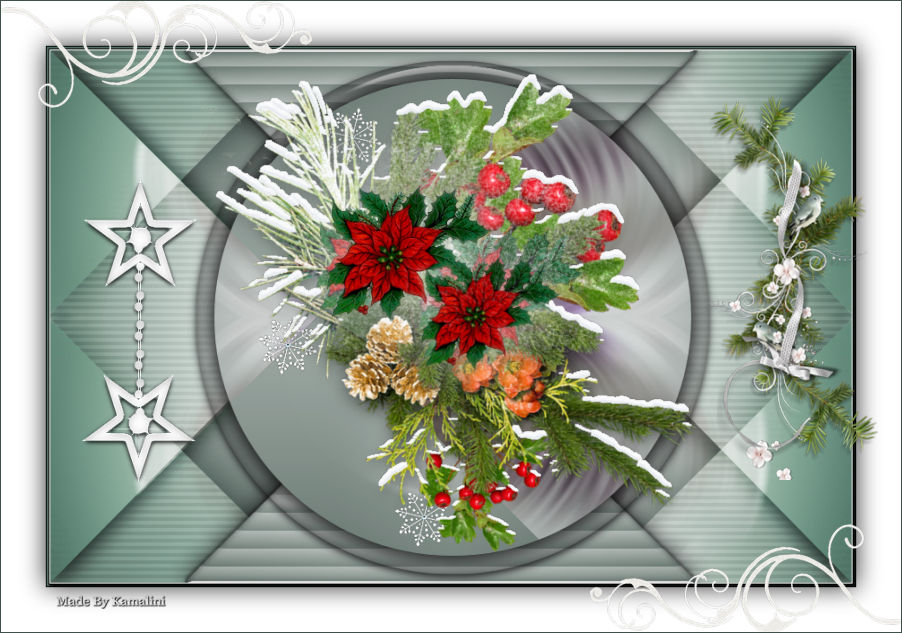
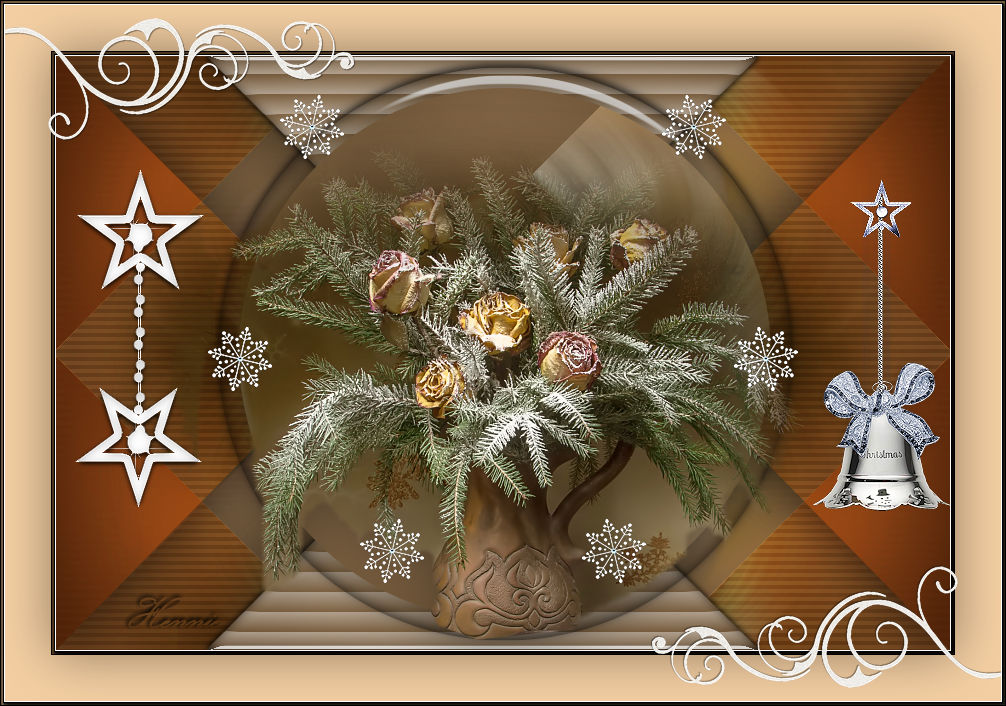
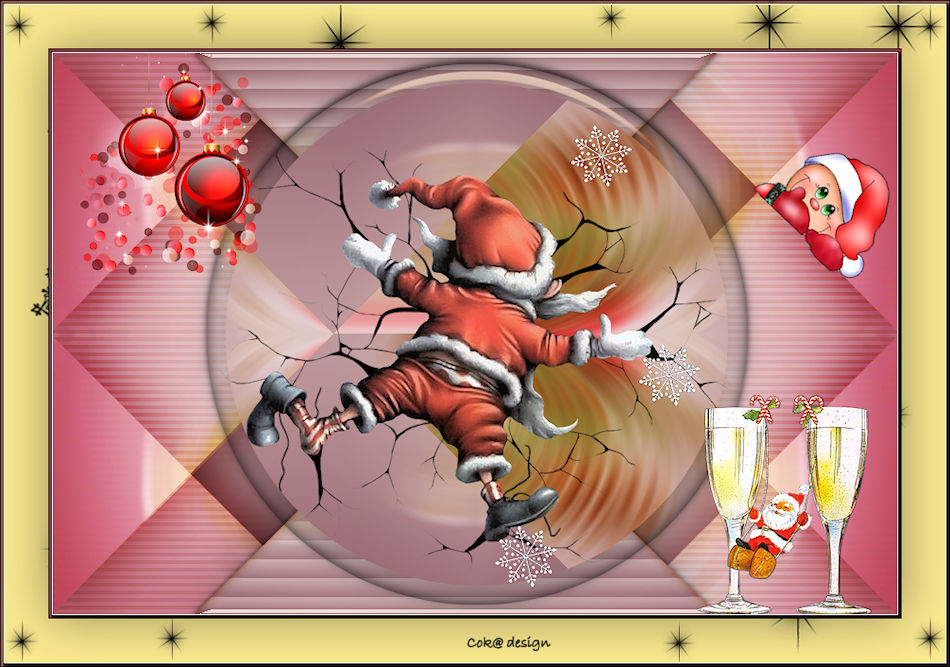
Christmas Lesson---4---2022
Translation made by MARION

Supplies/
Material

Plugins
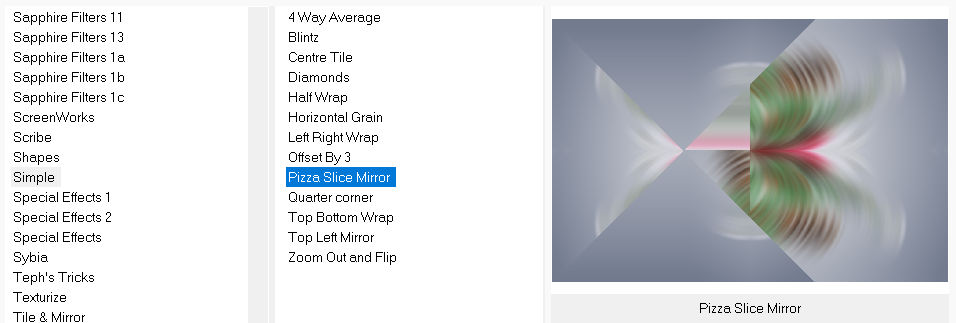
Filter---<I C Net Software> Filters Unlimited 2.0>---Simple---Pizza Slice Mirror
Filter---Alien Skin Eye Candy 5: Impact---Glass---Clear
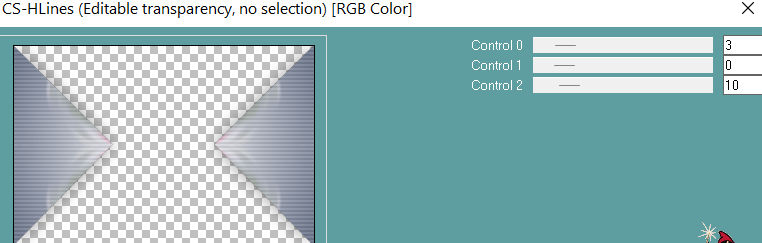
Filter---Carolaine and Sensibility---cs-HLines
Filter---AAA Frames---Foto frame---
Material Properties:
Set your foreground color to color #2d5736---
Set your background color to color #ffffff
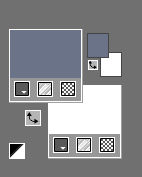
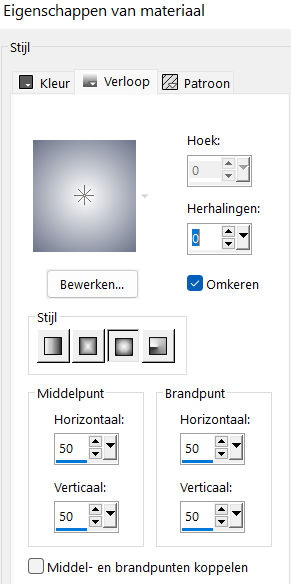
Set your foregroundcolor to foreground/background sunburst gradient with these settings:
---0---0---Invert checked---50---50---50---50---
link center and focal point not checked
1.
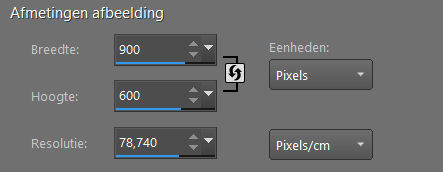
File-Open a new transparent image in this size:
Width---900---Height---600.
Flood Fill Tool-Fill the layer with the gradient
2.
Selections---Select All
3.
Open--the-Tube kerst-tak.png
Edit---Copy
Edit - Paste- Activate your work -Edit – Paste into selection.
Selections---Select None
4.
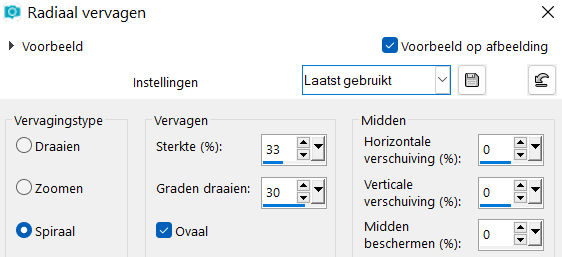
Adjust---Blur---Radial Blur---Twirl---Strenght 33—Twirl degrees 30---Horizontal offset 0---Vertical offset 0---Protect 0---Elliptical checked
5.
Effects---Plugins---<I C Net Software> Filters in Unlimited 2.0>---Simple---Pizza Slice Mirror
6.
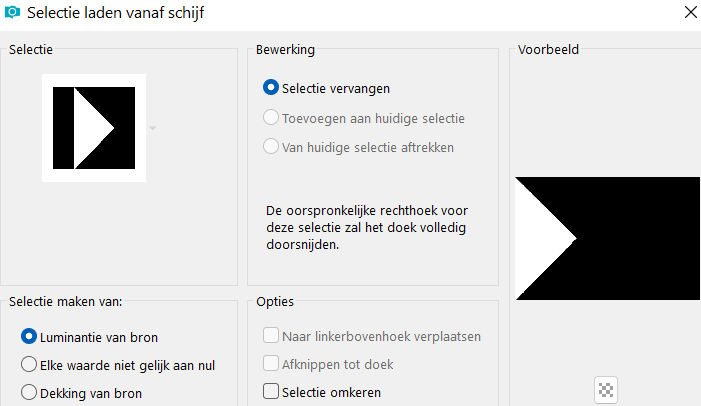
Selections –load/save selection –load selection from disc and select my selection
---kerst-4-2022.PspSelection
7.
Selections- Promote Selection to Layer
Selections---Select None
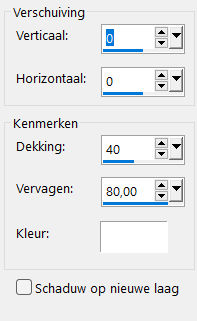
Effects---3D---Effects---Drop Shadow with these settings:
---0---0--40---80. Color black.
8.
Layers---Duplicate
Image - Mirror - Mirror Horizontal (Image - Mirror in older versions of PSP)
9.
Layers---Duplicate
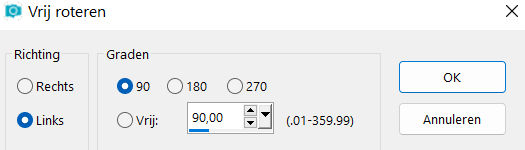
Image---Free Rotate---90% Left---Rotate single layer around canvas center not checked.
10.
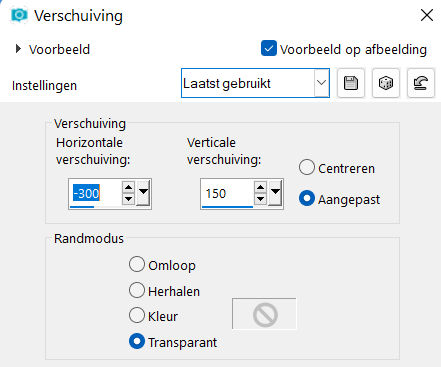
Effects---Image Effects---Offset---minus 300---150---Custom---Transparent
11.
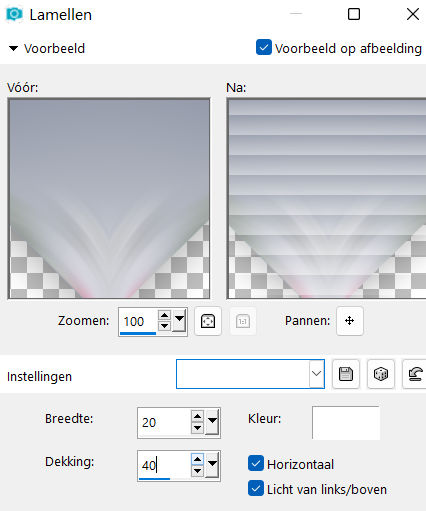
Effects---Texture Effects---Blinds---20—40—Color white---Horizontal and Light from left/top
checked
12.
Effects---Plugins---Alien Skin Eye Candy 5: Impact---Glass---Clear---default settings
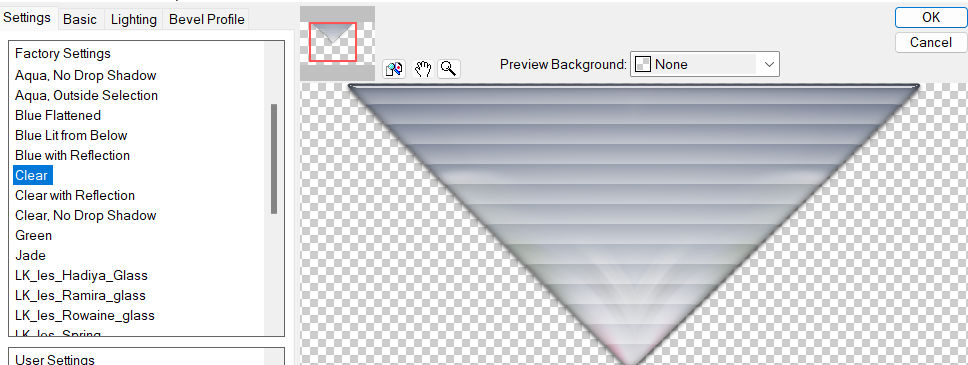
.
13.
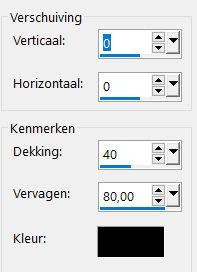
Effects---3D---Effects---Drop Shadow with these settings:
---0---0--40---80. Color black.
14.
Layers---Duplicate
15.
Image - Mirror - Mirror vertical ( Image - Flip in older versions of PSP)
16.
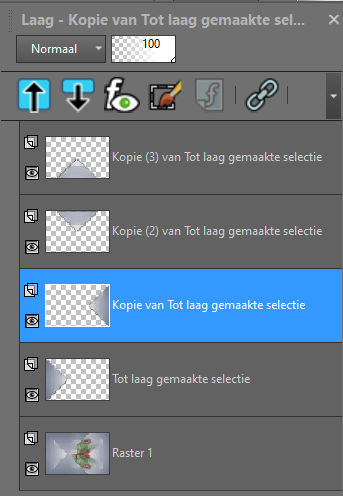
In the layer palette activate---Copy of Promoted Selection.(see print screen)
17.
Layers---Merge---Merge Down.
18.
Effects---Plugins---Carolaine and Sensibility---CS-HLines---3---0---10
19.
Layers-Properties-Change the Blend Mode to " Overlay "
20.
Layers---Duplicate.
21.
Effects---Plugins---<I C Net Software> Filters in Unlimited 2.0>---Simple---Top Bottom Wrap.
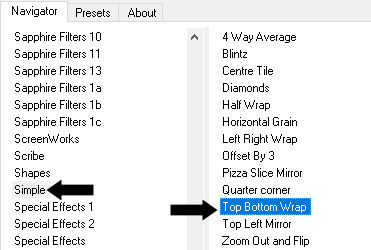
(mode remains Overlay see print screen))

22.
Effects---3D-Effects--- Drop Shadow with these settings:---0---0---40---80. Color black.
23.
Activate the bottom of the layer-palette (Raster 1)
Selections –load/save selection –load selection from disc and select my selection ---
kerst-4-1-2022.PspSelection
Selections- Promote selection to Layer
Layers---Arrange---Bring to Top.
24.
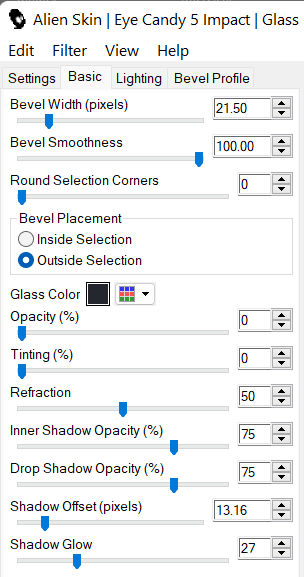
Effects--Plugins---Alien Skin Eye Candy 5: Impact---Glass---Tab-Settings/User settings- select my file glas-rand.f1s
(see print screen)--- with settings: ---21.50---100.00---0---Outside Selection---0---0---50---75---75---13.16---27.
25.
Effects---3D---Effects---Drop Shadow with these settings: ---0---0--40---80. Color black.
26.
Selections---Select None
27.
Open---Tube---Kerst-tak.png
Edit---Copy
Activate your work -Edit - Paste as a new layer.
Attention……
Effects---3D---Effects---Drop Shadow with these settings:
---0---0--40---80. Color WHITE
28.
Open-the Tube--deco-1-2022.png
Edit---Copy
Activate your work -Edit - Paste as a new layer.
Move to the right side ---see finished image
29.
Open- the Tube--klokje-23.png
Edit---Copy
Activate your work -Edit - Paste as a new layer.
Move to the left side ---see finished image
30.
Open the Tube ---sterretjes.png
Edit---Copy
Activate your work -Edit - Paste as a new layer Move the tube to the right place --- see finished image
31.
Image - Add Borders-Symmetric checked ---2 Pixels---with your dark color
32.
Selections---Select All.
Image - Add Borders-Symmetric checked ---50 Pixels---Color white
33.
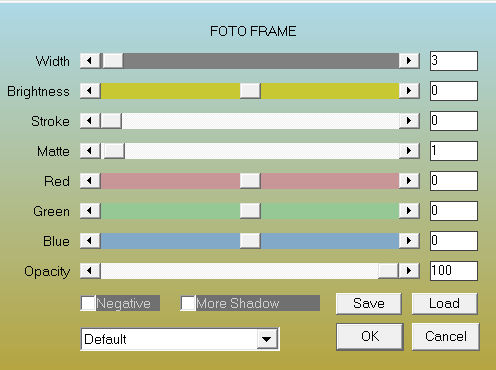
Effects---Plugins---AAA Frames---Foto frame---Width 3---Matte 1---op---rest default
Attention……
34.
Effects---3D-Effects---Drop Shadow with these settings :---0---0--40---80.--- Color black
Selections---Select None
Open the Tube---WHITE CHRISTMAS by_Mago74 el (5).png
Edit---Copy
Activate your work -Edit - Paste as a new layer Move to the top left --- see finished image
.
35.
Layers---Duplicate
36.
Image - Mirror - Mirror Horizontal (Image - Mirror in older versions of PSP)
37.
Image - Mirror - Mirror vertical ( Image - Flip in older versions of PSP)
38.
Image - Add Borders-Symmetric checked ---1 Pixel---with your dark color
39.
Repeat: Effects –Plugins Foto Frame with the same settings
Add you watermark on new layer.
Save as JPG.
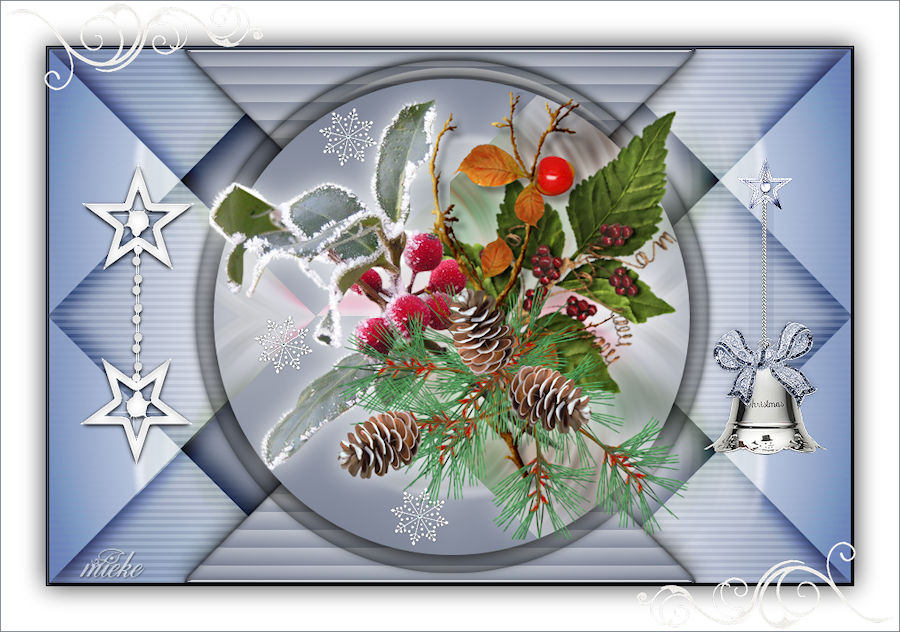
Voorbeelden gemaakt door Kamaini---Hennie---Corrie---Marion

|