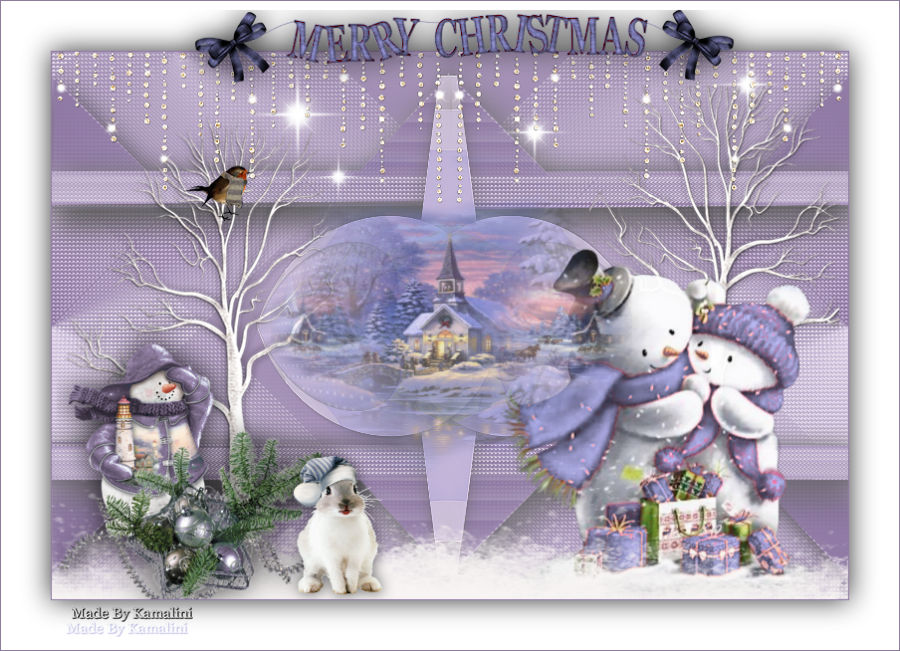
Christmas Lesson 3---2022
Translation made by MARION


Material/Supplies

Plugins
Filter---<I C Net Software> Filters in Unlimited 2.0---Alf Import---sq border 2
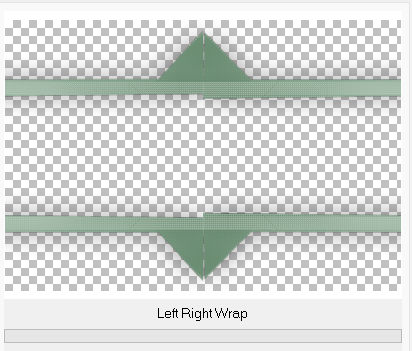
Filter Unlimited 2.0>---Simple---Left Right Wrap
Colors/
Material Properties:
Set your foreground color to color #2d5736
Set your background color to color #c2dac8
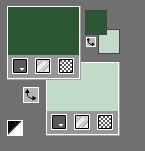
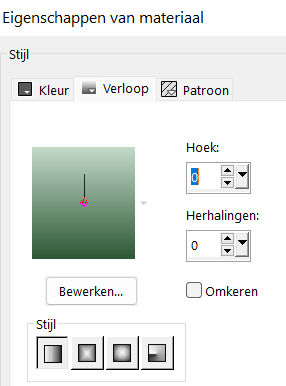
Set your foregroundcolor to foreground/background linear gradient with these settings
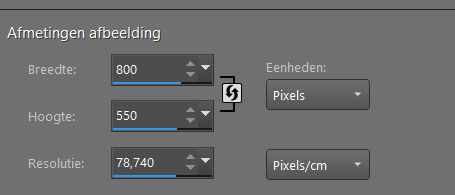
File-Open a new transparent image in this size
Width---800---Height---550.
1.
Flood Fill Tool-Fill the layer with the gradient
2.
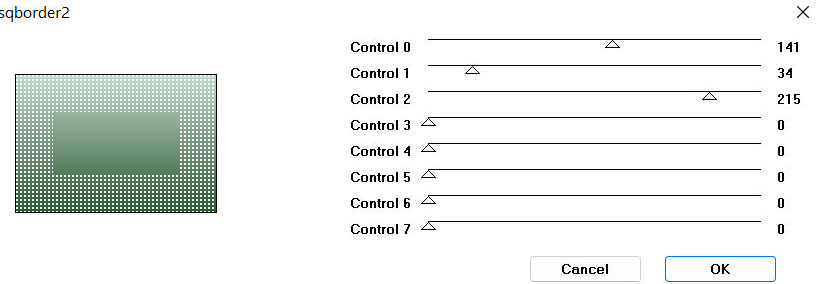
Effects---Plugins---<I C Net Software> Filters in Unlimited 2.0---Alf Import---sq border 2---using the default settings
3.
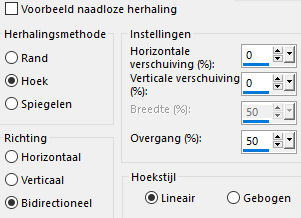
Effects---Image Effects---Seamless Tiling---
---using the default settings
4.
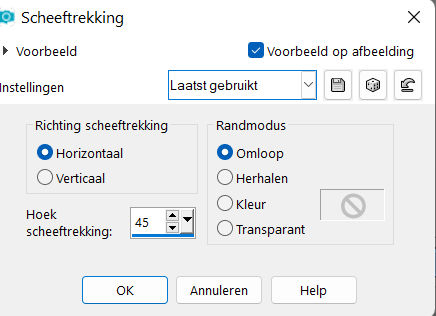
Effects---Geometric Effects---Skew—Horizontal-Skew angle: 45---Wrap checked.
5.
Layers---Duplicate
Image - Mirror - Mirror Horizontal (Image - Mirror in older versions of PSP)
6.
Layers-Properties--- Lower the Opacity to 50%.
7.
Layers---Merge---Merge Down.
8.
Selections –load/save selection –load selection from disc and select my selection: kerst-3-2022..
9.
Selections- Promote selection to Layer
Selections---Select None.
Layers---Duplicate
Image - Mirror - Mirror vertical ( Image - Flip in older versions of PSP)
Layers---Merge---Merge Down.
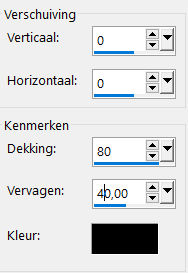
Effects---3D-Effects---Drop Shadow with these settings;0---0---40---80---Color black
10.
Layers---Duplicate
11.
Effects---Plugins---<I C Net Software> Filters in Unlimited 2.0>---Simple---Left Right Wrap
12.
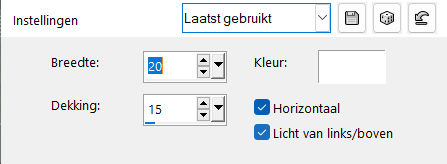
Effects---Texture Effects---Blinds---20---15---color white---Horizontal and Light from left/top checked.
13.
Effects---3D-Effects---Drop Shadow with these settings ---0---0---40---80---Color black
14.
Open—the Tube - deco-1-groen.png
Edit ---Copy
Activate your work -Edit - Paste as a new layer
15.
Open—the Tube - deco3.png
Edit ---Copy
Activate your work -Edit - Paste as a new layer
16.
Open—the Tube - bovenrand.png
Edit ---Copy
Activate your work -Edit - Paste as a new layer
17.
Objects---Align---Top
18.
Open—the Tube -Bomen---
Edit ---Copy
Activate your work -Edit - Paste as a new layer
19.
Open the Tube —Konijn.png- Tube --stokpaardje.png--- Tube vogeltje.png
Edit ---Copy
Activate your work -Edit - Paste as a new layer
Move the tubes with your move tool--see finished image.
20.
Open—the Tube - rooskestubedesign-kerst-25.png (remove the watermark)
Edit ---Copy
Activate your work -Edit - Paste as a new layer
Image - Mirror - Mirror Horizontal (Image - Mirror in older versions of PSP)
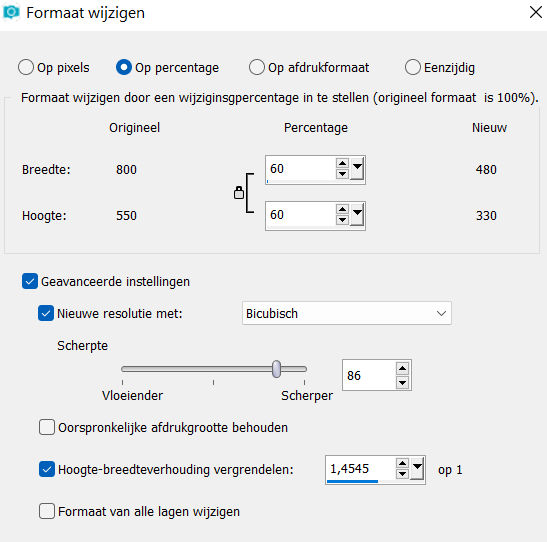
Image--Resize by 60%--Resize all layers--Not checked
Move to the right side
Effects---3D-Effects---Drop Shadow with these settings ---0---0---40---80---Color black
21.
Open—the Tube - sneeuw.png
Edit ---Copy
Activate your work -Edit - Paste as a new layer
Objects---Align---Bottom
22.
Image - Add Borders-Symmetric checked ---1 Pixel--- with your dark color
Selections---Select All
Image - Add Borders-Symmetric checked ---50 Pixels---white
Effects---3D-Effects---Drop Shadow with these settings ---0---0---40---80---Color black
Selections---Select None
23.
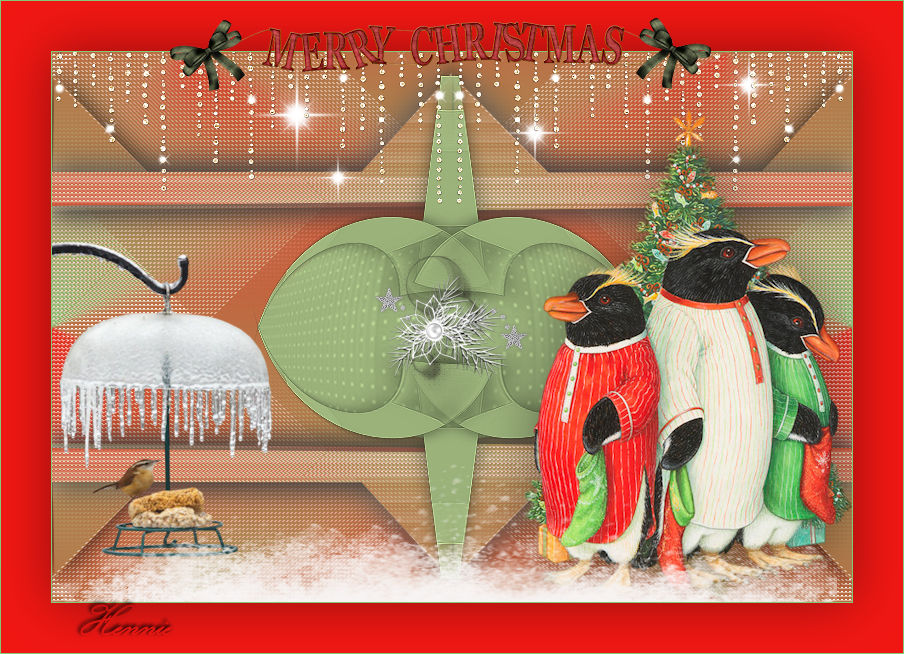
Open—the Tube - BD-Xmas09-Christmas Holly-Banner1.png
Edit ---Copy
Activate your work -Edit - Paste as a new layer
Place at the top of your work ( see finished image)
Image - Add Borders-Symmetric checked ---1 Pixel--- with your dark color
24.
Add you watermark on new layer.
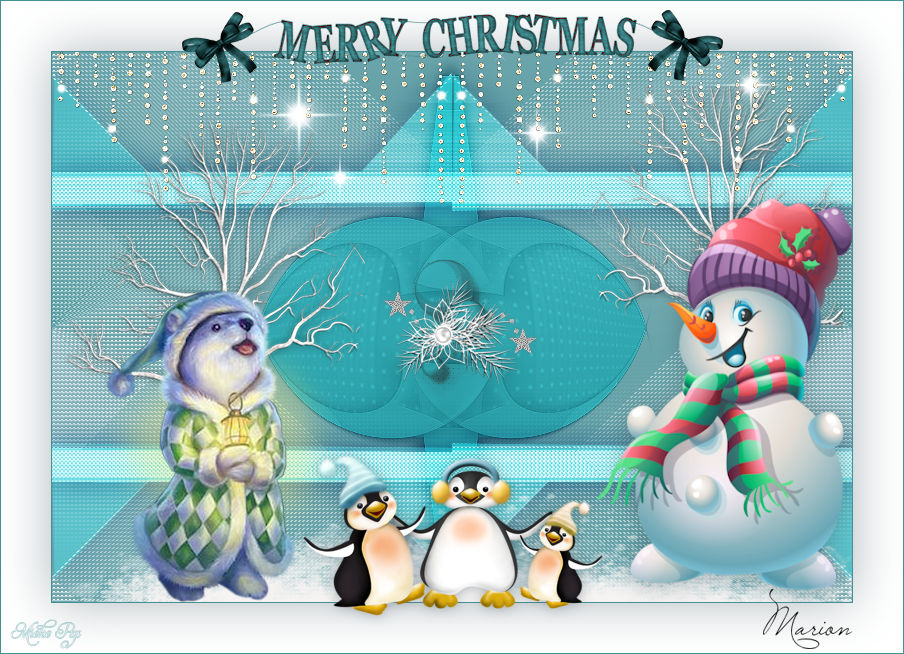
Save as JPG.
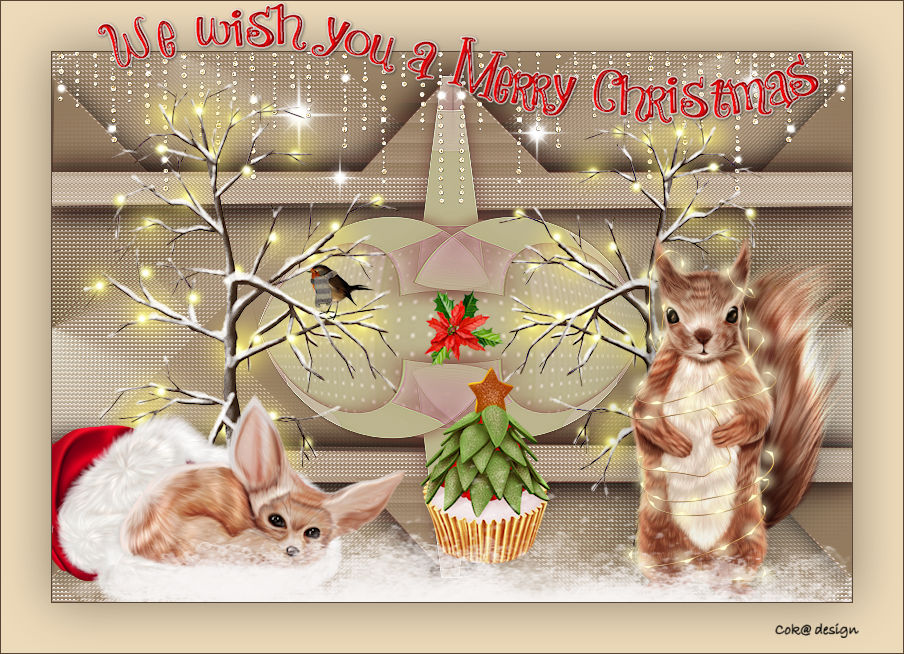
Voorbeelden gemaakt door
Kamalini---Hennie---Corrie---Marion

|