Christmas lesson -5
Vertaald door Marion
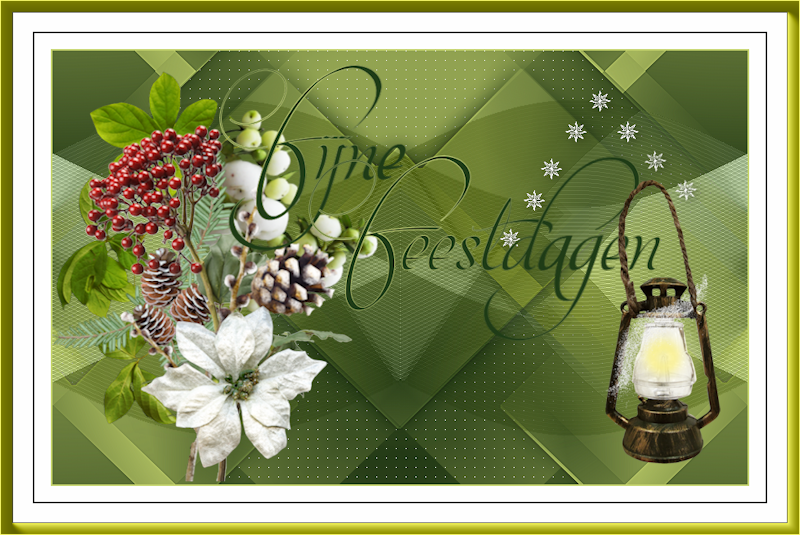

Supplies
Plugins
Filter---Mehdi---Sorting Tiles
Filter---<I C Net Software> Filters Unlimited 2.0>---Simple
FilteróCarolaine and Sensibility---cs texture
Filter---AAA Frames---Foto Frame
Material.

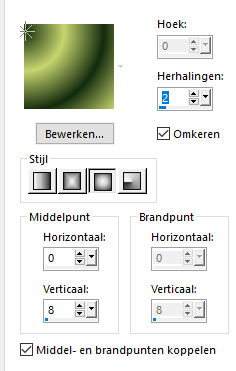
Material Properties: Foreground color- #c6d56e---Background color #132a0d

Replace your foreground color with a Foreground/Background---Sunburst---Gradient
---Horizontal 0--Vertical 8---.
Center and focal points checked---Invert checked.
1.
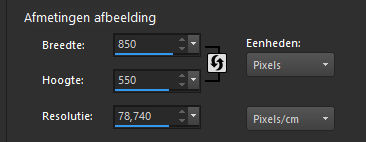
File-Open a new transparent image in this size :
850---550 Pixels.
2.
Flood fill the layer with the gradient
3.
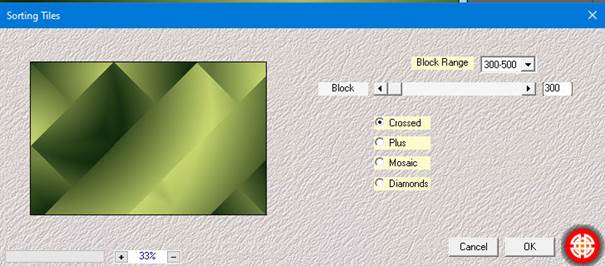
Effects- Plugins---Mehdi---Sorting Tiles---300---500---300---Crosssed
4.
Layers---Duplicate
5.
Image - Mirror - Mirror Horizontal (Image - Mirror in older versions of PSP)
6.
Layers---Properties---Opacity 50%
7.
Layers --- Merge --- Merge Down
8.
Selections --load/save selection-- load selection from disc and select my selection:---kerst-2019-xxx-mb.PspSelection
Selections--- Promote selection to layer
Selections---Select none
9.
Effects---3D- effects--Drop Shadow : 0---0---60---40. Color black.
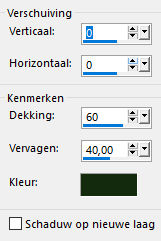
10.
Layers---Duplicate
11.
Effects- Image Effects- Seamless Tiling using the default settings
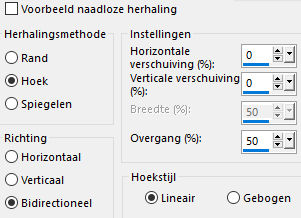
12.
Adjust---Scharpness---Sharpen More
13.
Activate the bottom of the layer palette ( Raster 1)
14.
Activate Selection Tool-Custom Selection(S)
Rectangle with these settings:--125---0---850---420---
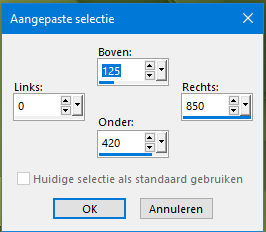
15.
Selections--- Promote selection to layer
Selections---Select none
Layers---Arrange---Bring to Top
16.
Effects- Plugins---<I C Net Software> Filters inUnlimited 2.0>---Simple---Pizza Slice Mirror
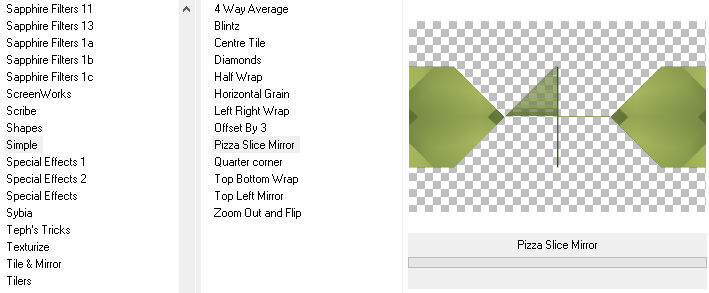
17.
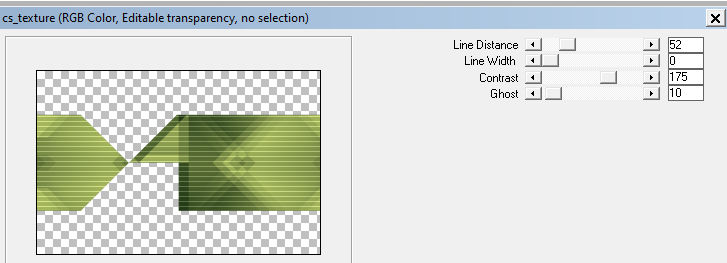
Effects---PluginsóCarolaine and Sensibility---cs texture----52---0ó175---10
18.
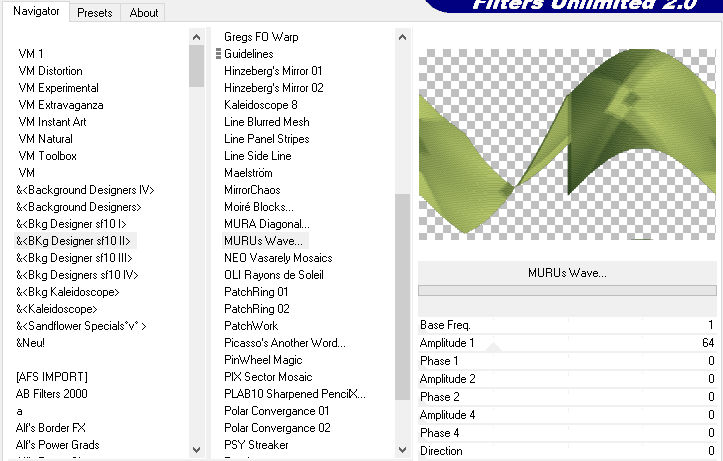
Effects- Plugins---<I C Net Software> Filters in Unlimited 2.0---&<Bkg Designer sf10 II--Muru`s Wave
19.
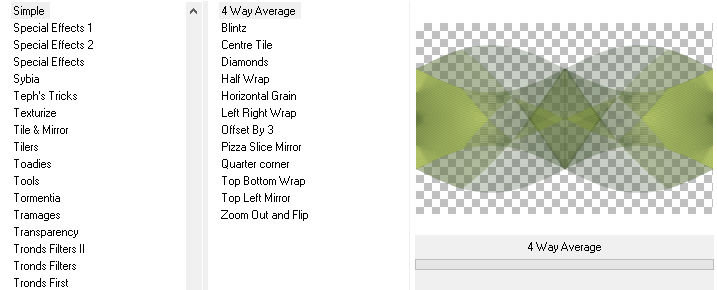
Effects- Plugins---<I C Net Software> Filters in Unlimited 2.0>---Simple---4 Way Average ---Apply
20.
Adjust---Scharpness---Sharpen
21.
Open-- deco-kerst-2019-1.png
Edit---Copy
Activate your work -Edit - Paste as new layer
22
Layers---Arrange---Bring to Top
Pick Tool: (K) on your keyboard---Enter these parameters on the toolbar---
Position X---0.00 Position Y---26.00

23.
Open-- deco-christmas12-4-regis.png
Edit---Copy
Activate your work -Edit - Paste as new layer
Pick Tool: (K) on your keyboard ---Enter these parameters on the toolbar----Position X 540---Position Y 44

24.
Open--- tekst.png
Edit---Copy
Activate your work -Edit - Paste as new layer
Pick Tool: (K) on your keyboard ---Enter these parameters on the toolbar----Positon X 204--- Position Y 17

25.
Open---0042.png
Edit---Copy
Activate your work -Edit - Paste as new layer
Pick Tool: (K) on your keyboard ---Enter these parameters on the toolbar----Position X 676---Position 164

26.
Open-deco---2.png
Edit---Copy
Activate your work -Edit - Paste as new layer
Do not move
27.
Image - Add Borders-Symmetric checked:---2 pixels ---with your light color
Image - Add Borders-Symmetric checked:---20 pixels ---Color---#ffffff (white)
Image - Add Borders-Symmetric checked:---2 pixels ---with your dark color
Image - Add Borders-Symmetric checked:---40 pixels --- Color---#ffffff (white)
28.
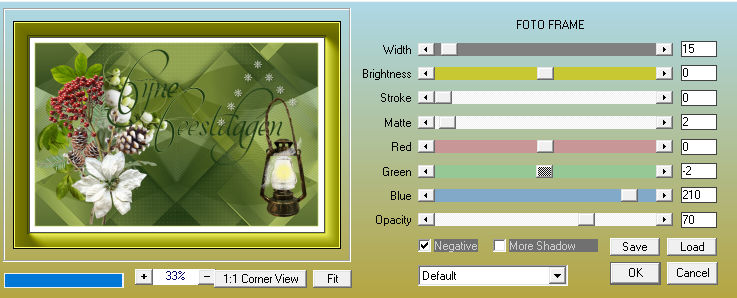
Effects- Plugins---AAA Frames---Foto Frame---15-0---0---2---0---min 2---210----70---Negative checked.
Place your watermark on a new layer.
Save as jpg
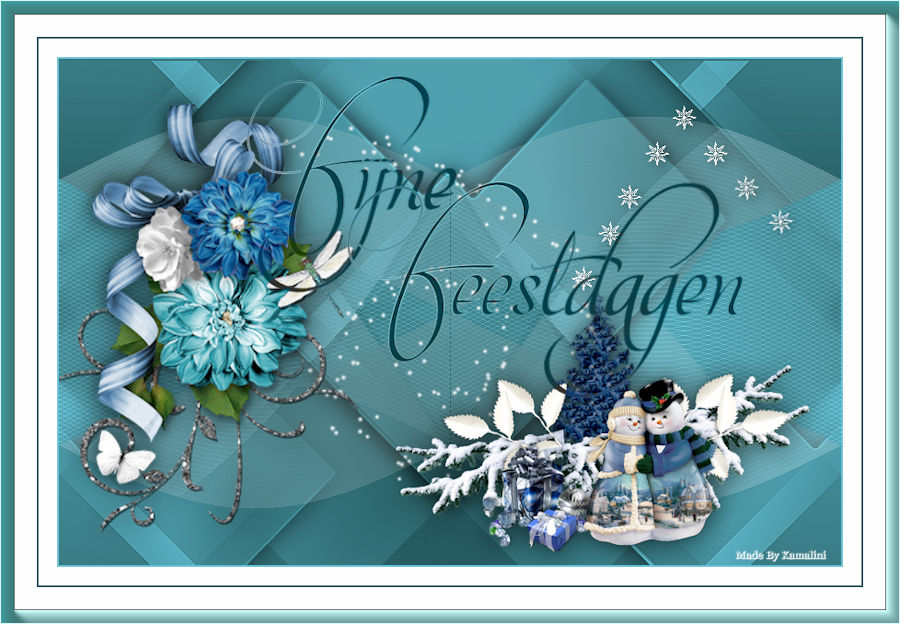
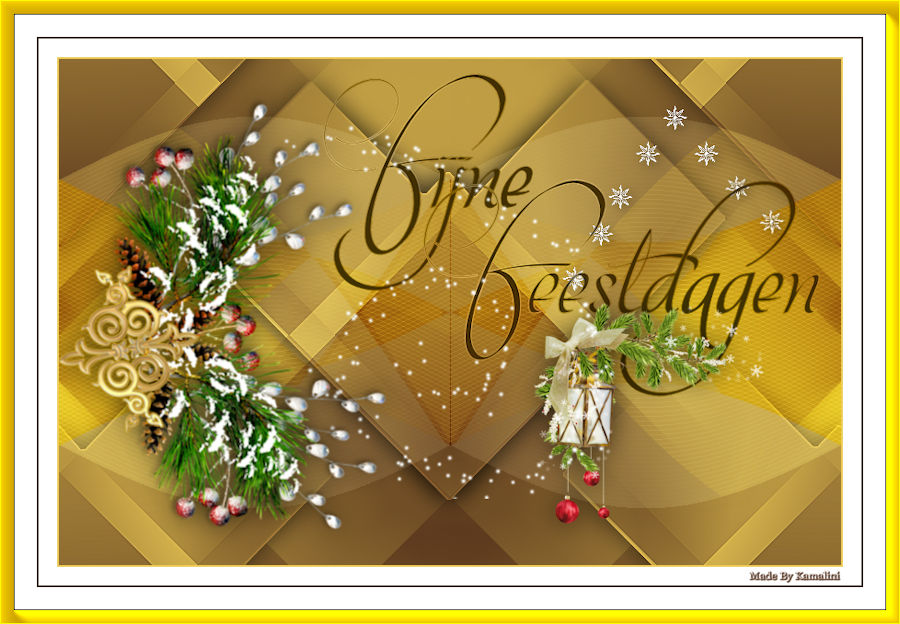
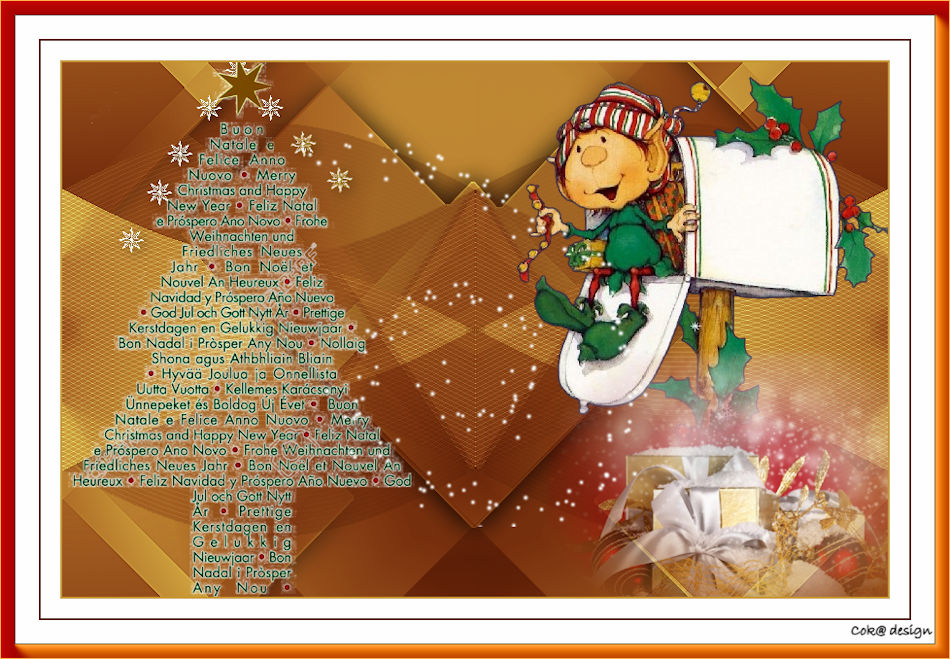
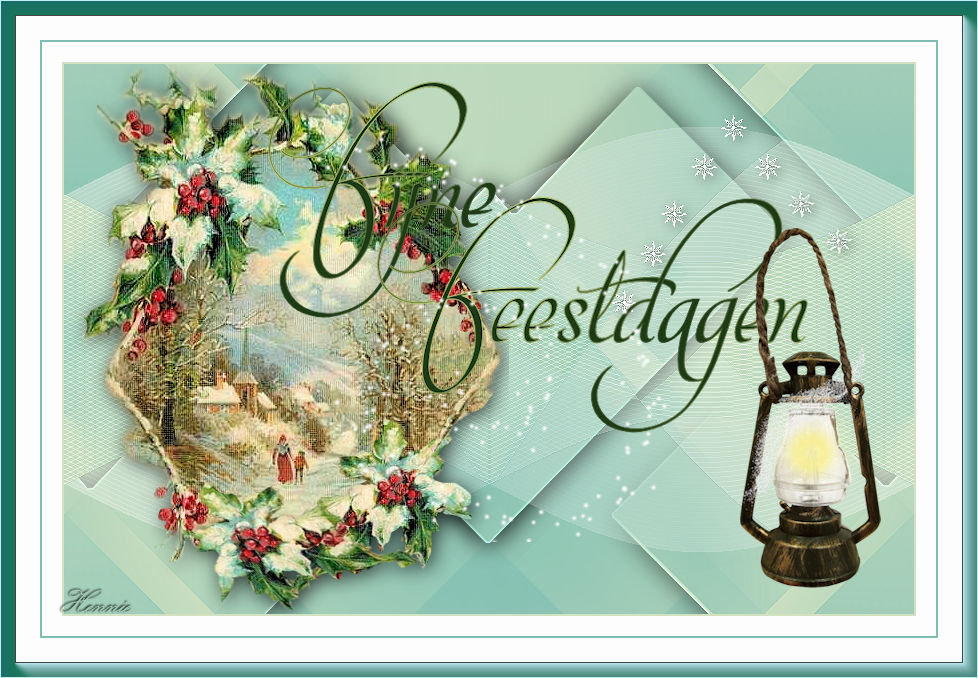
Examples created by Kamalini and Hennie
 
|