Christmas lesson-4-2017.
Translation made by MARION

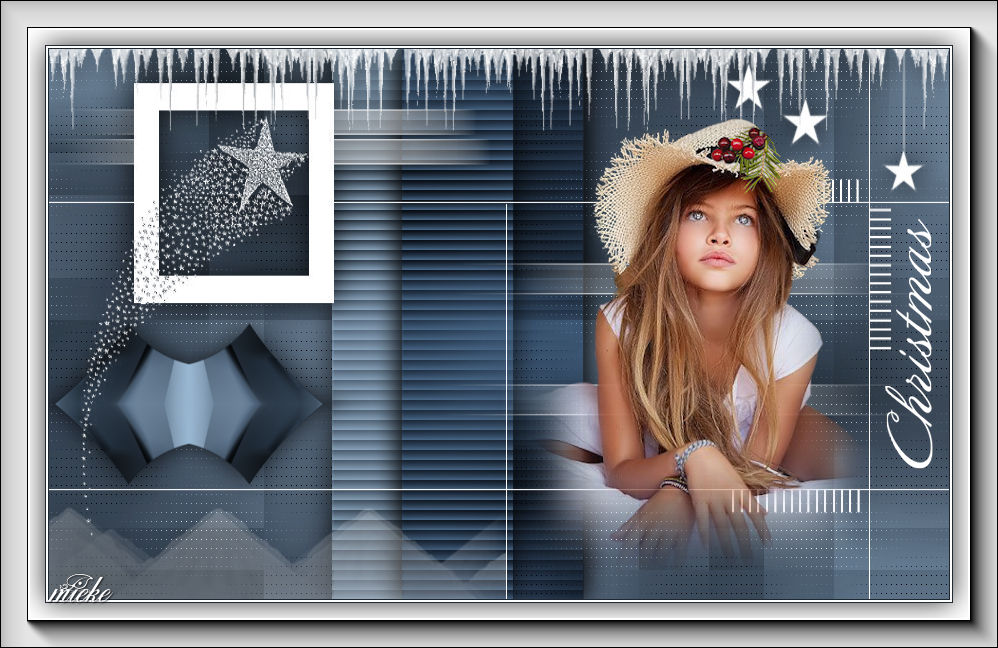
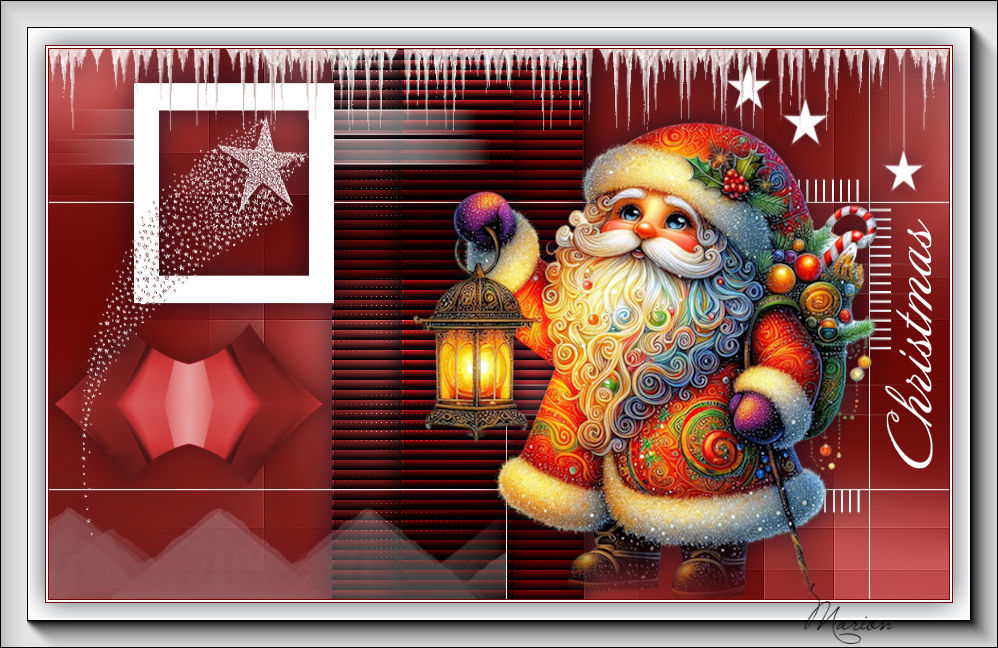
Supplies

Colors
Printlesson

Material Properties: Foreground color #7d96b3---Background color #171e25
Replace your foreground color with a Foreground/Background---Linear---Gradient---
Invert checked

Plugins
Mehdi ---Sorting Tiles
L en K landssiteofwonders---L en K`s Zitah
AAA Frames---Foto Frame
<I C Net Software> Filters in Unlimited 2.0>---Toadies---What Are You
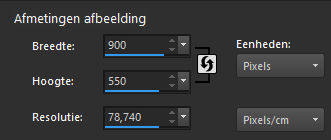
1.File-Open a new transparent image in this size:
Width---900---Height---550 Pixels
1.Flood fill the layer with the gradient
2.Selections---Select All
3.Open--- deco-2017-4.png (do not close , we will use it again )
4.Edit---Copy
5.Activate your work -Edit - Edit - Paste into Selection
6.Selections---Select none
7.Effects---Image Effects-Seamless Tiling------Default
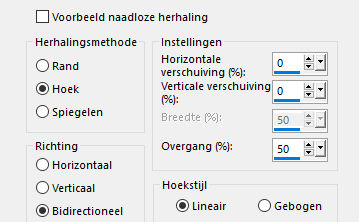
8.Adjust---Blur---Radial Blur---
Twirl--Strenght 56--Twirl Degrees--- min 23---0---0---0
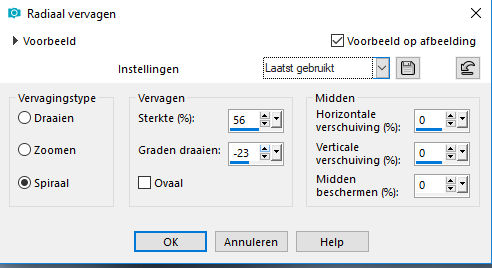
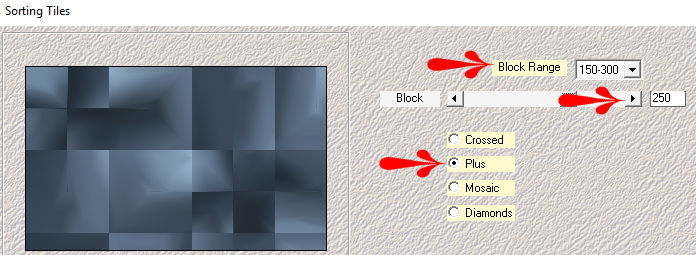
9.Effects---Plugins---Mehdi ---Sorting Tiles –
Block Range 150-300----Block-250---PLus
10.Effects---Plugins---<I C Net Software> Filters in Unlimited 2.0>---Toadies---
What Are You---20---20.---Apply

11.Effects---Edge Effects---Enhance
12.Activate Selection Tool-Custom Selection(S).

13.-Rectangle with these settings:
----0---283---464---550
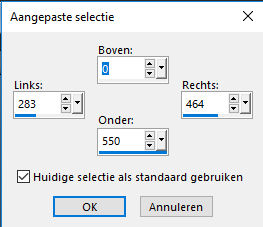
14.Selections---Promote selection to layer
15.Selections---Select none
16.Effects--Texture Effects---Blinds---10---100---
Light color---Horizontal---Light from left/top checked.

17.Effects---3D-effects ---Drop Shadow ---0---0---80---40---Color black
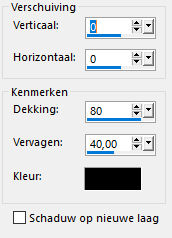
18.Layers---Duplicate
19.Effects---Image Effects----Offset---70---0---custom
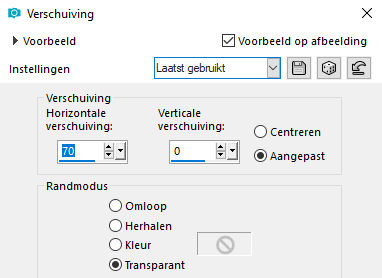
20.Layers---Properties---Set the blend mode of this layer to Multiply
21.In the layer palette---Activate--the bottom layer (Raster 1)
22.Effects---Plugins--- L en K landssiteofwonders---
L en K`s Zitah---5---9---rest by default..
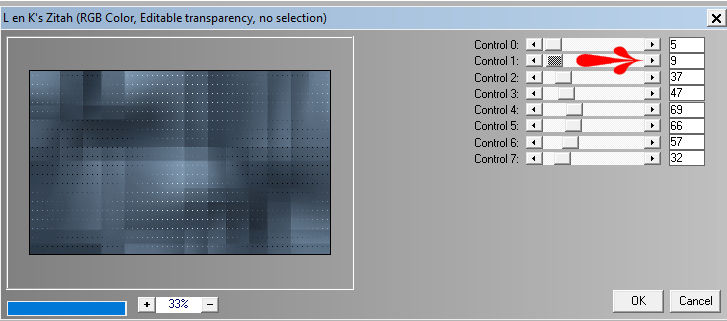
23.Activate the top of the layer palette
24.Open--- deco-2017-4.png
25.Edit---Copy
26.Activate your work -Edit - Paste as new layer
27.Effects--Image Effects----Offset--min 310---min 80---custom
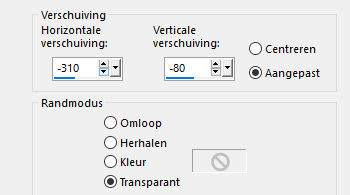
28.Layers--New raster layer
29.Flood fill the layer with color(white) #ffffffff
30.Open---kerst-mask-02.jpg------Click on the minus sign at the top right.
31.Layers--New mask layer--From image---Select---kerst-mask-02---Luminance of source checked.
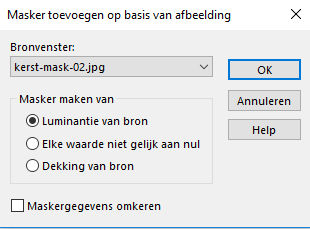
32.Layers--Merge--Merge Group .
33.Effects---3D-effects---Drop Shadow---0---0---80---40---Color black
34.Open---2184 - girl - LB TUBES..png
35.Edit---Copy
36.Activate your work -Edit - Paste as new layer
37.Effects--Image Effects----Offset---200---min 30---custom
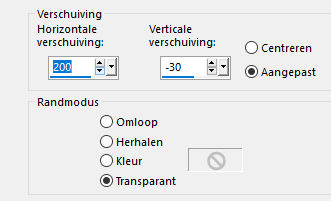
38.Effects--3D-effects---Drop Shadow ---0---0---80---40---Color black
39.Image - Add Borders-Symmetric checked:---1 pixel---Dark color
Image - Add Borders-Symmetric checked:---2 pixels---Color white
Image - Add Borders-Symmetric checked:---1 pixel---Dark color
40.Selections---Select All
41.Image - Add Borders-Symmetric checked:---45 pixels---Color white
42.Effects---3D-effects--- Drop Shadow---0---0---80---40---Color black
43.Selections---Select none
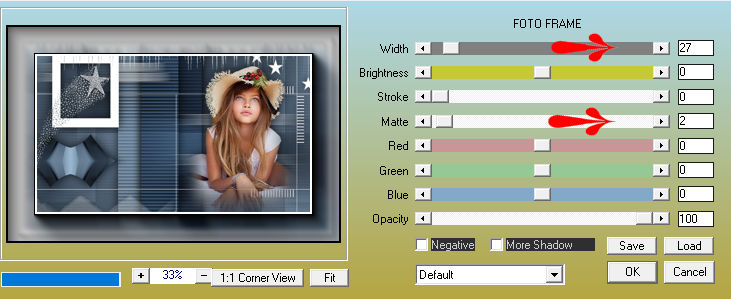
44.Effects---Plugins---AAA Frames---Foto Frame---27---0---0---2---rest by default.
45.Open---Christmas-WT.png
46.Edit---Copy
47.Activate your work -Edit - Paste as new layer
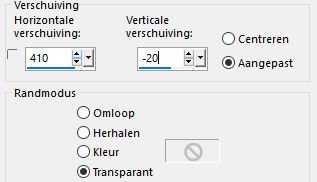
48. Effects---Image Effects----Offset---410---min 20---custom
49.Place your watermark on a new layer.
Save as Jpg
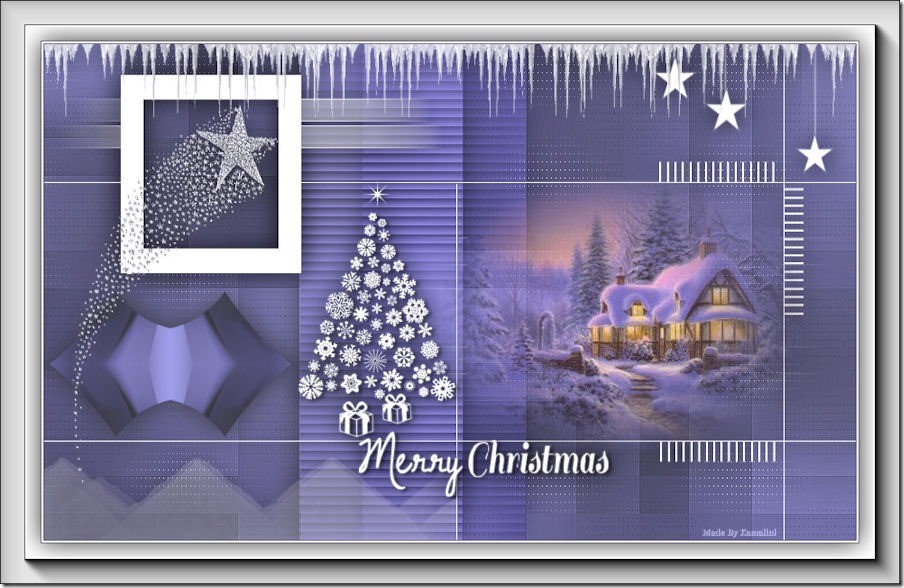
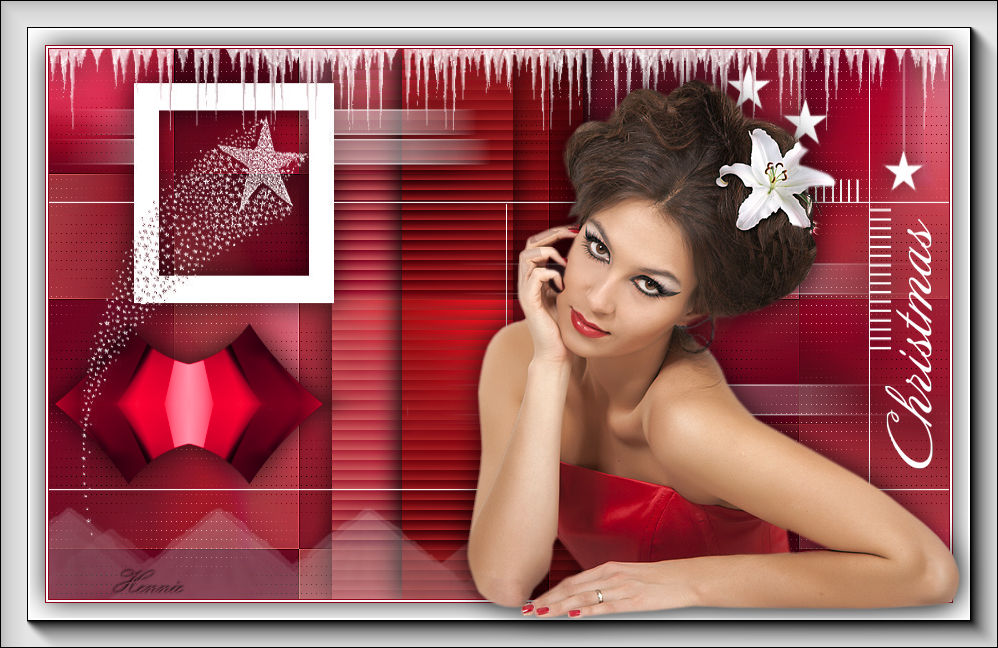
Examples created by Kamalini, Hennie
 . .
|