Christmas lesson -4-2015.
Translation made by MARION

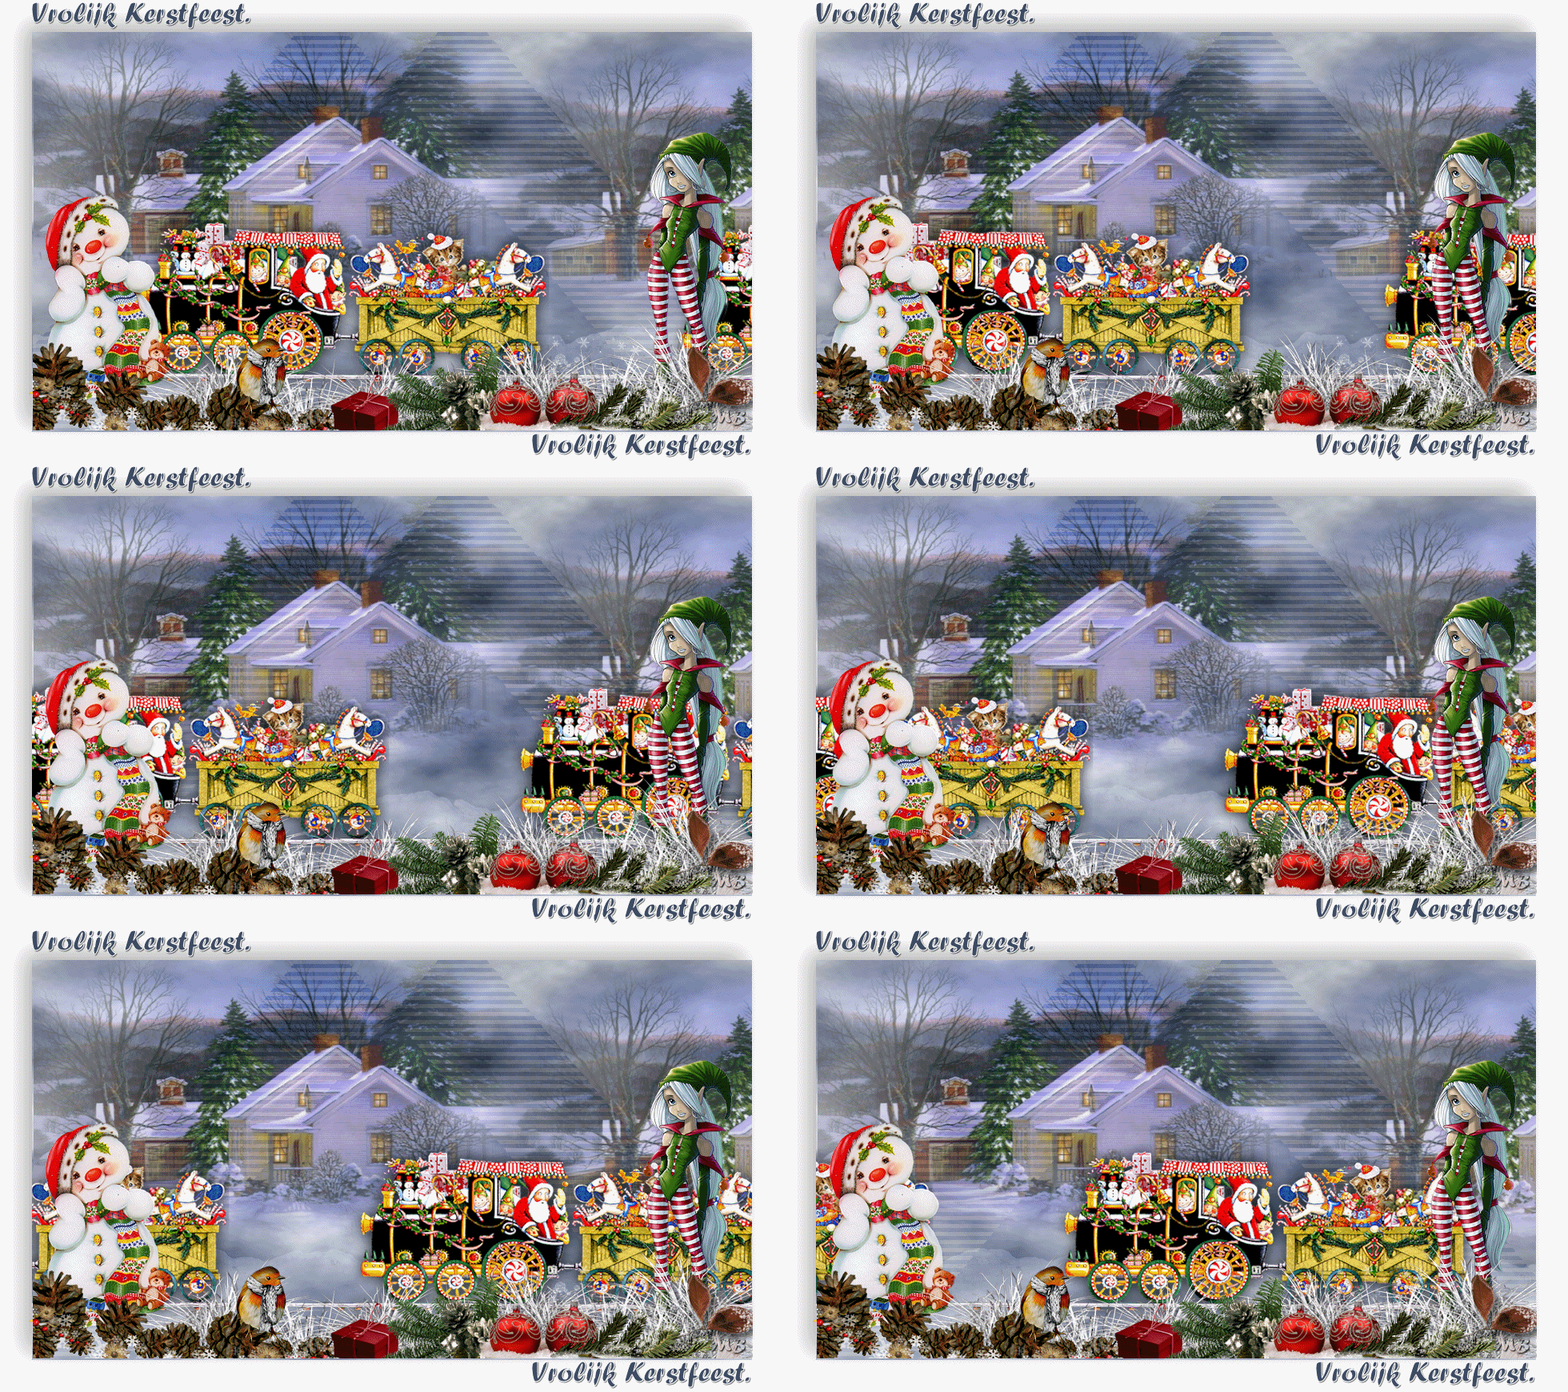
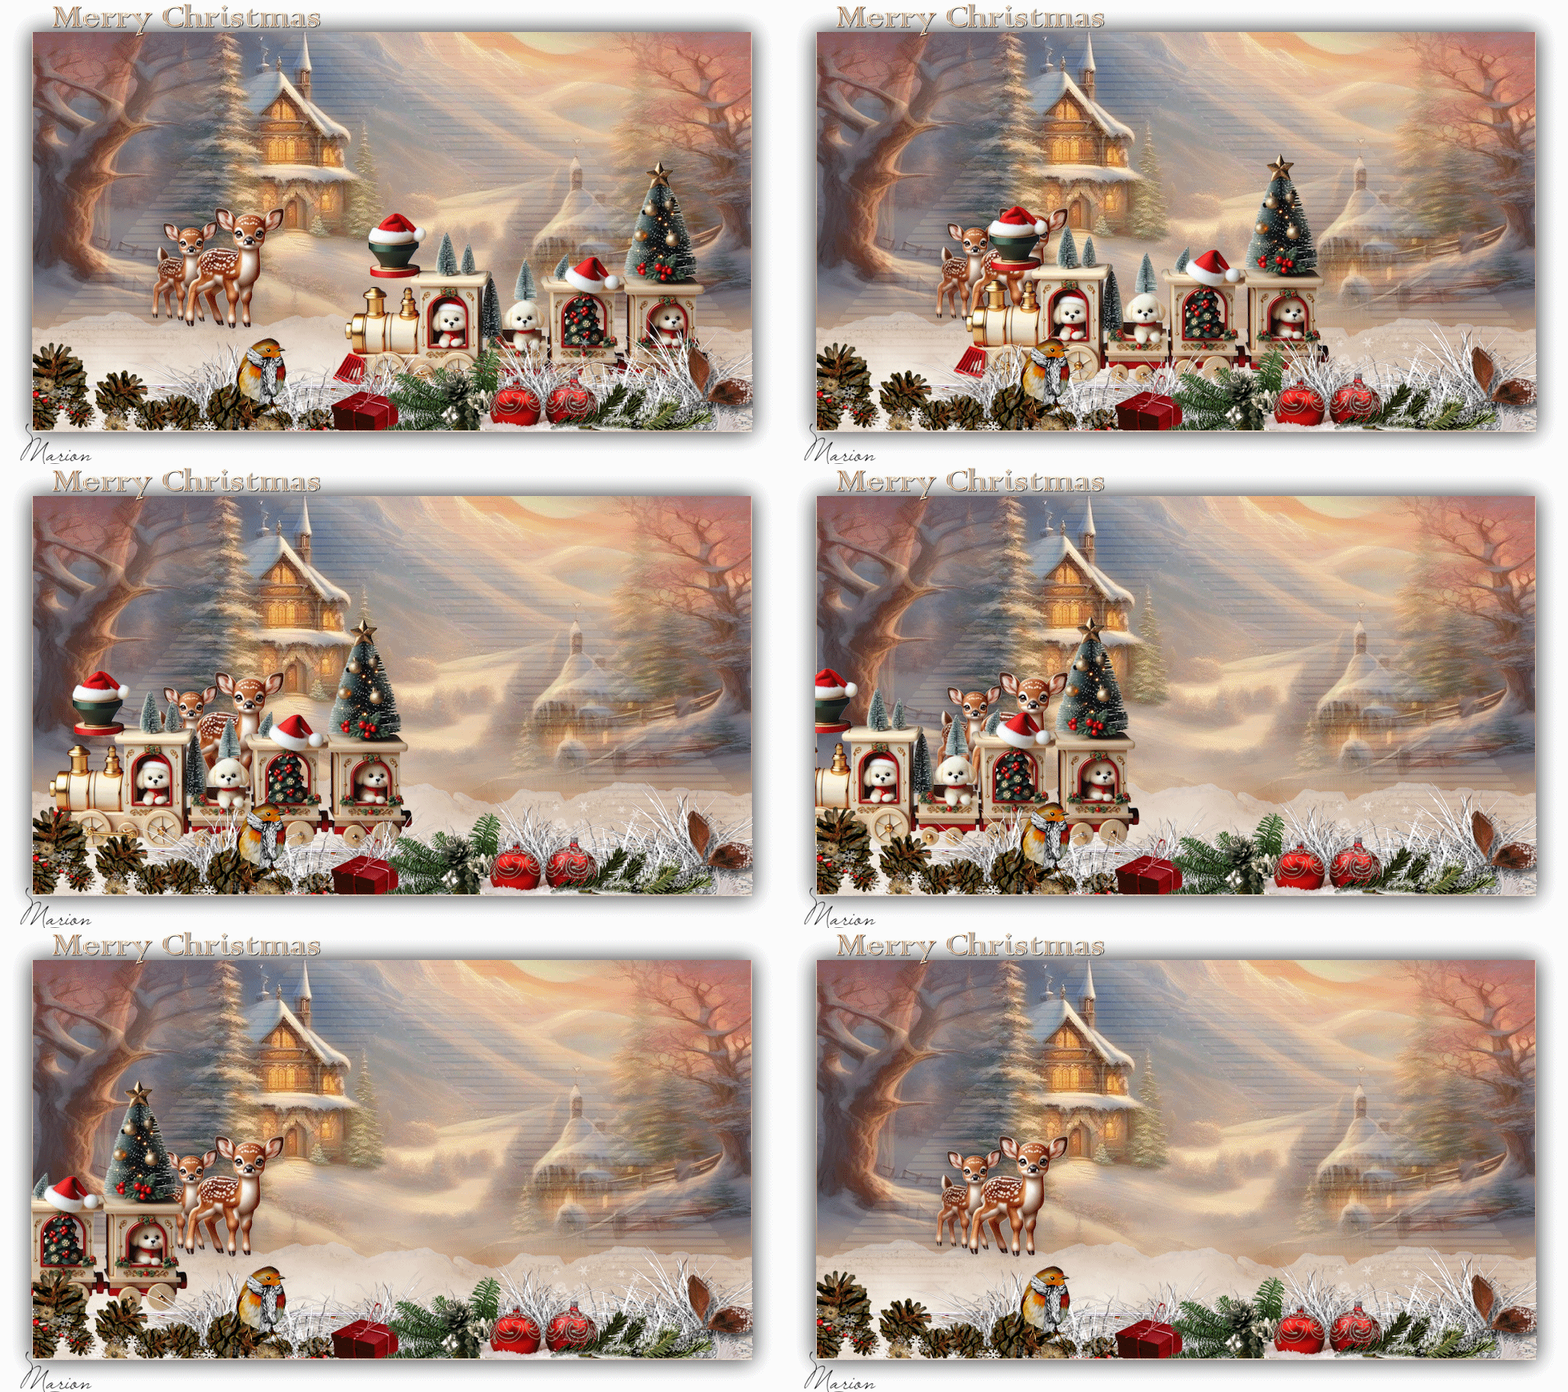
Supplies
PSP
And possibly Animation Shop.
Material

Printlesson

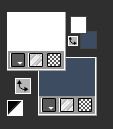
Material Properties:
Foreground color # ffffff --- Background color # 5f6d88
 Use the arrow to follow the tutorial
1.
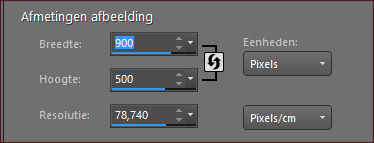
File-Open a new transparent image in this size:
Width 900---Height 500 Pixels.
2.
Flood fill the layer with the background color ---# 5f6d88
3.
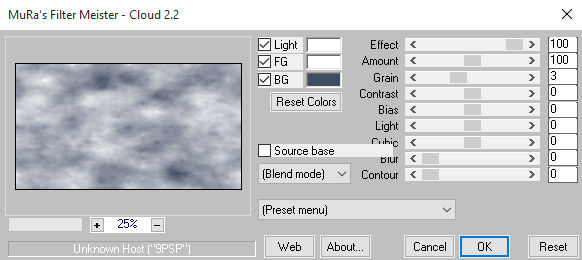
Effects---Plugins---Mura`s Meister---Cloud-100—100---3---6x 0.
4.
Open tube--- misted---landschap.
5.
Edit---Copy
Activate your work ---Edit - Paste as new layer
Move up against the edge.
6.
Open Tube ---Sneeuw
Edit---Copy
Activate your work ---Edit - Paste as new layer
Move down against the edge.
7.
Layers---Properties---Reduce the opacity of this layer to 42%.
8.
Open--- deco-1-4-2015
Edit---Copy
Activate your work ---Edit - Paste as new layer
9.
Layers-Properties-Set the Blend Mode to Soft Light
10.
Layers---Merge---Merge Visible
11.
Selections---Select All
12.
Image - Add Borders-Symmetric checked:---40 pixels---Color white
13.
Effects---3D-effects--- Drop Shadow0---0---50---40. Color black.
14.
Selections---Select none
15.
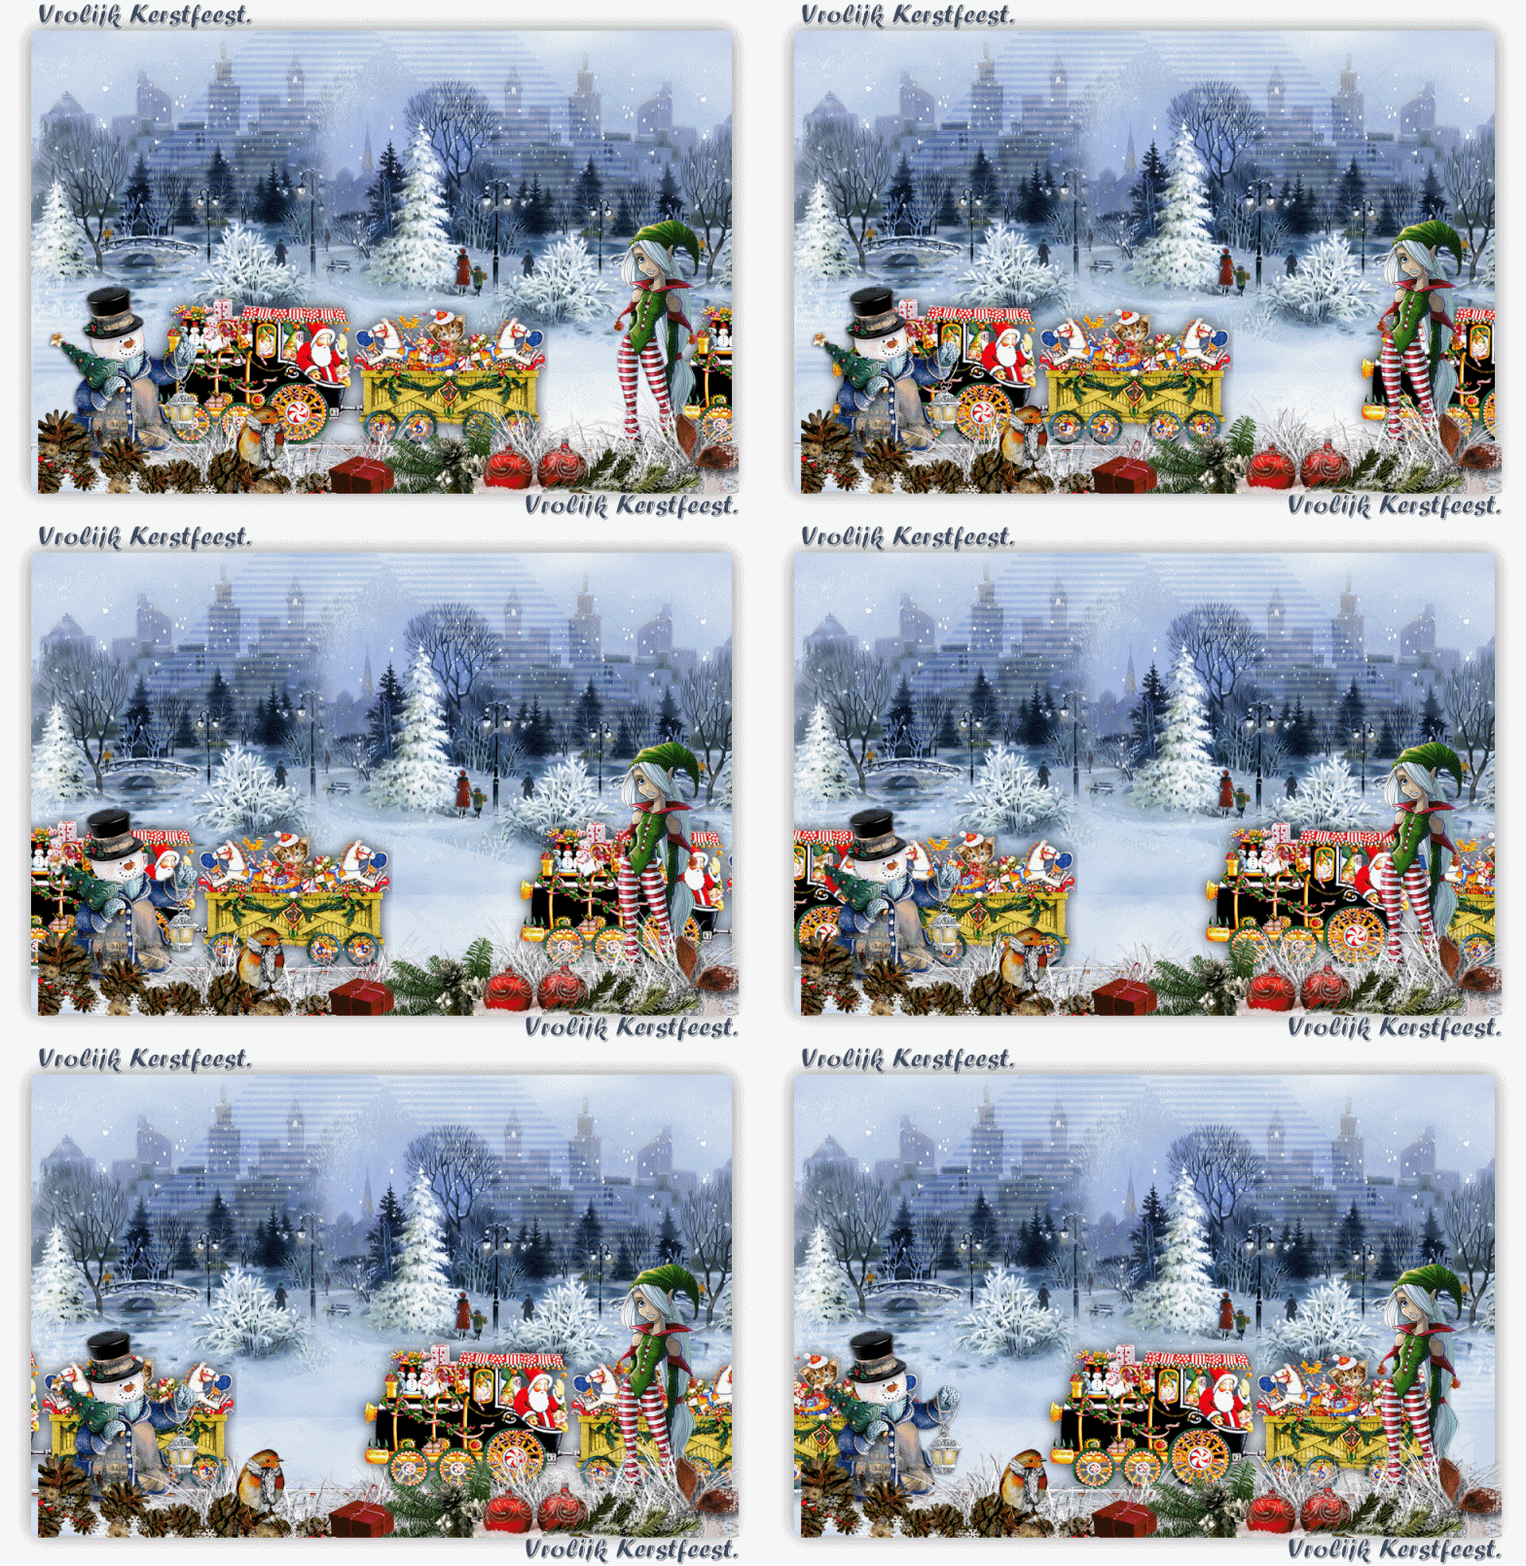
Open Tube----Trein
Edit---Copy
Activate your work ---Edit - Paste as new layer
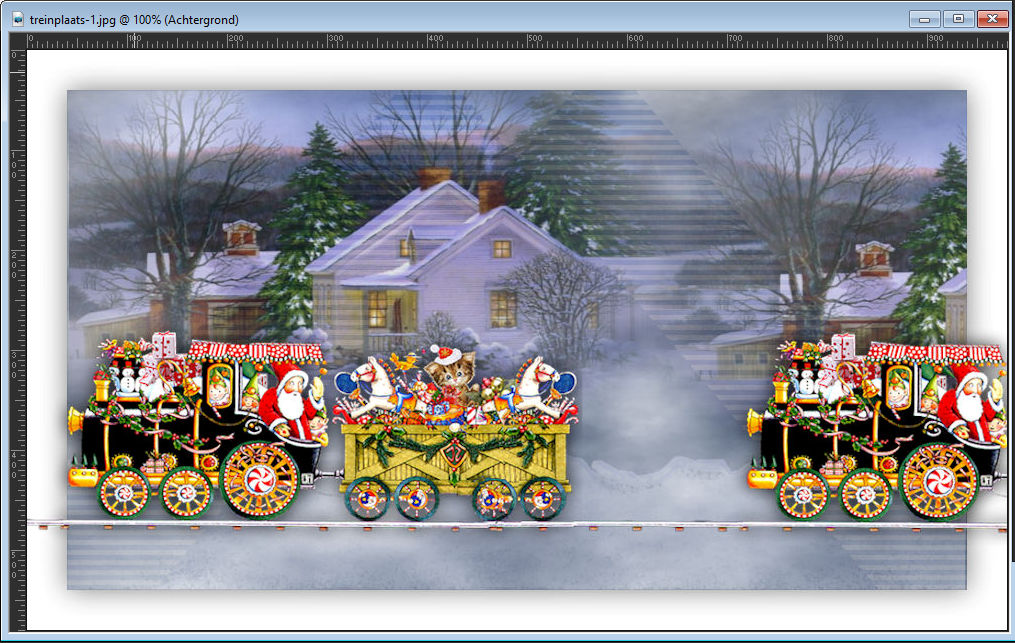
Move the headlight to the left against the white edge
---with the rails at ruler height 480.
(Where is my ruler ???------View--Ruler--put a check mark there)
Your work now looks like this.
16.
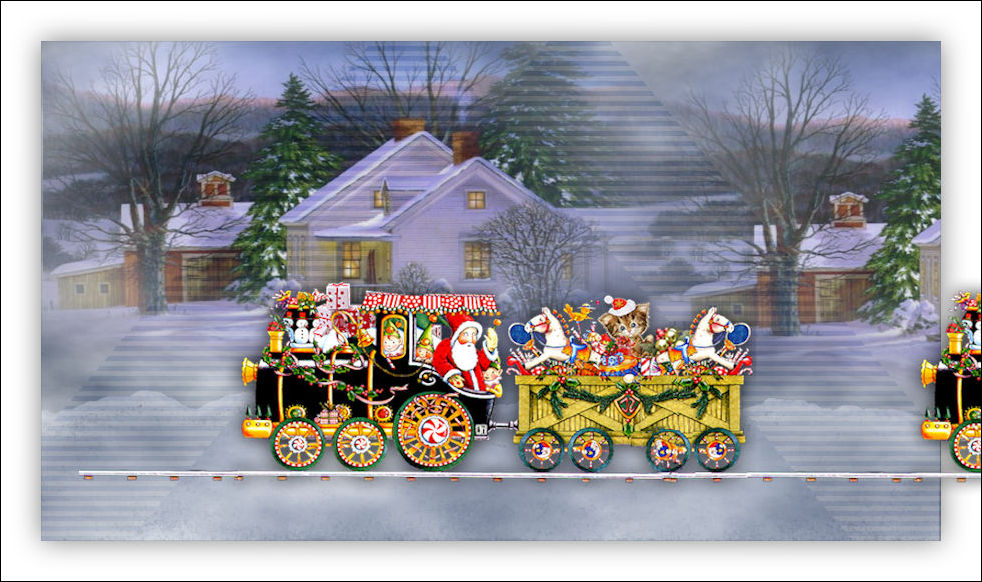
We will move the train
Activate Move Tool---- ----Hold down the Shift button ----Hold down the Shift button  --- ---
Click 4 times on the right arrow on your keyboard..
17.
Lock this layer for a moment.
18.
Open tube--- MRC_ANIMEELF.
Edit---Copy
Activate your work ---Edit - Paste as new layer
19.
Image ---Resize ---60%
Resize all layers not checked
Move to the right---See finished image
20.
Adjust---Sharpness---Sharpen
21.
Open tube--- 0_a40c1_d2e535d_L
Edit---Copy
Activate your work ---Edit - Paste as new layer
22.
Image ---Resize ---60%
Resize all layers not checked
Move to the left---See finished image
23.
Adjust---Sharpness---Sharpen
24.
Open---tube--- rand-trein
Edit---Copy
Activate your work ---Edit - Paste as new layer
Move down against the white border.
25.
Layers---New raster layer
Place your watermark
26.
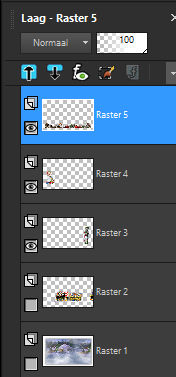
Open -----Raster 2----Please check that everything is correct.
27.
Close the bottom two layers.
28.
Make the top layer active in your layer palette.
29.
Layers---Merge---Merge Visible
30.
Open the two bottom layers again.
31.
Top layer active in your layer palettet
32.
Open the text layer--If you want to use it ---(Or write your own text.)
Edit---Copy
Activate your work ---Edit - Paste as new layer
Layers--Merge--Merge Down
(If you don't want to make an animation then save as a JPG.)
We will start the animation.
1.
Open your Animation Shop.
2.
Go back to PSP
3.
Activate the bottom layer in the layer palette.
4.
Selections---Select All
5.
Selections---Modify---Contract 40 pixels.
6.
In the layers palette ---Activate the layer with the train (Raster 2).
7.
Move Tool  ----Hold down your Shift button ----Hold down your Shift button  --- ---
Click---1 time on the left arrow on your keyboard
8.
Selections---Invert
9.
Press your Delete Key once
10.
Selections---Select none
11.
Edit--Copy special--Copy merged.

12.
Go to Animation shop
13.
Edit--Paste as a new animation.
_______________________________________________
14.
Back to PSP
Click 2x on your Undo button

(The train is visible again in the white border)
15.
Activate Moove Tool  ----Hold down your Shift button ----Hold down your Shift button --- ---
Click---1 time on the left arrow on your keyboard
16.
Press your Delete Key once
17.
Selections---Select none
18.
Edit--Copy special--Copy merged.
19.
Go to Animation shop
20.
Edit-Paste-Paste after current frame.
Repeat this last part of the line until you have 11 frames in AS.
21.
Check the result by clicking View animation

22.
Edit---Select all
23.
Animation---Animation Properties ---and set to 30 (or whatever you like.)
24.
Animation - Resize the animation format..
Modify percentage of animation----90 % or 80%.(Your own choice)
Satisfied---Then you can now save your animation.
25.
File--Save As--Choose the folder you want to save it in.
Click save.
Click next.
Click next.
Click next
Click finish
If it worked well, it is now in the correct folder..
Enjoy this lesson
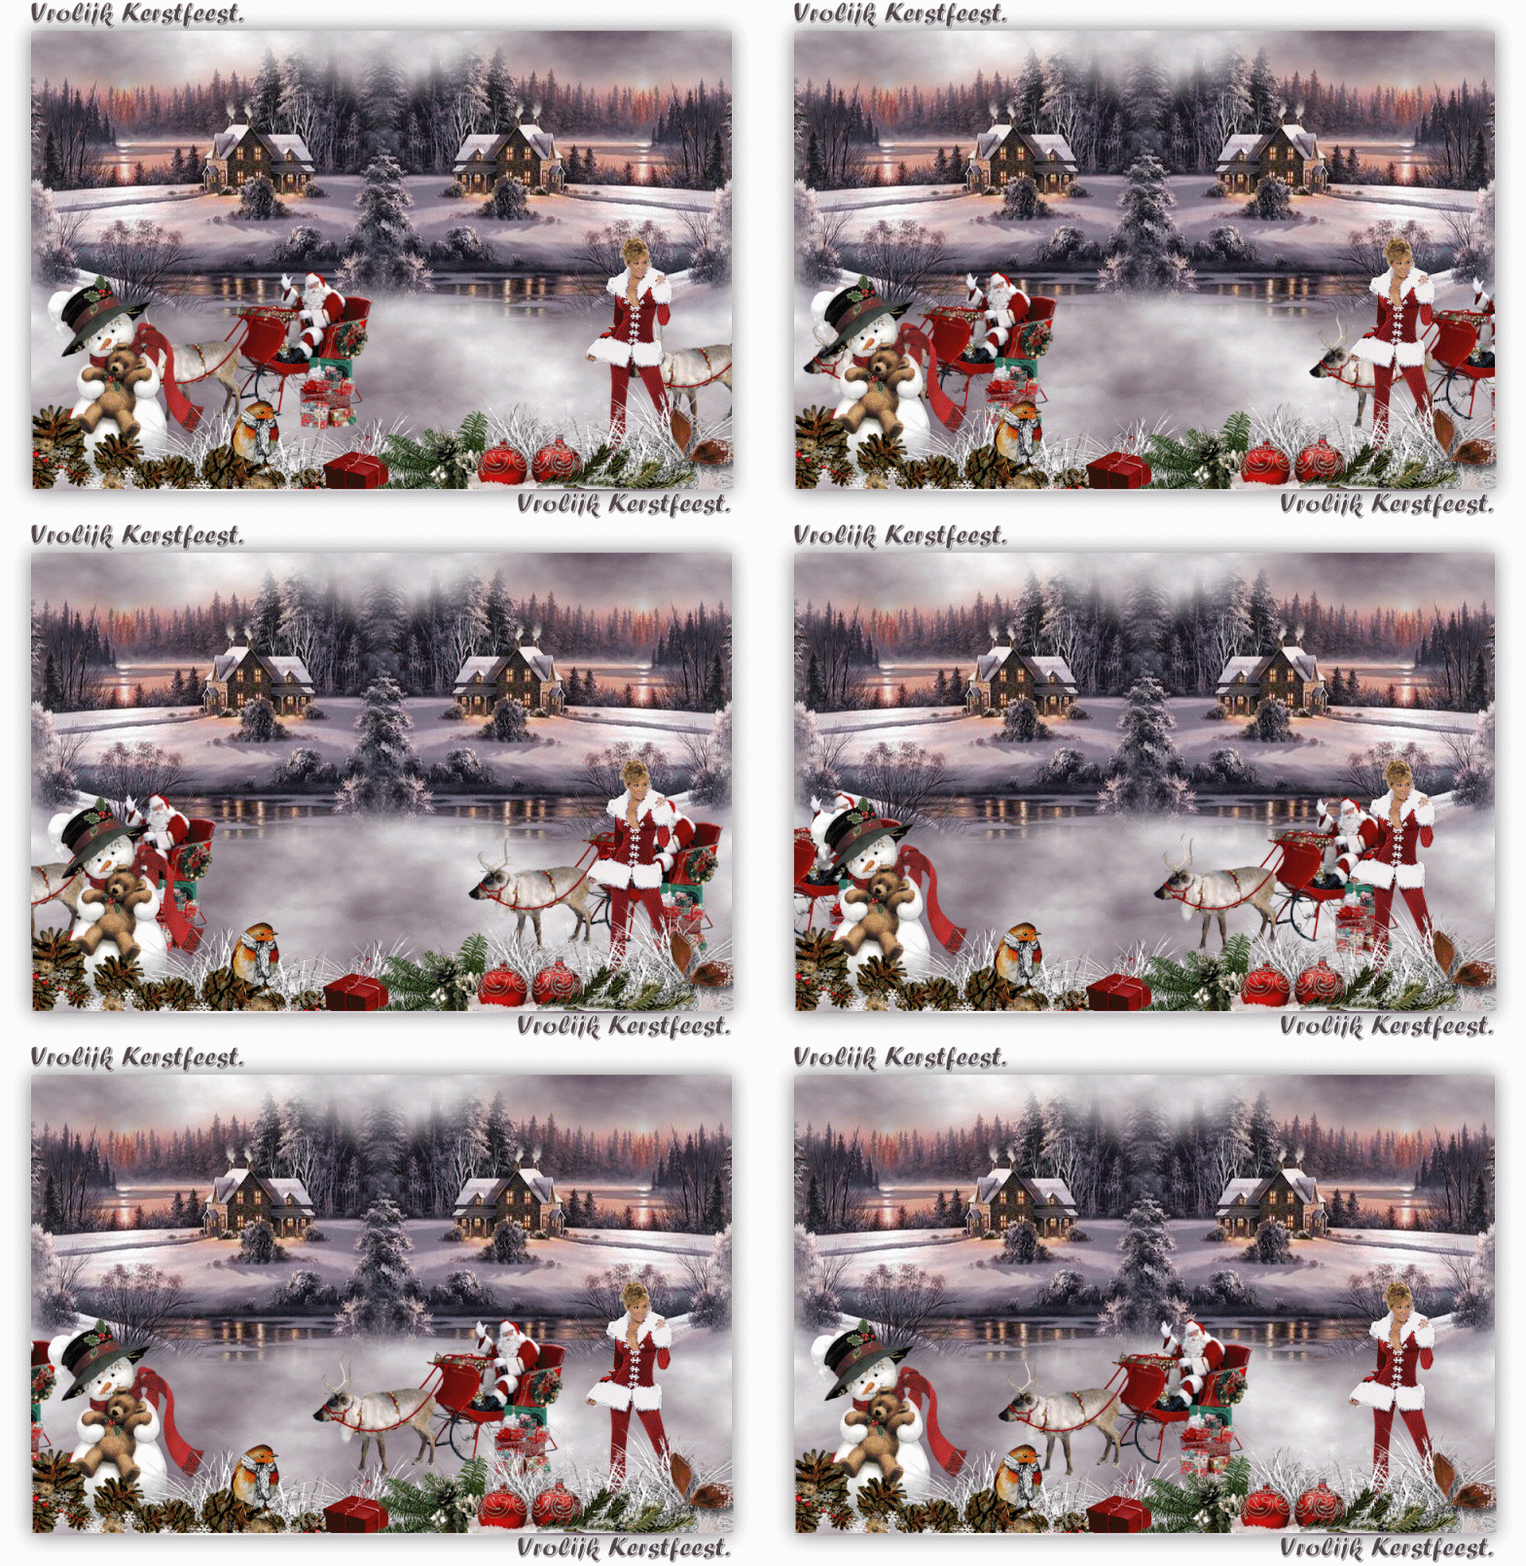
Examples created by Kamalini

|