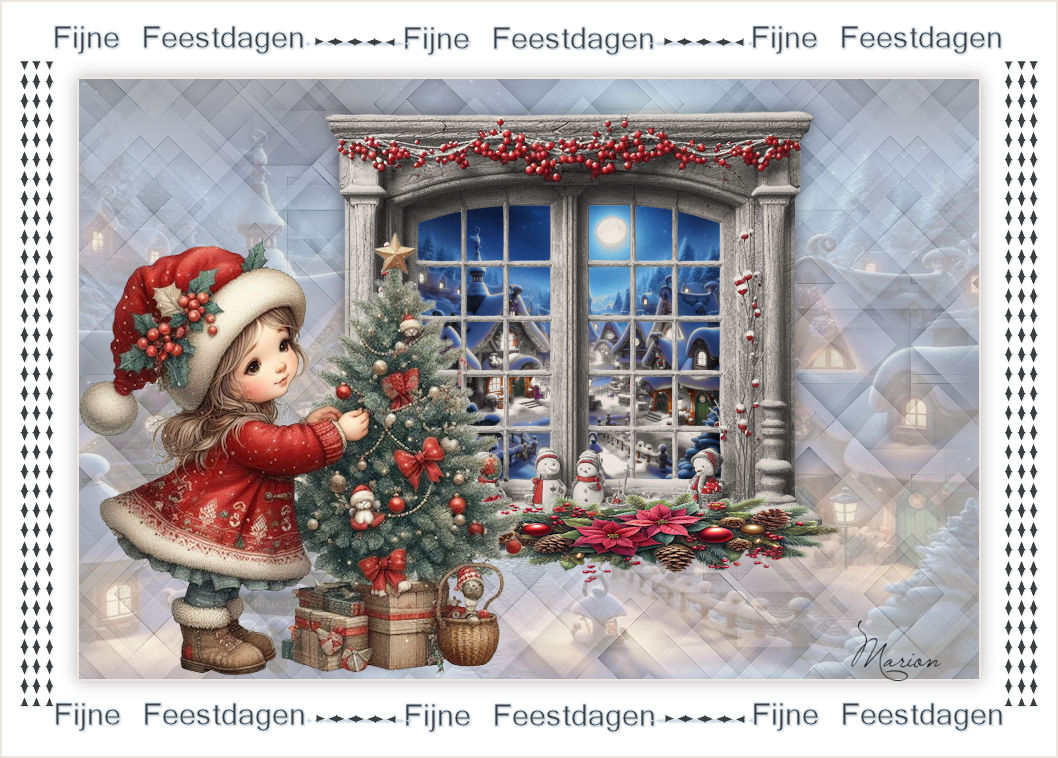
Christmas lesson -03-2014
Translation made by MARION


Supplies
Filter---Simple
Material

Printlesson

Material Properties:
Foreground color #ffffff ---Background color #e8e6f0
 Follow the tutorial using the arrow
1.
File-Open a new transparent image in this size : ---Width 900---Heigth 600 Pixels.
Flood fill the layer with the foreground color #ffffff
2.
Layers---Duplicate
3.
Open---masker-mb-03-14
Click on the minus sign at the top right.
4.
Layers--New mask layer--From image---Select---
masker-mb-03-14---Luminance of source checked.

Layers--Merge---Merge Group
5.
Effects---3D-effects--- Drop Shadow 0---0---50---25. Color black.
6.
Layers---Duplicate
7.
Effects---Plugins---<I C Net Software> Filters in Unlimited 2.0
Filter---Simple---Diamonds
8.
Layers---Duplicate
9.
Image - Mirror - Mirror Horizontal (Image - Mirror in older versions of PSP)
10.
Layers---Properties ---
Reduce the opacity of this layer to 50
11.
Layers---Merge---Merge visible
12.
Open--- raam
Edit---Copy
Activate your work -Edit - Paste as new layer
13
Use your move tool to move the window slightly upward.
14.
Adjust--Hue and Saturation---Colorize ---176---55.
15.
Open--- winter-misted-3.
16
Edit---Copy
Activate your work -Edit - Paste as new layer
Place the image on the frame.
17.
Layers---Arrange---Move Down.
18.
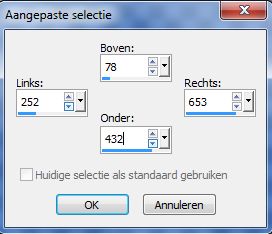
Activate Selection Tool-Custom Selection(S)

-Rectangle with these settings:---78---252---653---432.
19.
Layers--New raster layer-Flood fill the selection with color white.
20.
Selections---Select none
21.
With your Move tool---set it to fit the frame just right.(see finished image)
22.
Layers---Arrange---Move Down (The white layer is now behind your image.)
23.
Activate the top in the layer palette
Layers--Merge--Merge Down
Repeat one more time.
Optionally, you can give a drop shadow here.
24.
Open--- deco-2-03-2014 ---or deco-1-3-2014
If you want to make your own border go crafting
Edit---Copy
Activate your work -Edit - Paste as new layer
25.
With your move tool move the tube under the window
(see finished image)
26.
Effects---3D-effects--- Drop Shadow 0---0---50---25. Color black.
27.
Image - Add Borders-Symmetric checked:---2 pixels---Color #33266d
28.
Selections---Select All
29.
Image - Add Borders-Symmetric checked:---75 pixels---Color #ffffff
30.
Effects---3D-effects--- Drop Shadow 0---0---50---25. Color black.
31.
Open--- rand-kerst-mb-03-2014
Edit---Copy
Activate your work -Edit - Paste as new layer
32.
Selections – Select none
33.
Image - Add Borders-Symmetric checked:---2 pixels---Color #33266d
34.
Layers---New raster layer
Place your watermark
35.
Layers--Merge--Merge All (flatten)
36.
Image--Resize ---900 pixels
Resize all layers checked.
37.
Save as jpg.
Enjoy the lesson
Mieke
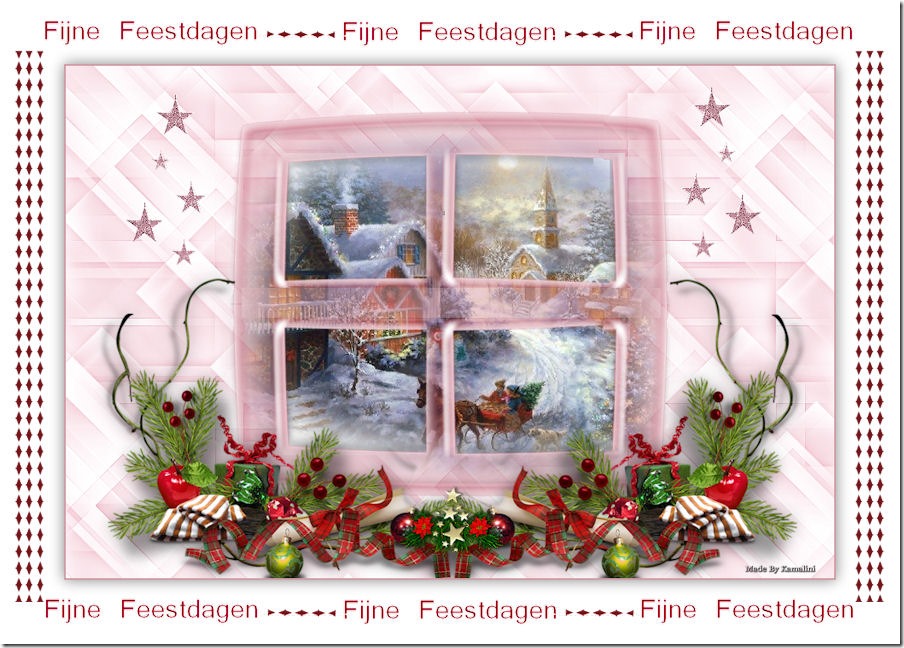
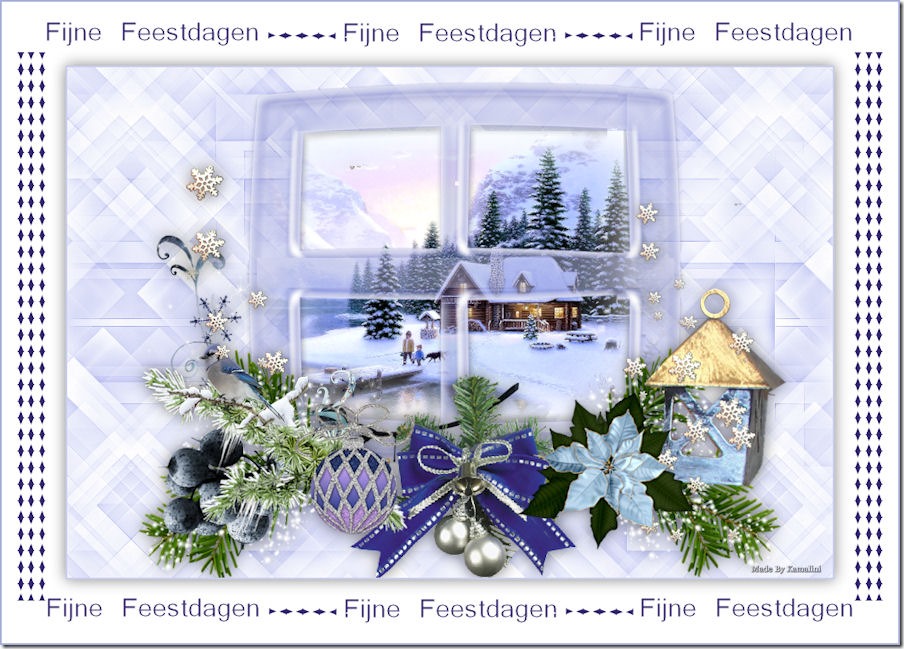
Examples created by Kamalini


|