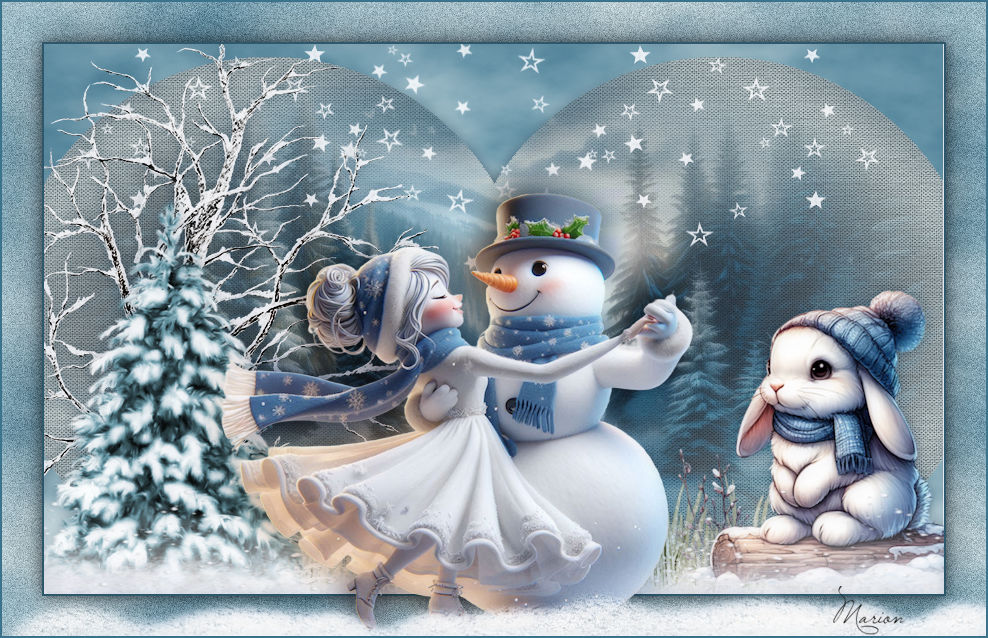
Christmas lesson-3-2025.
Translation made by MARION


Material

Color Palette
Set the foreground color to color #ffffff---Set the background color to color #bdbedf
Plugins
Filter <I C Net Software> Filters Unlimited 2.0>Paper Textures---Paper Textuur
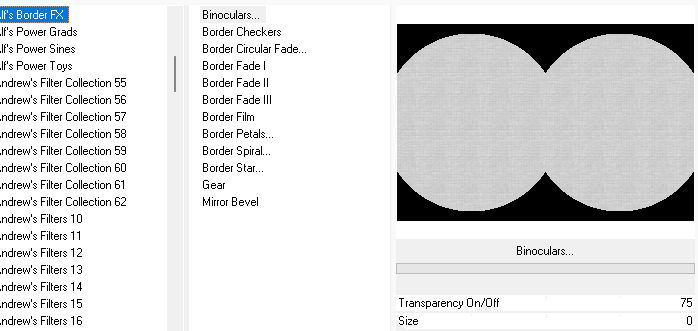
Filter---<I C Net Software> Filters Unlimited 2.0---Alf`s Border FX
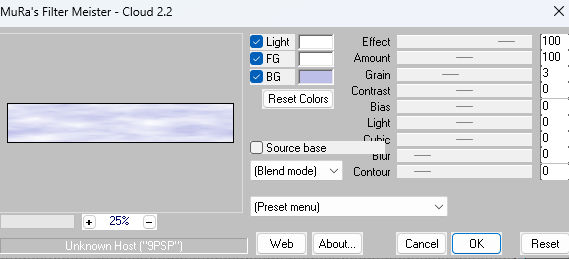
Filter---Mura`s Meister---Cloud
1.
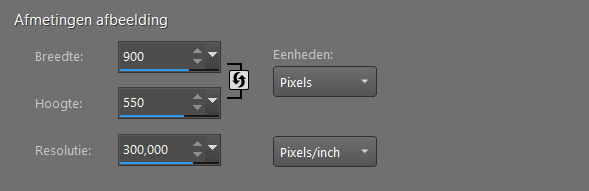
File---Open a new transparent image in this size:
Width ---900--- Height ---550.
2.
Activate the Flood Fill Tool---Fill the layer with the foreground color #ffffff (white).
3.
Effects---Plugins<I C Net Software> Filters in Unlimited 2.0>Paper Textures---Paper Textuur ---Canvas fijn ---78-21-
4.
Layers--- Duplicate

Effects---Plugins---<I C Net Software> Filters in Unlimited 2.0---Alf`s Border FX --- Binoculars---75---0.
5.
Activate your Magic Wand ---RGB-Value--- Tolerance and Feather at 0 ---Anti-alias
Click with the wand in the black part at the bottom.
Delete on your keyboard
6.
Selections---Select none
Activate your Magic Wand ---RGB-Value--- Tolerance and Feather at 0 ---Anti-alias
Click with the wand in the upper black area.
Set the background color to color #bdbfe9 (color determining for the clouds)
Effects---Plugins---Mura`s Meister---Cloud with these settings
7.
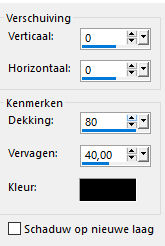
Effects---3D-effects--- Drop Shadow with these settings:--- 0---0---40---80 Color black.
8.
Selections---Select none
9.
Open tube ---Ildiko_Design@Winter_Cold_Deco_1
Edit---Copy
Activate your work ---Edit --- Paste as new layer
Objects---Align---Top
10.
Open tube---Sneeuw
Edit---Copy
Activate your work ---Edit --- Paste as new layer
Objects---Align---Bottom
11.
Open tube--- deco-hek.pspimage
Edit ---Copy
Activate your work ---Edit --- Paste as new layer
Move the tube to the bottom right ---See finished image.
12.
Open tube ---noel-agac-tree-png-3 (4).pspimage
Edit---Copy
Activate your work ---Edit --- Paste as new layer
Move the tube to the left ---See finished image
13.
Open tube sneeuw grasrand.pspimage
Edit---Copy
Activate your work ---Edit --- Paste as new layer
Objects---Align---Bottom
14.
Open tube ---ai_1733652352141.pspimage
Edit---Copy
Activate your work ---Edit --- Paste as new layer
Move the tube in a nice place
Image---Resize 60% ---Resize all layers not checked.
Adjust---Sharpness---Sharpen.
Effects---3D-effects--- Drop Shadow with these settings:--- 0---0---40---80 Color black.
15.
Layers---New Raster Layer---Flood fill the layer with color white
Open--Mask--Mask-star.jpg--Click the minus sign in the top right.
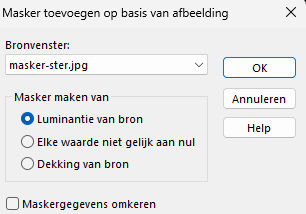
Layers---New mask layer---From Image---Choose --- masker-ster.jpg
Source luminance - Invert mask data not checked
Layer---Merge---Merge Group
Move the stars slightly upwards --- At your own discretion.
16.
Activate the bottom of the layer palette.
Image --- Add Borders---Symmetric checked ---2 Pixels--- Color black
17.
Selections---Select All
Image --- Add Borders---Symmetric checked ---40 Pixels--- Color white
Selections---Invert
Effects---Plugins---Mura`s Meister---Cloud same settings
18.
Adjust--Add/remove noise--Add noise--Gaussian-- 20%--Monochrome checked

19.
Selections---Invert
Effects---3D-effects--- Drop Shadow with these settings:--- 0---0---40---80 Color black.
20.
Selections---Select none.
Image --- Add Borders---Symmetric checked ---2 Pixels--- Color black
Add your watermark to a new layer
Save as JPG
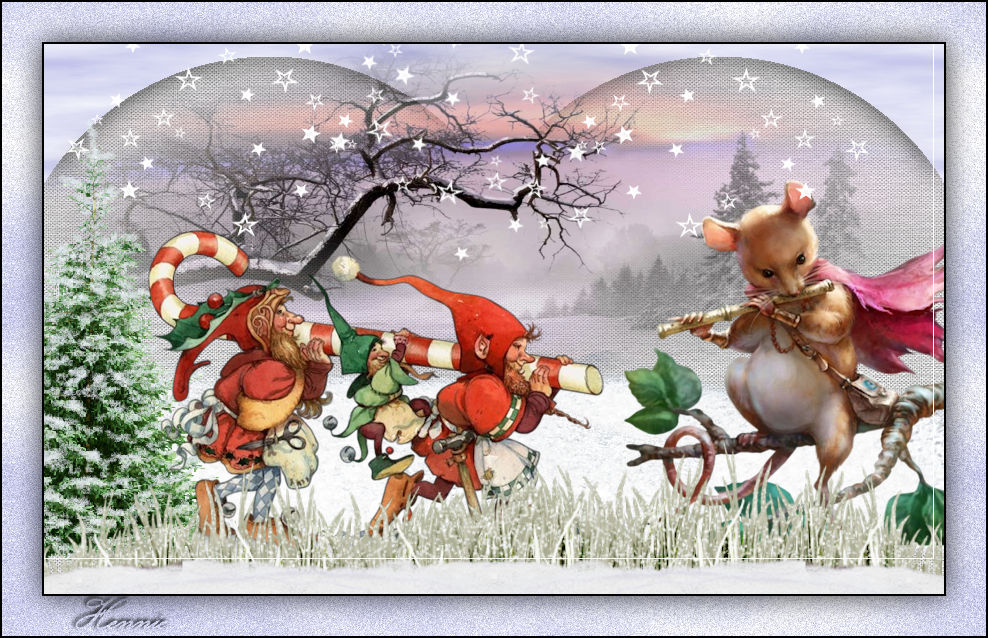
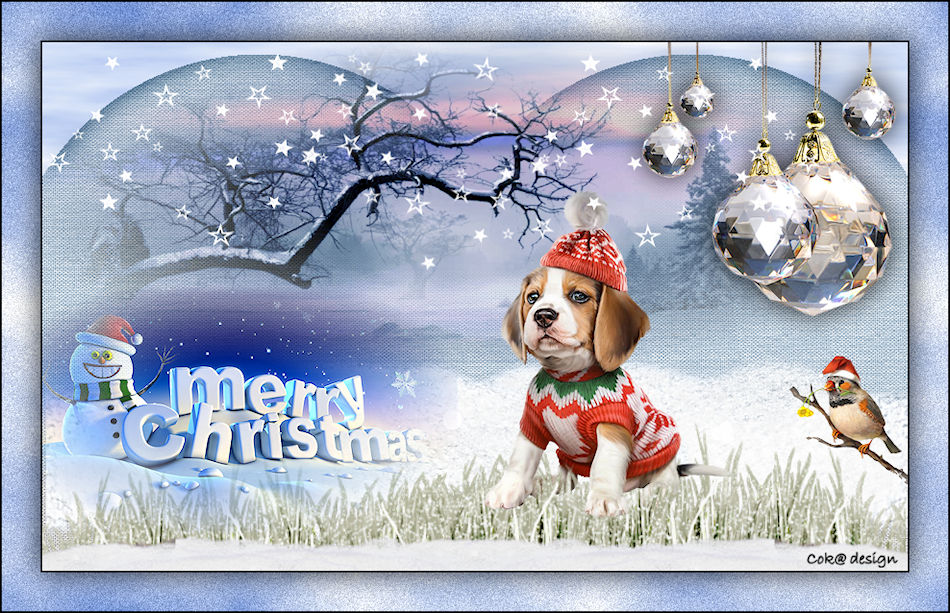
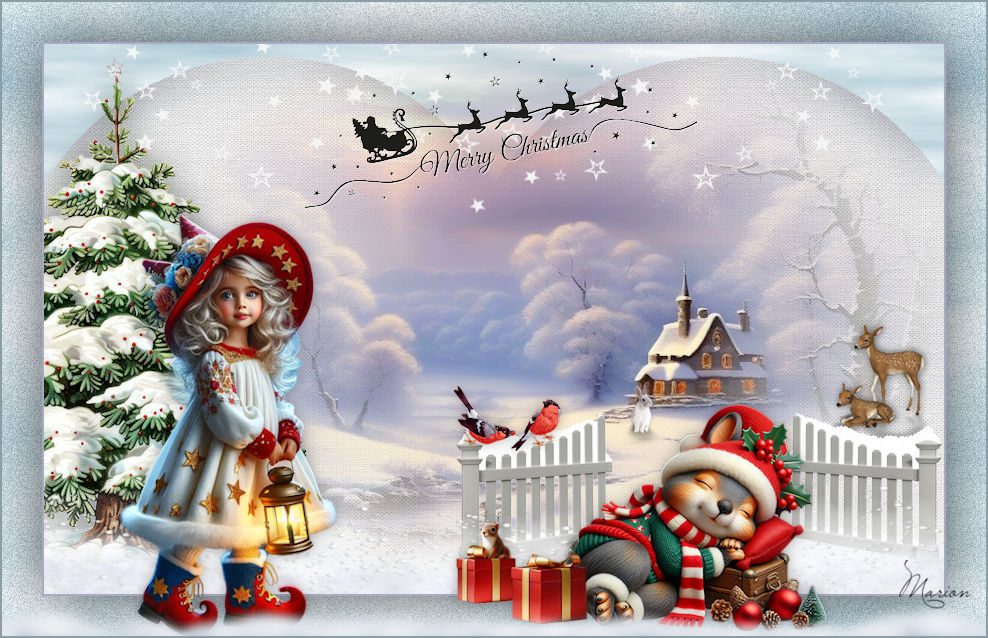
Voorbeelden gemaakt door Kamalini---Hennie---Corrie---Marion

|