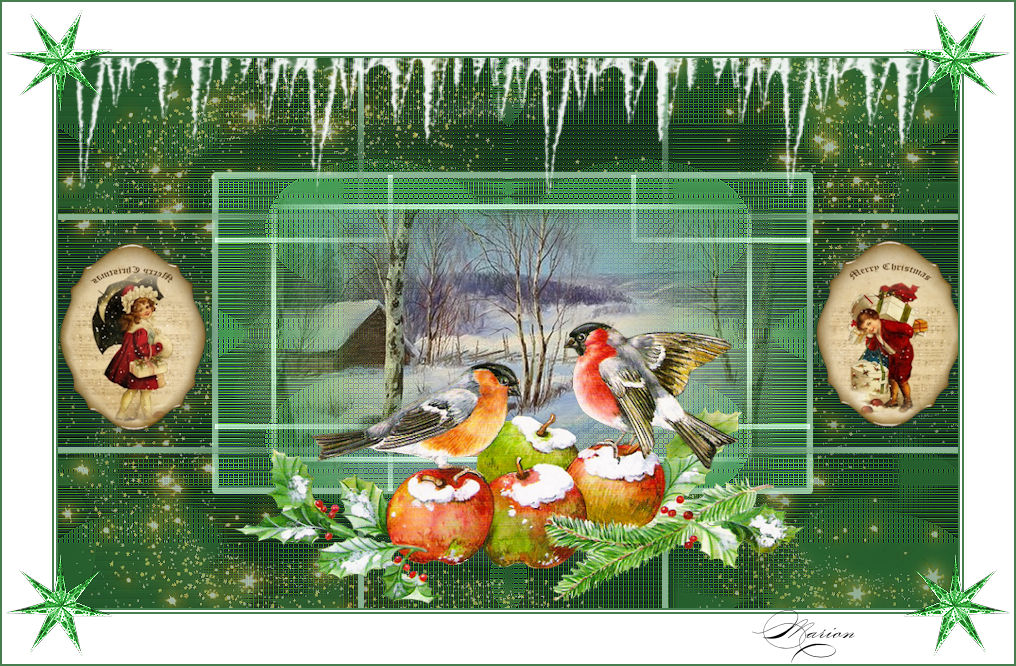
Christmas Lesson 02-2021
Translation made by MARION

Supplies
Material

I used these colors
- Preparation
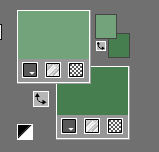
-Material Properties: Set your foreground color to color #73a37b---
Set your background color to color #477e50
Plugins
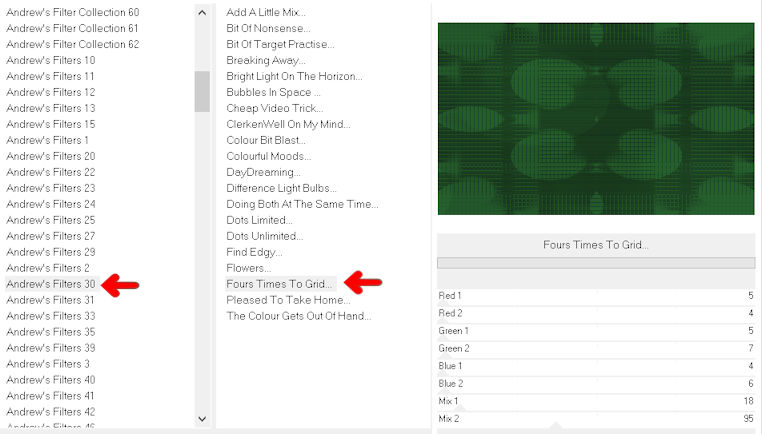
Filter---<I C Net Software> Filters Unlimited 2.0---Andrews Filters 30---Fours Times To Grid
1.
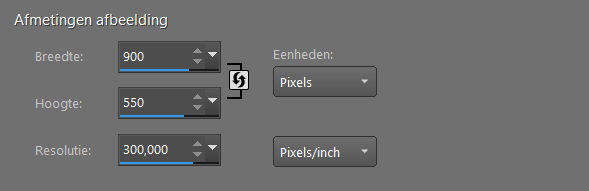
File-Open a New Transparent Image with these settings.
Width 900--- Height 550
2.
Selections-Select All
3.
Open the Tube --- X-Mas Time by_Mago74 pp (3).klein.png
4.
Edit---Copy
5.
Activate your work -Edit - Paste Into Selection
6.
Selections---Deselect All
7.
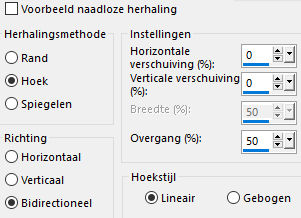
Effects- Image Effects- Seamless Tiling---Using the default settings
8.
Effects---Plugins---<I C Net Software> Filters Unlimited 2.0---Andrews Filters 30---
Fours Times To Grid with these settings: ---5---4---5---7---4---6---18---95
9.
Effects----Edge Effects---Enhance.
10.
Selections –load/save selection –load selection from disc and select my selection:--- kerstles-2-2051.PspSelection
11.
Selections- Promote Selection to Layer
12.
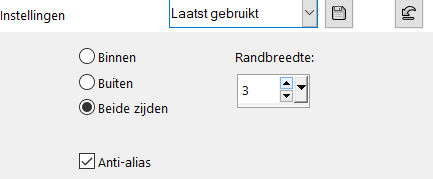
Selections---Modify---Select Selection Borders Bothside---3---anti-alias checked.
13.
Flood Fill Tool: Fill the selection with your light foreground color
14.
Layers-Properties-Change the Blend Mode to " Screen"
15.
Selections- Promote Selection to Layer
16.
Selections---Deselect All
17.
Effects- Image Effects- Seamless Tiling---Using the default settings.
18.
Layers---Duplicate
19.
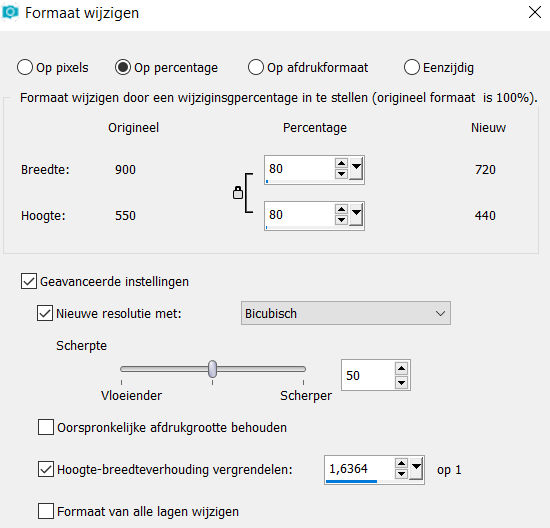
Image---Resize---80%.
Resize all layers not checked.
20.
Selections –load/save selection –load selection from disc and select my selection:
kerstles-2-2051.PspSelection
21.
Selections---Invert.
Press delete on your keyboard.
Selections---Deselect All
22.
Layers-Properties-Change the Blend Mode to " Screen"
Adjust---Sharpness---Sharpen More
23.
Open the Tube ---deco-1
Edit ---Copy
Activate your work -Edit - Paste as a new layer
Layers- Arrange ---Move Down
Repeat 2x more times.
24.
Open the Tube ---deco-2
Edit ---Copy
Activate your work -Edit - Paste as a new layer
Layers---Arrange---Bring To Top
Objects---Align---Top

25.
Open the Tube ---deco-3
Edit ---Copy
Activate your work -Edit - Paste as a new layer
(Do not move, it is in the right place)
26.
Open the Tube ---eprf2rnw.png
Edit ---Copy
Activate your work -Edit - Paste as a new layer
Move the tube slightly down. (own choice)
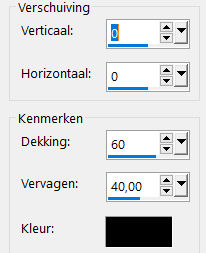
Effects---3D-Effects---Drop Shadow with these settings: ----0---0---60---40---Color Black
27.
Image - Add borders-Symmetric checked:---2 pixels---Dark Color.
Image - Add borders-Symmetric checked:---2 pixels---#ffffff--White
Image - Add borders-Symmetric checked:---2 pixels---Dark Color.
Image - Add borders-Symmetric checked:---50 pixels---ffffff—White
Open the Tube ---ster---
Edit---Copy
Activate your work -Edit - Paste as a new layer
Image - Add borders-Symmetric checked:------2 pixels---Dark Color
28.
Place your watermark on a new layer.
Save as JPG
Voorbeelden zijn gemaakt door Kamalini-Hennie-Corrie---Marion

|